
Windows Server Update Services (WSUS) enables information technology administrators to deploy the latest Microsoft product updates to computers that are running the Windows operating system. By using WSUS, administrators can fully manage the distribution of updates that are released through Microsoft Update to computers in their network.
Here we will be seeing how to enable Windows Server Update Services in Windows Server 2016.
Open server manager and click on add roles, there you can find Windows Server Update Services Select that and click next. To install and run the Windows Server Update Services, we need to enable Web server (IIS) which will be added automatically and for our information, there will be an alert in the next screen.

These are the basic requirements needed to install Windows Server Update Services (WSUS). Installation will start once we click install.

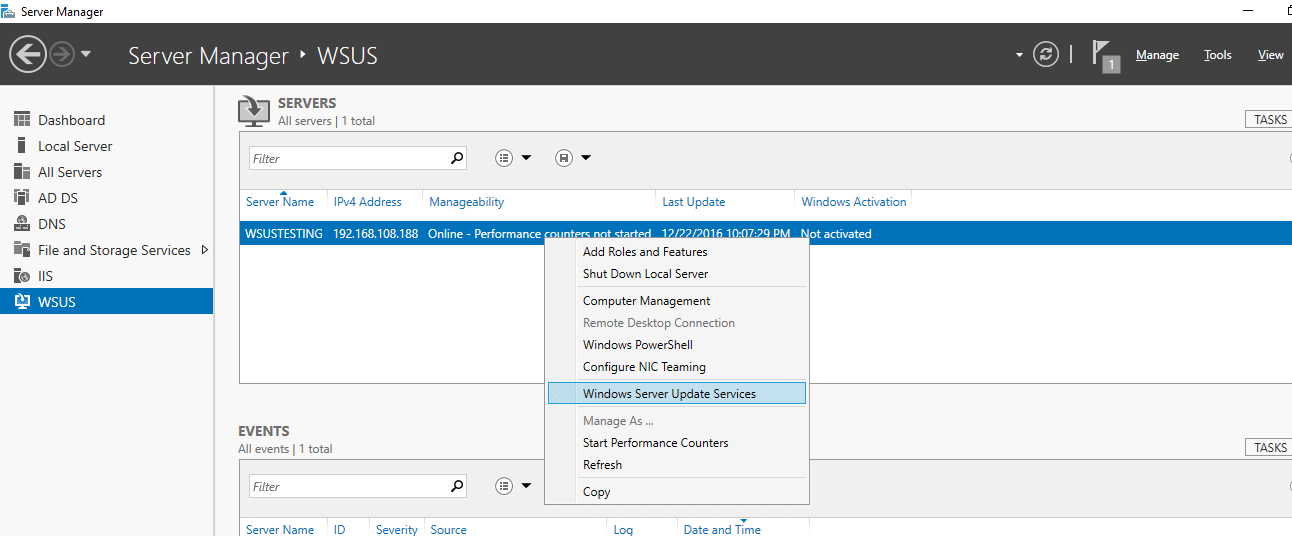
After successful installation, we need to configure WSUS. You can click Task tab in Server manager and start the Post deployment configuration of WSUS. Now If you check the left side pane of Server manager you can find Windows Server Update Services.
Before proceeding once, please ensure that the server’s firewall is configured to allow clients to access the server and WSUS server can connect to the upstream server (such as Microsoft Update), the name of the proxy server and the user credentials for the proxy server, if needed, any restriction in connecting the Internet like firewall etc, and make sure that you have allowed the below url’s.
http://windowsupdate.microsoft.com
http://*.windowsupdate.microsoft.com
https://*.windowsupdate.microsoft.com
http://*.update.microsoft.com
https://*.update.microsoft.com
http://*.windowsupdate.com
http://download.windowsupdate.com
http://download.microsoft.com
http://*.download.windowsupdate.com
http://wustat.windows.com
http://ntservicepack.microsoft.com
http://go.microsoft.com
We will be configuring WSUS by using the WSUS Configuration Wizard.
Go to server manager and click tools. Here you can find Windows Server Update Services, Now the configuration wizard will start.

Upon clicking next, you will be asked to join the Microsoft Update Improvement Program. If you wish to participate, click the box given below and click next. In next page, you will be asked for upstream for updates. You have two choices first one is Synchronize from Microsoft Update and the second is Synchronize from Windows Server Update Services server. If you already using Windows Server Update Services you can get updates from that server. We are going to deploy a new server so select first option and click next.

If you are using any Proxy server check the box and fill up your proxy server details or else click next.

To test the connectivity with Microsoft Update Server click Start Connecting and after successful communication click next. Now we have to select the language which WSUS will receive updates. After selecting appropriate language click next.
In this page we need to specify the products which you need updates.

Select the appropriate products for your need and click next.
Next we need to choose classifications of updates you want to Synchronize and click next.
In next page configure Schedule for Synchronize. Two options will be present which will be automatic and manual. If you select manual, then you have to start the synchronization process from the WSUS Administration Console. If you select automatically Synchronize, the WSUS server will Synchronize at the selected time stamp. In next page click the Begin Initial synchronization and click finish. Depending on your Internet speed and the products you have chosen the first time, time of synchronization will vary
Configure WSUS computer groups:
Two default groups will be there in WSUS administration console. All computers and Unassigned computers. By default, all the computers will appear in Unassigned computers group. After creating the appropriate groups you can move the clients to that group.
To create a computer group:
Go to WSUS Administration Console and under update services expand the WSUS server here you can find computers expand it and navigate to All computers and right click and select add computer group and create a new group.
Now go to the Unassigned computers tab and right click the clients which you want to move to the new group and click change membership and select the appropriate group.
Setting Automatic Updates in Group Policies:
Open Group Policy Management Console and select the GPO which you want configure Automatic Updates and click edit. In the GPMC expand computer Configuration, next Policies, next Administrative Templates, next Windows components, and then click Windows Update. In the right pane, Open Configure Automatic Updates and click Enable. And select the appropriate option for your need.

Next select Enable client-side targeting, and enable and then type the name of the WSUS computer group in the Target group name for this computer box.
After successful setup of a client computer, it will take several minutes to appear on the computers page in the WSUS Administration Console.
To initiate WSUS detection Immediately open a command prompt with administrator privileges in client and run this command wuauclt.exe /detectnow.
You can check in Windows update in client machine for the settings change.

Now the client machine is all set to receive updates from the WSUS server. Deployment of WSUS role was not a tough task and is pretty straightforward although one needs basic knowledge of updation to understand how it works. Needless to say that it is beneficial for domain controlled computers and administrators who need hassle free IT management.
Follow our Twitter and Facebook feeds for new releases, updates, insightful posts and more.