
A little under a year ago I wrote a guide on how to install UMDS 6.7 on Windows with a SQL Server database with a PowerShell script to schedule it at regular intervals. Back then it was still necessary to have a database for UMDS to work.
Although it was ok with Windows, getting it to work on Linux with a PostgreSQL was really not that easy. The VMware doc covered less than the bare minimum with lots of dependencies not mentioned and random version compatibility issues.
Thankfully all this trouble was removed in the latest version UMDS 6.7 Update 1 which lifted the requirement for a database.
In this blog, I will cover how to install and configure UMDS on Windows and on Linux. I will also cover the basics of how to schedule it but I’m sure those of you who are looking to install it in Linux will do a much better job of it than me. A lot of the work on the Windows platform was covered in the blog aforementioned so I will send you back there for some of the pre/post-configuration.
What is UMDS?
You may not be familiar with UMDS (Update Manager Download Service) as it is an optional module of Update Manager and is not advertised much by VMware.

Its purpose is to download updates and patches from VMware’s and third-party repositories and act as an internal repository to which several instances of vSphere Update Manager can subscribe and download updates from.
UMDS downloads upgrades for virtual appliances, patch metadata, patch binaries, and notifications that would not otherwise be available to the Update Manager server. Like WSUS in the Windows world, UMDS is particularly useful in environments with multiple vCenter to centralize the patches and download them only once.
What is great is that it also supports patch recalls and notifications so you don’t end up deploying rotten patches in production.
In the latest release of UMDS version 6.7 update 1, I was pleasantly surprised to see that VMware is still putting some effort into improving this tool which is, in my opinion, underrated.

It is not in use by every company as it solves challenges that not everyone faces:
- Secured environment with no access to internet. UMDS can access its public repositories through internal web proxies and act as a sort of a gateway
- Consolidation of updates location for environments with a large number of vCenter servers
What’s new in UMDS 6.7 U1?
In vSphere 6.7 Update 1 VMware removed requirements for a database to run UMDS. Installing and setting up a database is no longer a prerequisite and the installation procedure has been simplified.
Now it was already fairly simple to install in earlier versions, the blog linked above testifies, however installing UMDS on Linux Red Hat is a lot trickier. VMware provided close to no documentation about it and the packages dependencies and versions were a total mess. So removing this requirement will make it a lot easier to deploy UMDS on Red Hat.
Requirements and Considerations to Configure UMDS
There are still requirements to meet for UMDS 6.7 Update 1:
- Internet connection or access via proxy to *.vmware.com/* or other public repositories you may need (Dell, HP…)
- Windows OS:
- OS requirements are the same as vCenter
- Microsoft .NET framework 4.7
- Linux OS:
- Create a PATH variable to the vmware-umds service (optional)
- Ubuntu 14.04
- Ubuntu 18.04
- Red Hat Enterprise Linux 7.4
- Red Hat Enterprise Linux 7.5
- vSphere Update Manager 6.7 Update 1
Uninstall any 6.5 or earlier instance of UMDS if it is installed on the machine. If such a version of UMDS is already installed, the installation wizard displays an error message and the installation cannot proceed.
Before starting, be aware of the following :
- The server on which you plan to install UMDS must have access to the public repositories you want updates to download from (VMware, Dell, HP…). The bare minimum is access to *.vmware.com/* in https (443)
- All vCenter servers must have access to the UMDS server on port 80 (http)
- You cannot upgrade an existing instance of UMDS. You can uninstall the current version and perform a fresh installation of the new one. However, you can use the existing patch store from the UMDS you uninstalled
- UMDS 6.7 Update 1 can only be used with vSphere Update Manager 6.7 Update 1 (officially, but it works with 6.7). If you have other versions of VUM in your environment, a separate UMDS server must be used for each one of them
- In order for vSphere Update Manager to be able to download Patches directly from UMDS you need to store the patches on a web server, that would typically run on the UMDS server (IIS, Apache…). If you decide not to do this step you will need to export the patches to a location of your choice and manually import them in Update Manager (which slightly defeats the purpose)
UMDS server sizing
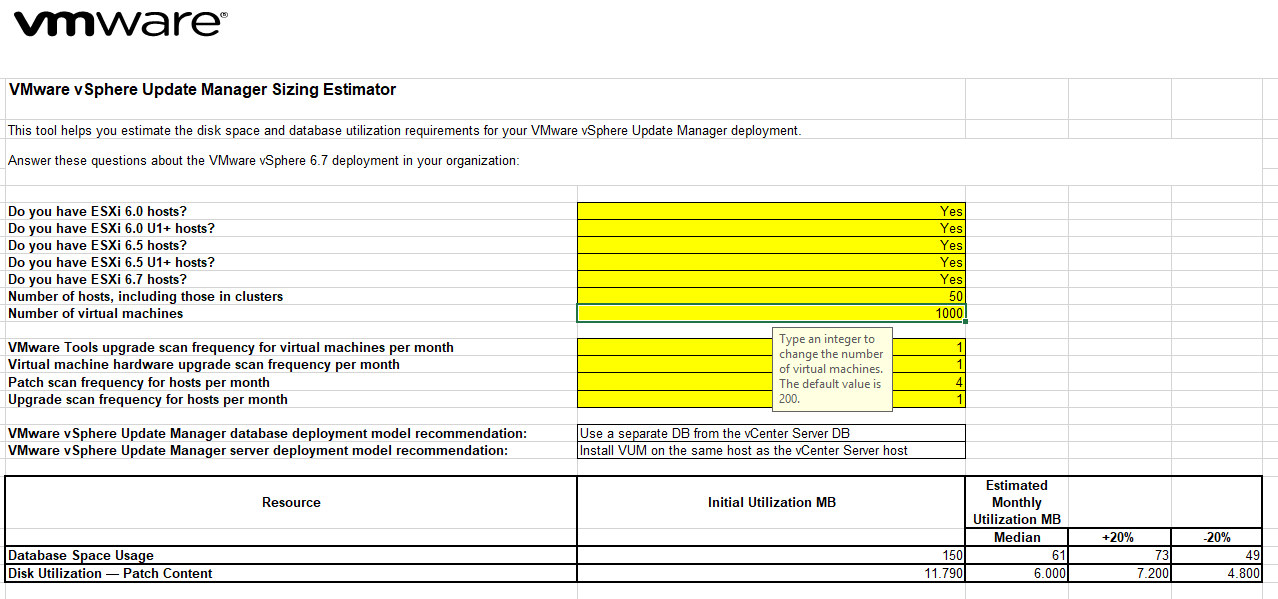
VMware offers a sizing estimator to get an idea of how much disk space you will need. You can download the tool here. It was originally made for vSphere Update Manager but it can be used for UMDS as well.

Open the excel file inside the zip file and specify the characteristics of your environment in the second tab. In the bottom right you get an estimate of the disk utilization for the patches, you can disregard the database disk usage (vSphere Update Manager specific). You can choose the +20% to be on the safe side. you will see that very little space is required if you run only one or 2 ESXi versions concurrently.
Installing UMDS on a Linux Operating System (Red Hat)
Prerequisites
There are a few prerequisites for UMDS to work.
The following operating systems are the ones listed by VMware in the official documentation, I did my install on Red Hat Enterprise Linux 7.6 and it worked just fine.
- ISO of vCenter Server Appliance (VCSA) 6.7 Update 1
- UMDS must be of the same version as the Update Manager server
- 64-bit Linux-based system
- Ubuntu 14.04 and 18.04 / RHEL 7.4 and 7.5
- The “psmisc” package must be installed. It includes the “killall” command which is required
- Web server (optional)
Pre-Installation
I will describe these steps to prepare the server in the Linux section although I will not get in great details as most Linux admins already have their ways to deal with these. It is worth noting that this how-to is based on Red Hat. It won’t make a big difference but you may have to adapt a few things if you are on Ubuntu.
Install a Web Server
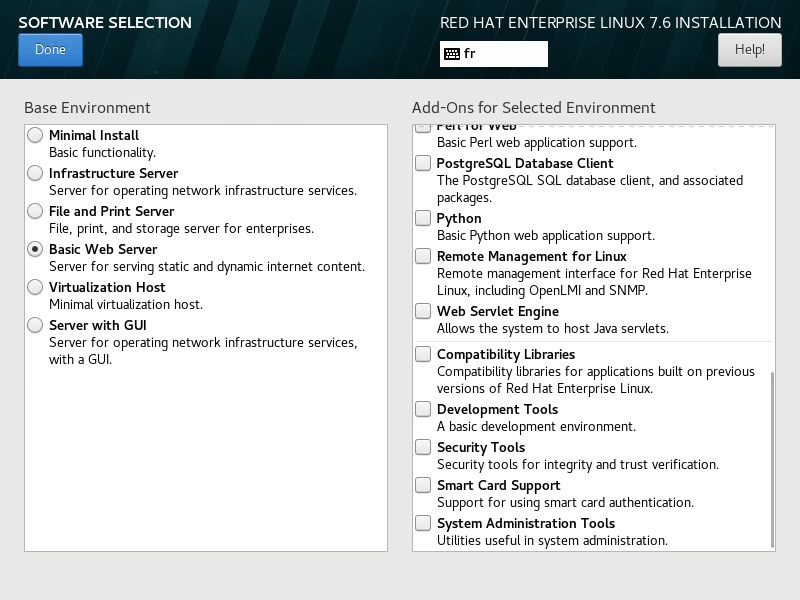
If you are starting from scratch you can install your server with an embedded web server for simplified installation.
- If the server is already running and has no web server installed, install it using your system’s package manager
- Start the web server and make sure it starts at boot time
Systemctl enable httpd

More information on the configuration of apache in the Red Hat documentation.
Ensure psmisc is installed
The “killall” command must be available for the UMDS installer to work. That command is part of the “psmisc” package.
- To check if it is installed just type killall in the shell. if it displays the help of the command you can skip this step. If it warns “killall: command not found” you need to install it
Installation of UMDS
I suggest you do a “su” to run the following as root to avoid permission issues.
- Start by Attaching the ISO of VCSA 6.7 Update 1 to the UMDS server VM and make sure it is connected
- Mount the CD in Linux
Mount /dev/cdrom /mnt/cd
- Extract the content of the UMDS installer
Tar -zxvf /mnt/cd/umds/VMware-UMDS-6.7.0-xxxxxxxx.tar.gz -C /tmp/umds
- Execute the installer
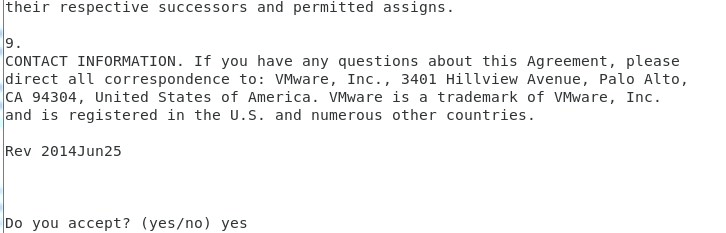
- Press Enter to display the EULA and type yes at the end of it

- Note that the logs will be stored in “/var/log/vmware/vmware-updatemgr/umds”
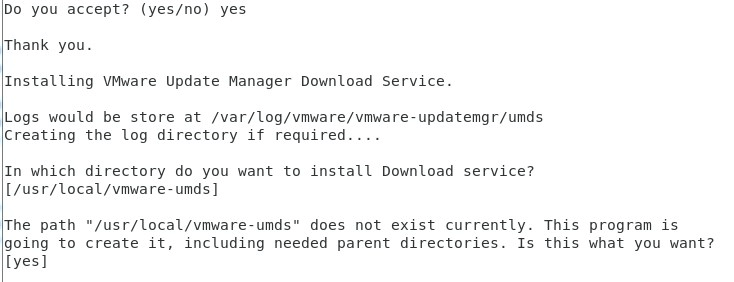
- Specify a directory for the installation of UMDS or press Enter to keep the default location in “/usr/local/vmware-umds”
- Type yes if you want to configure a proxy to connect to internet or press enter to leave it to no proxy. Note that you can change this later
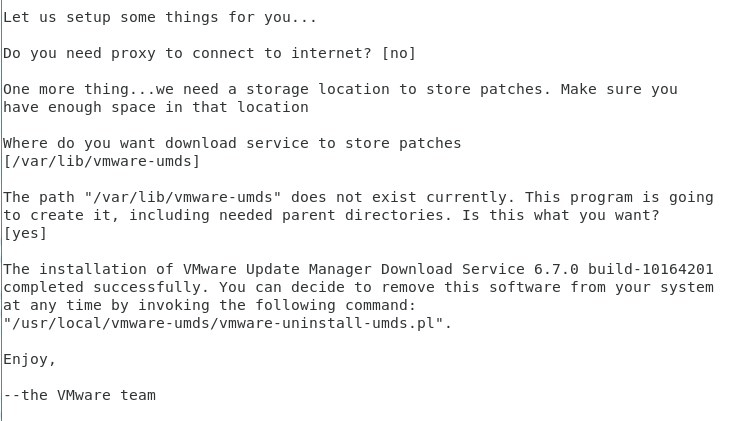
- Specify a directory to store the downloaded patches or press enter to keep the default location in “/var/lib/vmware-umds”
- (Optional) Add the installation bin directory to the PATH variable to make the UMDS command available natively in the shell. Edit the path below if you didn’t use the default location
The installation is now complete, you can now delete the folder containing the UMDS installer.
The next step is to make a few changes to the configuration. You can skip the Windows installation chapter and jump straight to the UMDS configuration chapter.
Post-Installation
To automate the process of downloading and exporting the patches, you can create an executable script that will run the UMDS command. The script should contain at least these two lines:
Vmware-umds -E
You can then configure a cron for this script to run weekly for instance. There is no point to having it run every day.
Installing UMDS on a Windows Operating System
Prerequisites
- ISO of Windows-based vCenter Server 6.7 Update 1
- Microsoft .NET framework 4.7 (Included in vCenter ISO)
- UMDS must be of the same version as the Update Manager server
- 64-bit Windows system, complete list here
- UMDS and Update Manager must be installed on different machines
- Web server (optional)
Pre-Installation
Install a web server
As mentioned earlier, I suggest you set up a web server of your choice on the UMDS server for VUM to download patches automatically from it. I will not describe how to do this here as you can find the step-by-step for IIS in my previous blog about UMDS 6.7.
Install .Net Framework 4.7
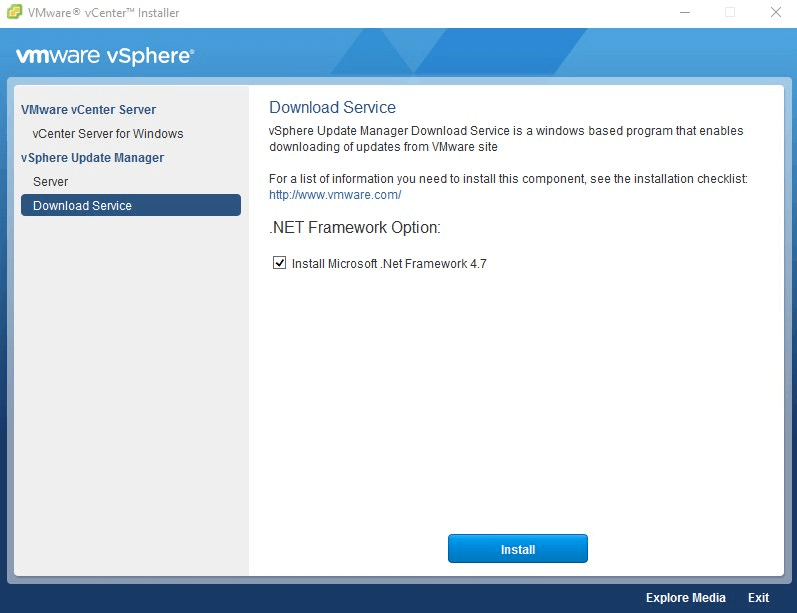
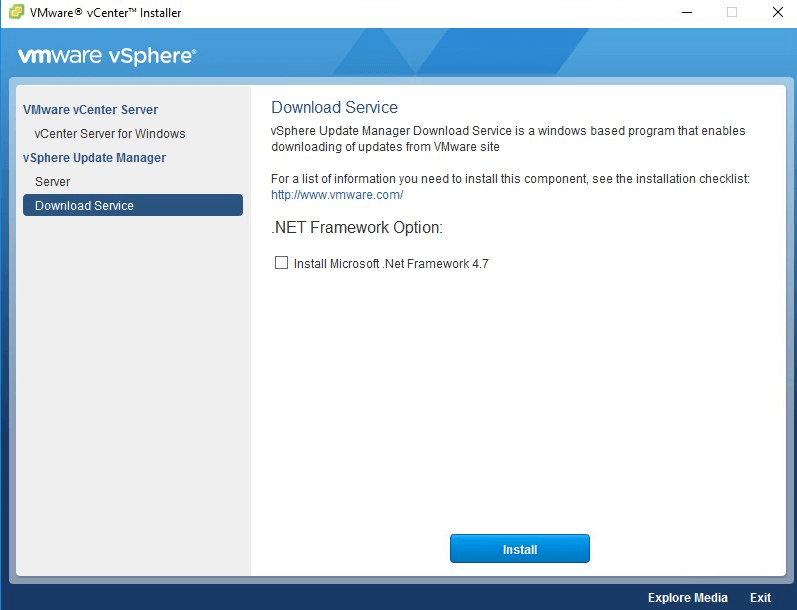
- If .Net 4.7 is not already installed on your system, mount the vCenter Server Windows 6.7 Update 1, select Download Service in the left pane and check Install Microsoft .Net Framework 4.7, then click Install
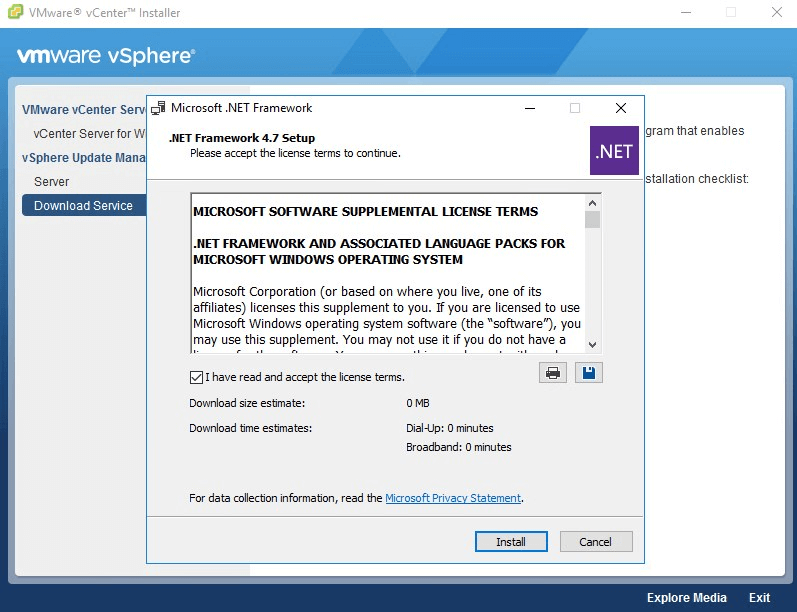
- Accept the EULA and click Install
- Make sure the installation is completed successfully
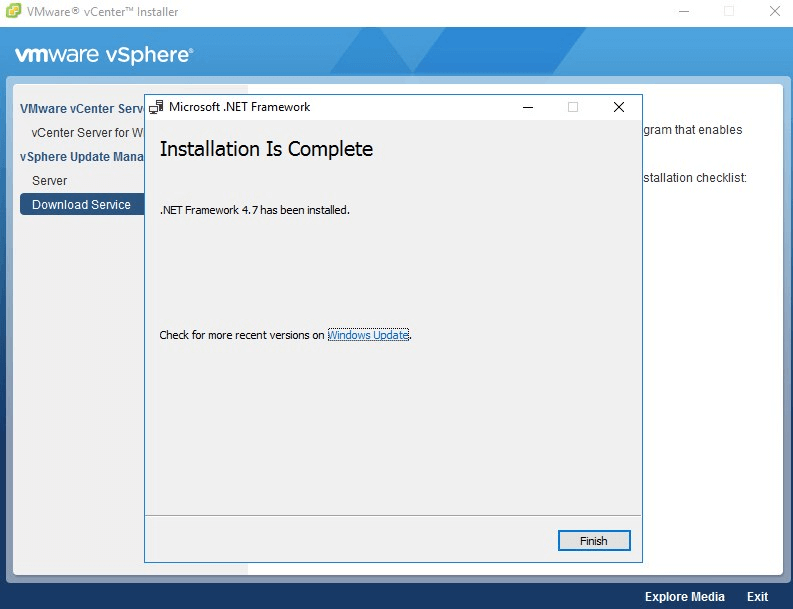
- Restart the server
Installation of UMDS
Just like Linux, the installation process of UMDS 6.7u1 on Windows is super easy.
- Mount the vCenter Server Windows 6.7 Update 1, select Download Service in the left pane and make sure Install Microsoft.Net Framework 4.7 is unchecked (if it’s not you need to install it), then click Install
- Select the language, accept the EULA and click Next (those are not very interesting)
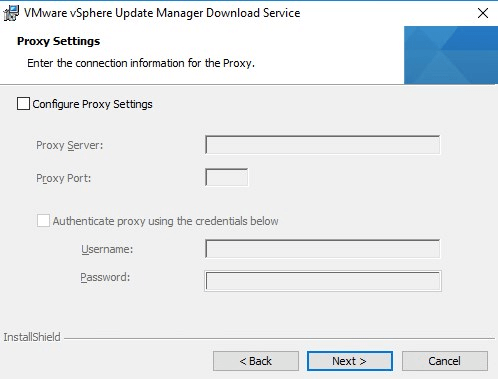
- You can then configure a proxy server. Configure the proxy to have access to *.vmware.com/*. This setting is only for UMDS it is not system-wide. Alternatively, you could configure it in the settings of Internet Explorer but this is a little less secure. Note that this can be changed later on
- You can change the location of the Install folder and the Patches download folder. The latter can also be changed later
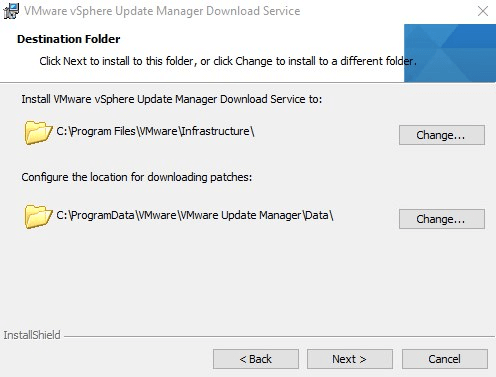
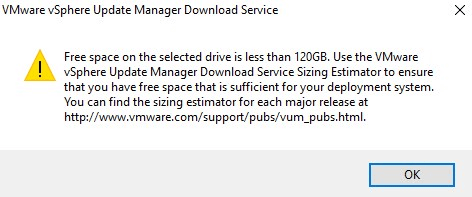
- You will get a warning if the partition to store the patches is less than 120GB. You can discard it as the patches don’t take up that much space. but again, if you are downloading every single patch available you might need them
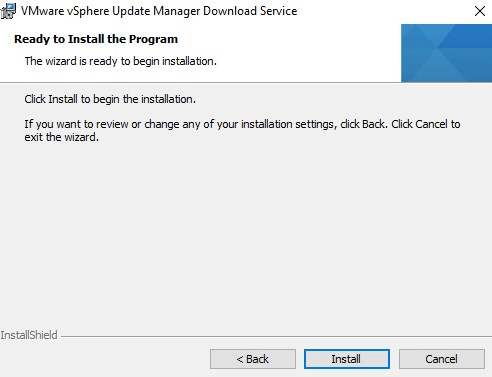
- You can click Install when the installer is ready
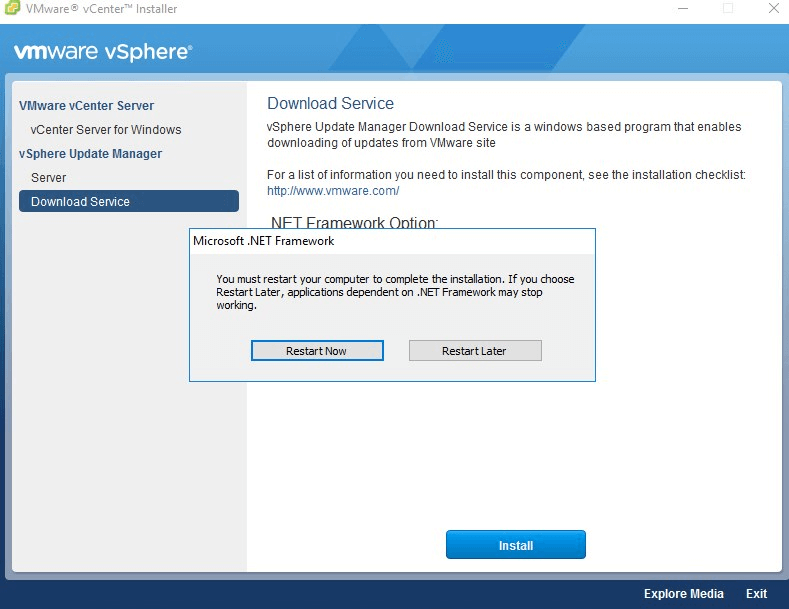
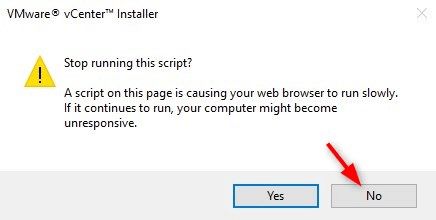
- This warning may pop up. Click No to prevent the installer from stopping
Post-Installation
To automate the process of downloading the patches and exporting them to the web server, you can read the blog mentioned previously at the UMDS Scheduled task chapter. It contains all information about the Powershell script and the procedure on how to create a scheduled task for it.
UMDS basic configuration
The configuration of UMDS is done using the vmware-umds command regardless of the underlying OS.
Note that in Windows the command doesn’t run properly natively even if the install folder is in the PATH variable. You need to use the browser (cd) to install folder to use the command.
When making a change to the configuration, the “-S” (–set-config) switch must be specified.
- For this example, we are configuring UMDS to download only the patches for ESXi 6.7 because it is the only version running in the environment
Vmware-umds -S -e embeddedEsx-6.7.0-INTL
- Then we configure the default export location to be the Directory presented by our Apache web server (It would typically be IIS in Windows)
- We can check that the changes were applied accordingly
- Then we download the patches
- We finally export the patches to the default location
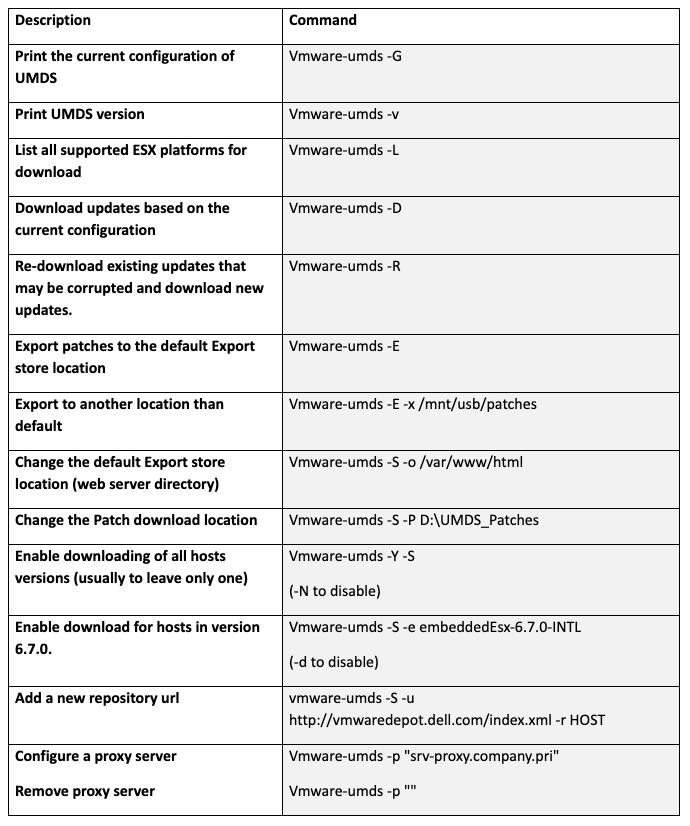
Here is an extended list of the commands available with the vmware-umds tool.
vSphere Update Manager configuration (vCenter)
Before configuring VUM, you need to know the URL that serves the patches on the UMDS server. You can check by opening a web browser and browse to the UMDS server. The output should look like so. If it doesn’t, check that you ran the export command and that the Export location is set to the web server’s directory.

Perform these steps on all the vCenter server that need to be configured with UMDS as a download source
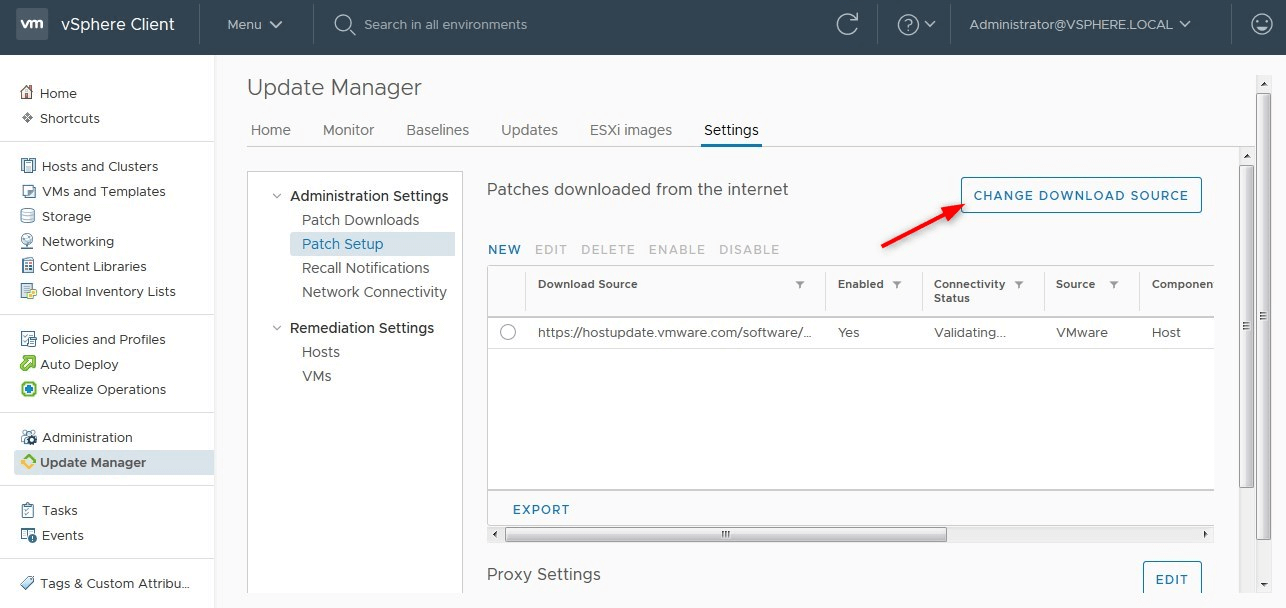
- Log in the vSphere web client and go to the configuration of Update Manager
- Go to Settings > Administration Settings > Patch Setup then click CHANGE DOWNLOAD SOURCE
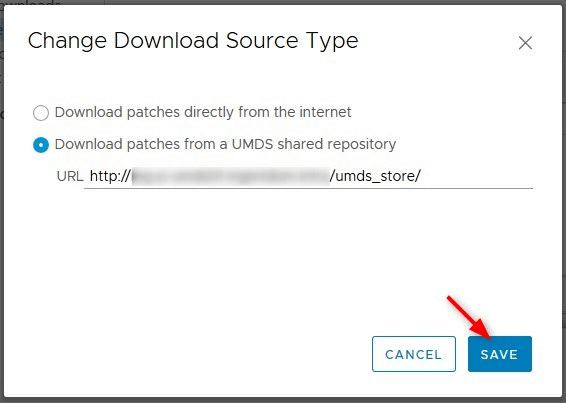
- Check the Download patches from a UMDS shared repository, enter the URL of the UMDS store we talked about earlier and click OK
- The Validating screen may take a few minutes to complete, the final output should be as follows. The updates will now be downloaded from the UMDS server
- Check that everything works by downloading the latest patches in Settings > Administration Settings > Patch Downloads > Download now. The new ones should arrive quickly
- You can now configure the download and notification schedule at your convenience
Follow our Twitter and Facebook feeds for new releases, updates, insightful posts and more.