
Read on to know how to restore to an ESXi Server using Vembu VMBackup.Following is the option to restore a VM to ESXi Server.
Step 1 : Make sure you are in ‘List Of Clients’ page. You can navigate this page via ‘Management -> List Of Clients’ page. Select the client and expand the backup available in the client which you can restore as VM to an ESXi server.

Step 2 : Select the VMware backup from the respective Client. You will see the Restore Options. Click on the icon ‘Restore to ESX(i)’.

Step 3 : Select the time stamp you want to restore.


Step 4 : Select the VMware Machine to be restored and proceed to select Restore Settings.

Step 5 : If you want to restore the particular HDD of the VM, click on the VM
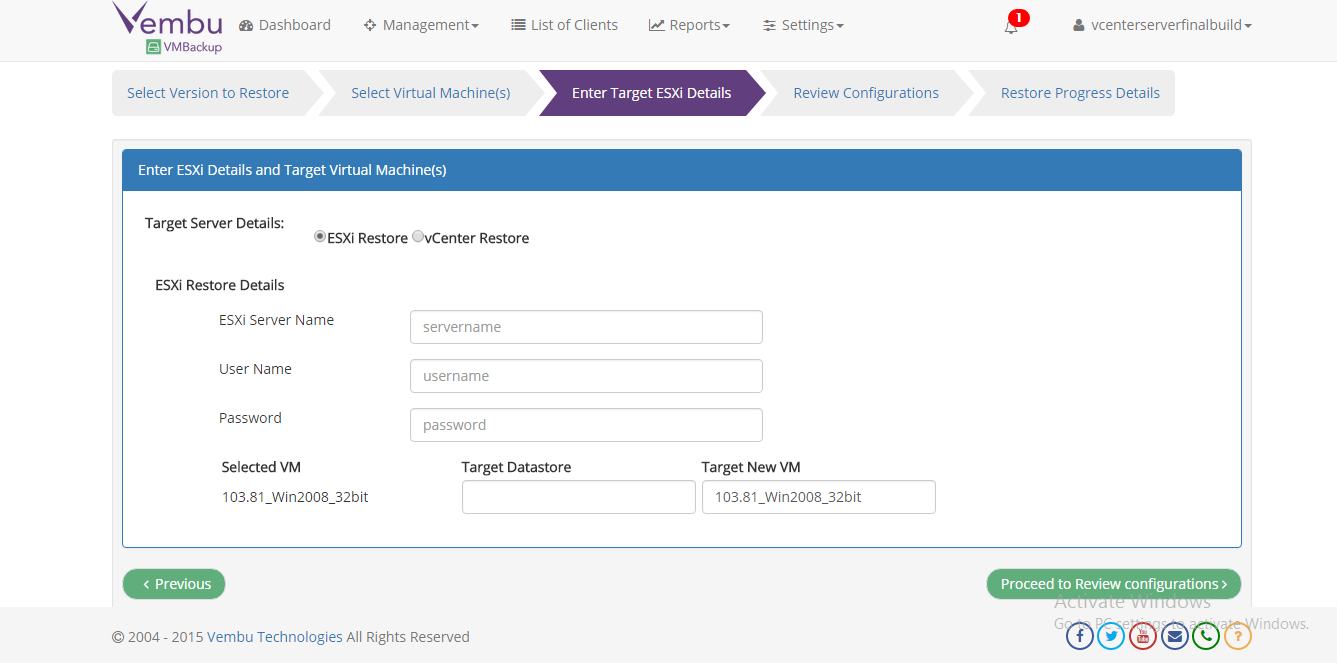
Step 6 : Provide the ESX(i)/vCenter credentials and proceed to Review Configurations.
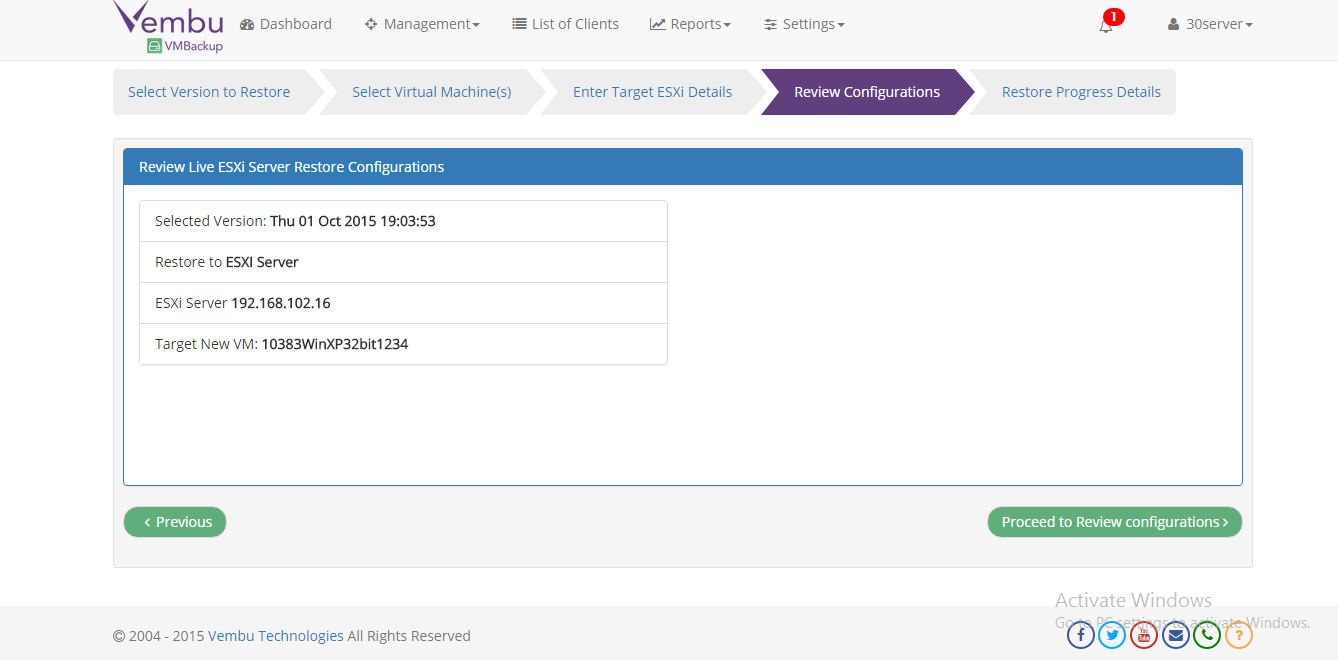
Step 7 : Confirm the configuration if everything is OK.

Step 8 : Click Yes to reconfirm. Now Restore process will be initiated.

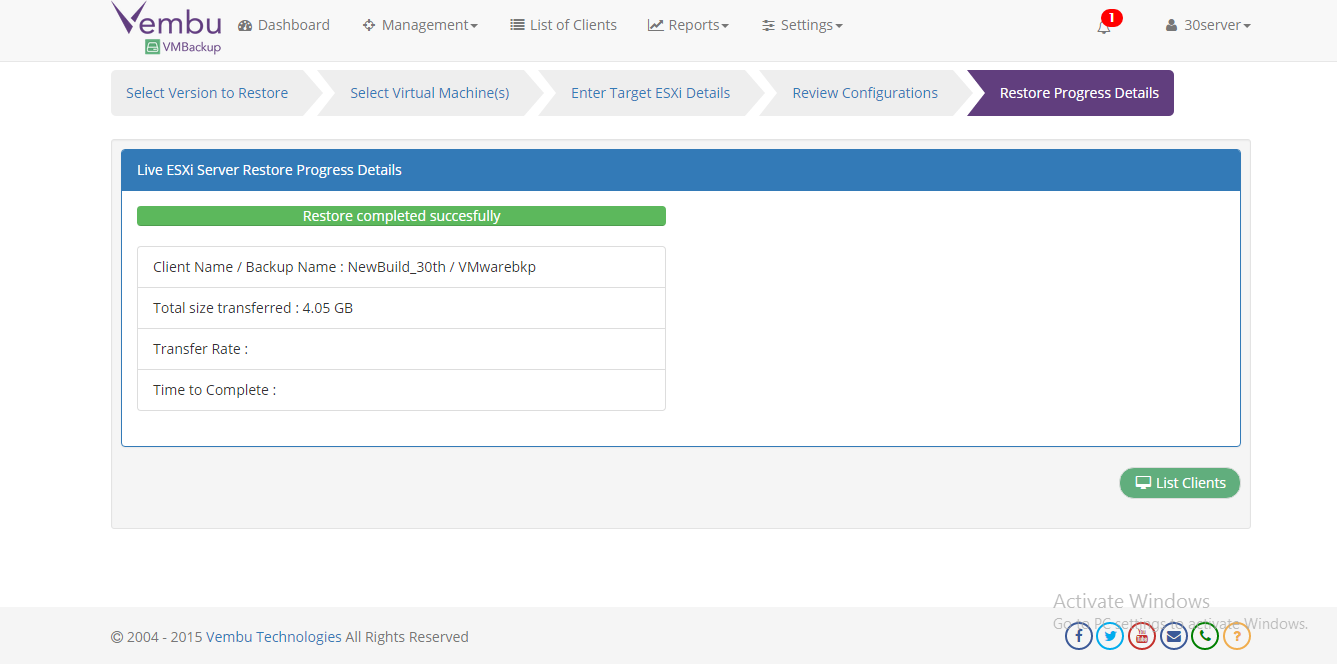
Step 9 : After completion of restore, you will see the below screen.
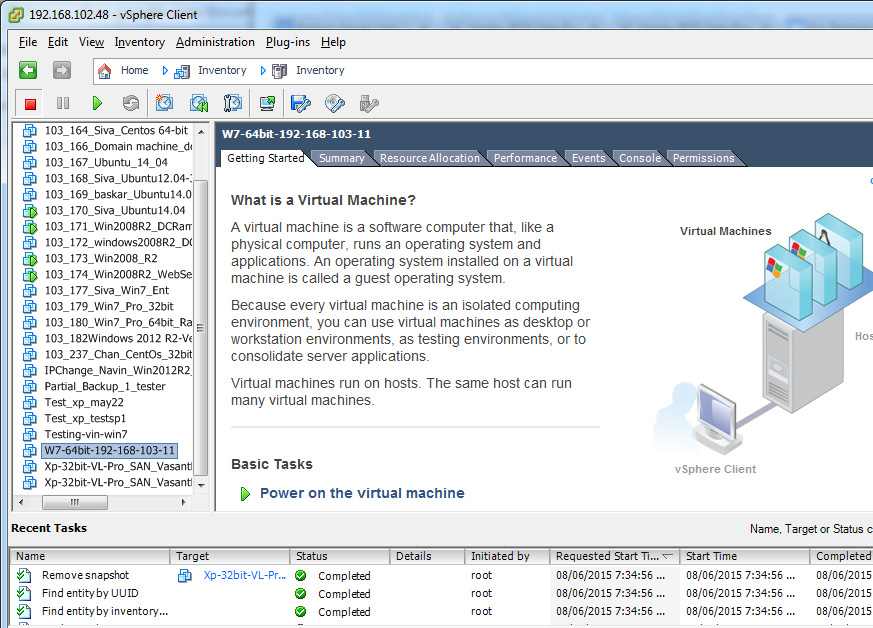
Step 10: Once after completion of the restore, go and check the restored machine in vSphere Client or vCenter Server.
To learn more about Vembu VMBackup and its features, visit here : Vembu VMBackup
Interested in trying Vembu VMBackup? Click here to download: https://www.bdrsuite.com/try/
Go questions? Email us at: vembu-support@vembu.com for answers.
Follow our Twitter and Facebook feeds for new releases, updates, insightful posts and more.