
Nano Server is a remotely administered server operating system optimized for private clouds and datacenters. It is similar to Windows Server in Server Core mode, but significantly smaller. It takes up far less disk space, sets up significantly faster, and requires far fewer updates and restarts than Windows Server.
The Nano Server installation option is available for Standard and Datacenter editions of Windows Server 2016.
Nano Server Image Builder Tool
The Nano Server Image Builder helps you create a custom Nano Server image and bootable USB media with the aid of a graphical interface. Based on the inputs you provide; it generates images for deployment.
You can also create reusable PowerShell scripts that allow you to create installations of Nano Server running either Windows Server 2016 Datacenter or Standard editions.
If you need more information about Nano Server and how to install it using Nano Server Image Builder, Brandon Lee wrote a very good article on Vembu Blog: https://www.bdrsuite.com/blog/deploying-microsoft-nano-server-2016/

What is Nano Server Image Generator?
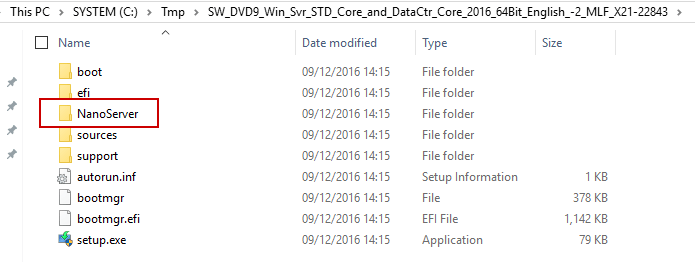
In this guide I will describe how to manage your Nano Server Images using Windows PowerShell. The first thing to know is that Nano Server does not exist as a full ISO Image. You must download Windows Server 2016, extract it and notice the following folder named “NanoServer”:
It means that the only way to create a Nano Server is by generating it using Windows PowerShell from the ISO of Windows Server 2016.
At this step, you have two ways to perform this task:
- Nano Server Image Builder Tool (Read the article by Brandon Lee)
- Nano Server Image Generator PowerShell Module
The Nano Server Image Generator PowerShell Module is used to create and edit Nano Server installation images. It will help you to automate all the things about Nano Server Installation Images.
Nano Server Installation
First, download the full ISO of Windows Server 2016:
https://www.microsoft.com/en-us/evalcenter/evaluate-windows-server-2016/
Next, mount the ISO file and copy the “NanoServer” folder in your TEMP directory. Navigate to the following folder: C:\Tmp\NanoServer\NanoServerImageGenerator
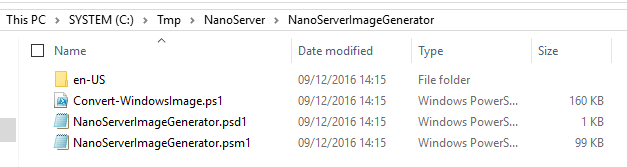
You will notice the “PSD1” file that you will need to import in order to use the Nano Server Image Generator Module. Open a PowerShell Window as Administrator and run the following command to import the module:

There is no output generated if the cmdlet is successful. So let’s confirm that the module is loaded by running the following:
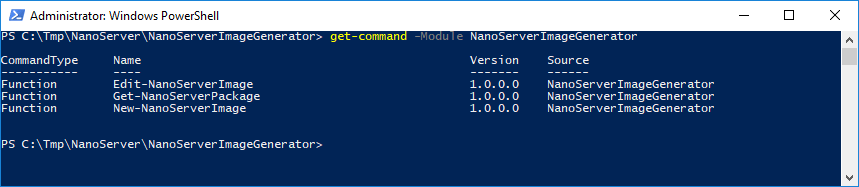
You can notice the number of cmdlets which are available… Only three cmdlets!
- Create a Nano Server installation image
- Get available packages for a Nano Server installation image
- Modify a Nano Server installation image
But it’s all you need to manage your Nano Server Images. Note that when you import the NanoServerImageGenerator module, it will be available only for this PowerShell session. It means that if you close your console, then you must import the module again.
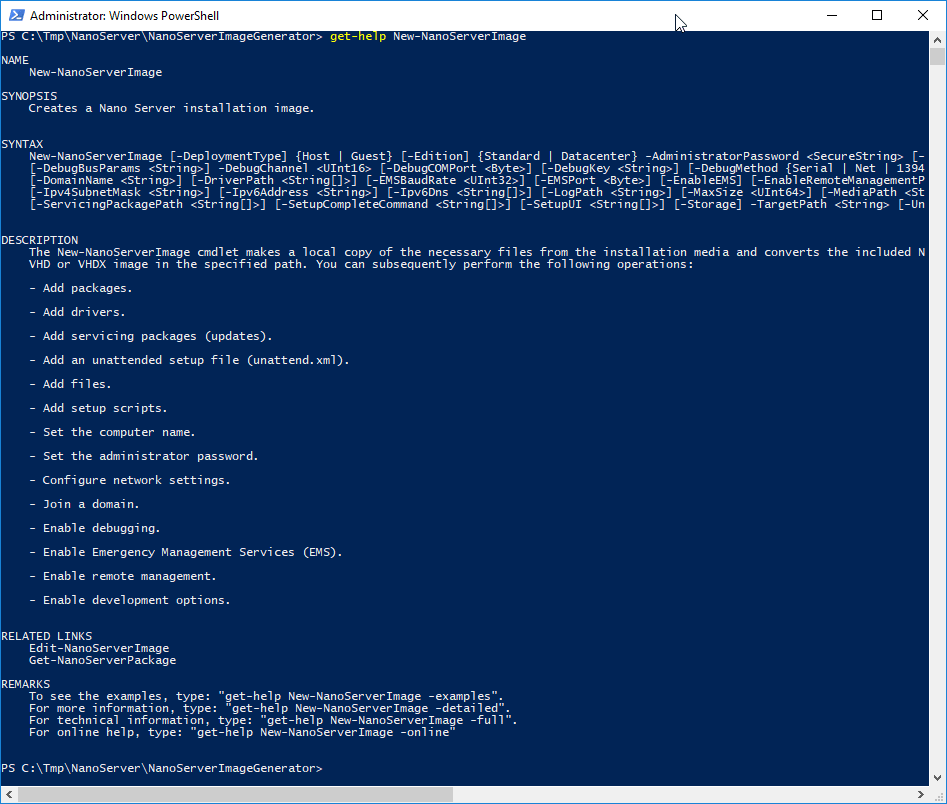
Do you need some help about these cmdlets? You can use the Get-Help cmdlet followed by one of these cmdlets:
Just wait until the update is done…
So let’s start by creating a basic Nano Server Image. This example creates a VHD image including Standard Edition and Hyper-V guest drivers, starting with Nano Server installation media from C:\Tmp\. The DeploymentType parameter indicates if it is a Virtual Machine or a Physical Hardware.
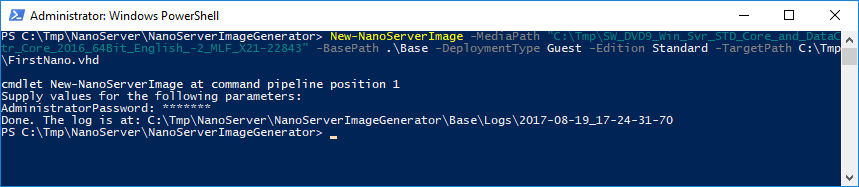
This command will perform the following tasks:
- Select Standard as a base edition
- Prompt you for the Administrator password
- Copy installation media from C:\Tmp\ into .\Base
- Convert the WIM image to a VHD
- Copy the VHD into C:\Tmp\FirstNano.vhd
- Set the Administrator password for the image as specified
- Install the Hyper-V guest drivers
The file extension of the target path argument determines whether it creates an MBR-based VHD for Generation 1 virtual machines versus a GPT-based VHDX for Generation 2 virtual machines.
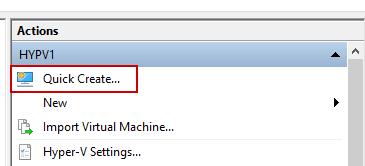
Now you can easily import your new VHD into your Hyper-V console. Open the Hyper-V manager and select “Quick create”:
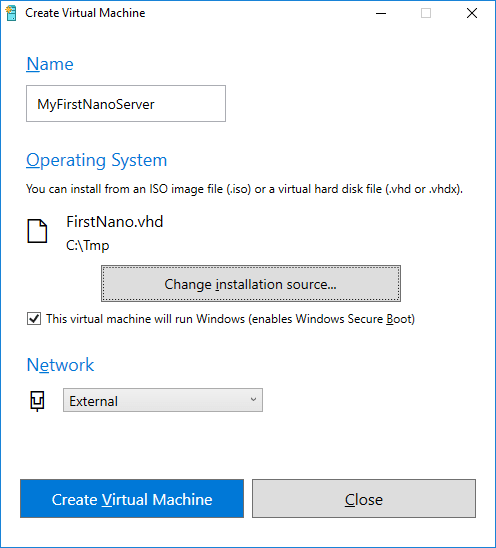
Enter a display name for your Virtual Machine, browse to your VHD file and select the network from the drop down list. Click “Create Virtual Machine” and your Nano Server will be imported.
That’s great but you may want to customize your image, so there are two ways:
- Create a new image with new arguments
- Or edit and update your image
Let’s see the first option: How to create an image with more options?
Run the Get-Help cmdlet with the -full parameter in order to display all the available parameters. But below are the basics:
- EnableRemoteManagementPort: Indicates that this operation opens port 5985 for inbound TCP connections for Windows Remote Management (WinRM) and enable the Remote Event Log Management firewall group.
- ComputerName: Specifies the computer name of the image. (Not the Virtual Machine name!)
- LogPath: Specifies the path where log files from the operation will be collected. If LogPath is not specified, all logs are collected into a Logs folder in BasePath.
- DomainName: Specifies a domain name. This cmdlet performs an offline join to the domain specified by this parameter. A domain blob is retrieved from the local computer (which of course must be part of the domain). If the local computer is not a member of the specified domain, the command fails.
You can also configure a Nano Server image to use static IP addresses. For example, you can use the following:
-InterfaceNameOrIndex Ethernet -Ipv4Address 172.16.1.2 -Ipv4SubnetMask 255.255.0.0
-Ipv4Gateway 172.16.1.1 -Ipv4Dns 172.16.1.10Finally, you can set the image size to be a dynamically expanding VHD or VHDX with the -MaxSize parameter:
-MaxSize 100GBTo finish, let’s see the second option: How to update an existing image?
You must use the Edit-NanoServerImage cmdlet to update your Nano Image. The cmdlet operates on an image produced by the New-NanoServerImage cmdlet. You can use the same parameters for Edit-NanoServerImage cmdlet.

The first thing that this cmdlet will perform is mounting the VHD file. Then the VHD file will be updated and dismounted once the modifications are done.
In this example, the administrator password has been changed and the hostname has been renamed.

Conclusion
Thanks to this module, you can now quickly and easily deploy your Nano Servers using Windows PowerShell. It will help you in your day-to-day sysadmin tasks by managing and deploying your Nano Servers.
Follow our Twitter and Facebook feeds for new releases, updates, insightful posts and more.