
One of the new features with Windows Server 2016 is the Nested Virtualization. It means that you can run a VM inside a Virtual Machine. So you also can run an ESXi inside a Hyper-V Virtual Machine. It can be useful only in a testing environment because it is really not supported in production!
Basically, to install ESXi in a Hyper-V Virtual Machine, below are the steps:
- Download and install PowerCLI
- Download ESXi-Customizer-PS. It is a PowerShell script that will simplify and automate the process of creating fully patched and customized ESXi installation ISOs using the VMware PowerCLI ImageBuilder module. You can download it from http://www.v-front.de/p/esxi-customizer-ps.html
- Create Hyper-V VM with a Legacy Network Adapter
- Configure the adapter with Mac Spoofing enabled
- Use the customizer to download and rebuild the ESXi ISO
- Mount the newly created ISO inside the Virtual Machine
- Download and run the “Enable-NestedVM.ps1” script. Download it from: https://github.com/Microsoft/Virtualization-Documentation/blob/master/hyperv-tools/Nested/Enable-NestedVm.ps1
- And then, you can install ESXI 6.0
The only prerequisites to run these steps is that you must have a Hyper-V Host running Windows Server 2016 or Windows 10 with an Intel processor with VT-x and EPT technology.
Preparing ESXi 6.0 ISO
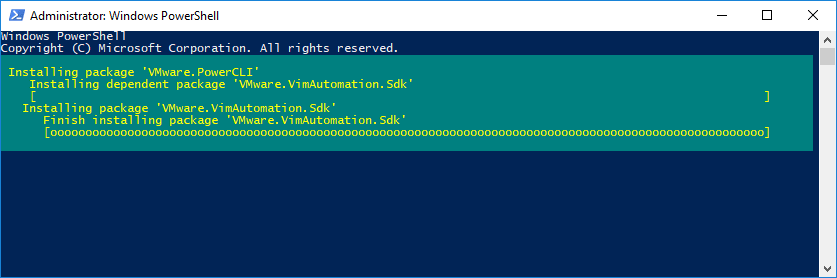
Let’s start by downloading and installing PowerCLI. A few weeks ago, VMware published VMware PowerCLI on the PowerShell Gallery. So in this article, I will install VMware.PowerCLI 10.0.0.7895300 via the following PowerShell command. Don’t forget to open an elevated prompt:
PS> Install-Module -Name VMware.PowerCLI

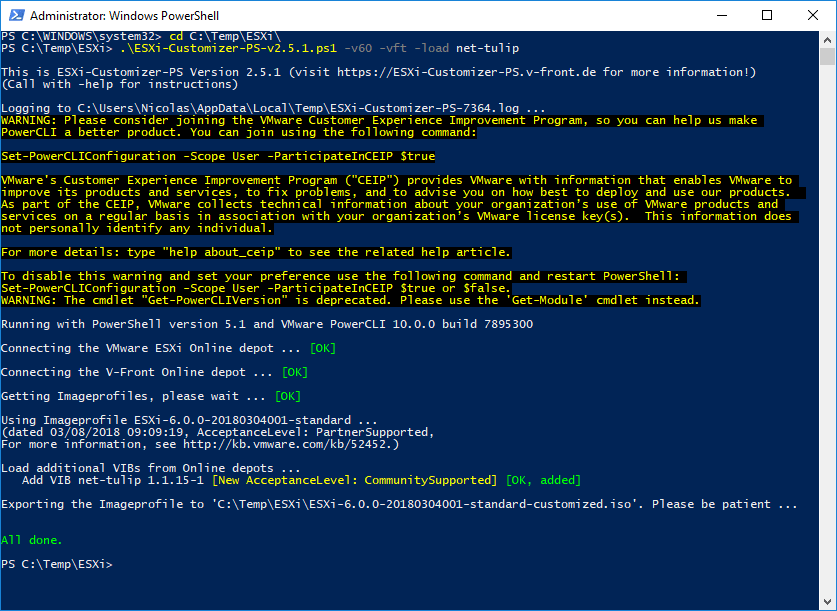
Wait a moment until the installation finishes. Once the installation is done, you can run the customizer script:

The script will download the ESXi 6.0 ISO from the VMware online depot and customize it by injecting drivers:
- Use the –v60 parameter for ESXi 6.0 but you can use the -v65 parameter for ESXi 6.5
- Use the –vft parameter to connect to the V-Front Online Depot
- Use net-tulip in order to load DECchip 21140 Ethernet driver inside the ISO. This driver allows running ESXi as a VM under Microsoft Hyper-V
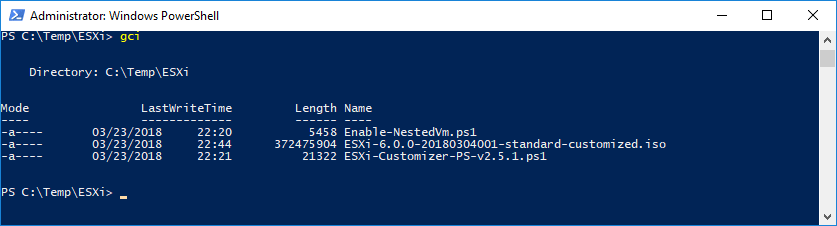
Once the ISO is downloaded, you can check if the file exists in the current directory.
Creating the Virtual Machine
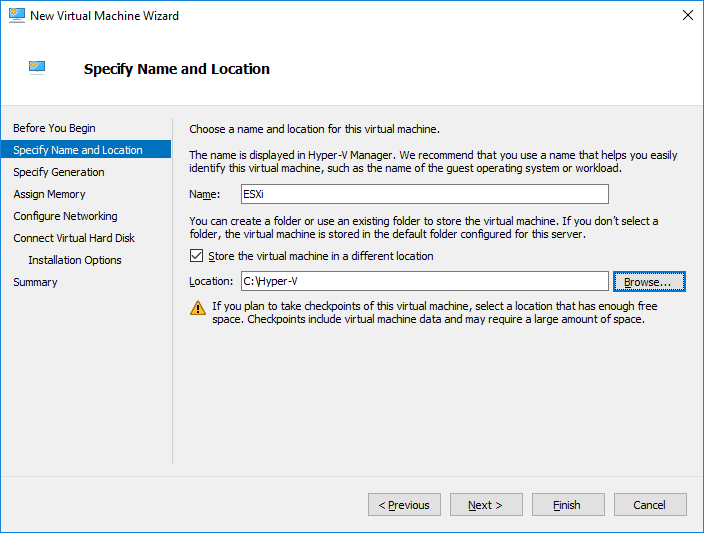
Now we can create the Virtual Machine for our ESXi. That’s pretty simple, you just need to create a 1st Gen Virtual Machine:
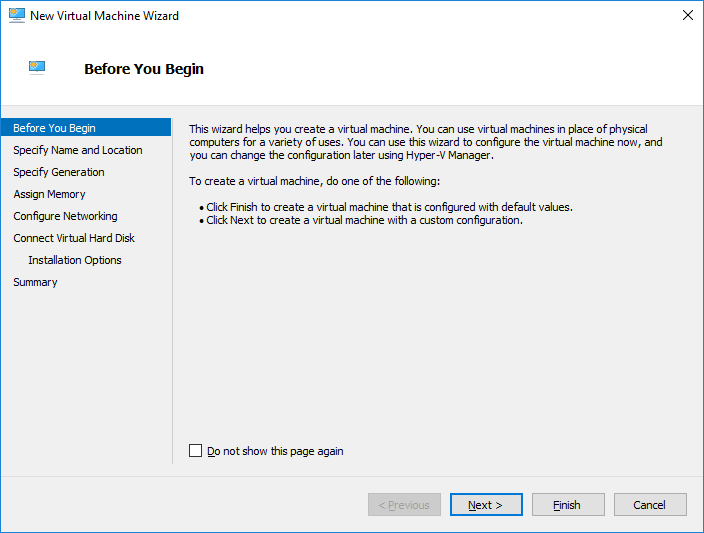
Click Next and:
- Enter a Virtual Machine name
- Browse to the location in which the Virtual Machine will be stored
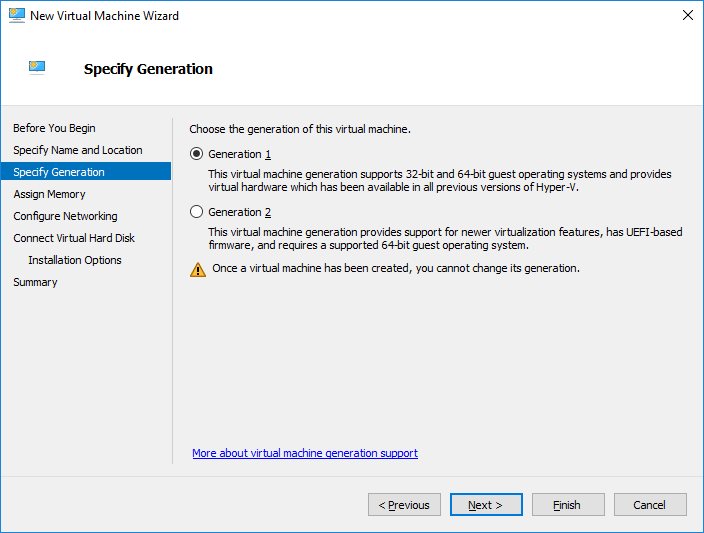
Select the first choice “Generation 1” and click Next
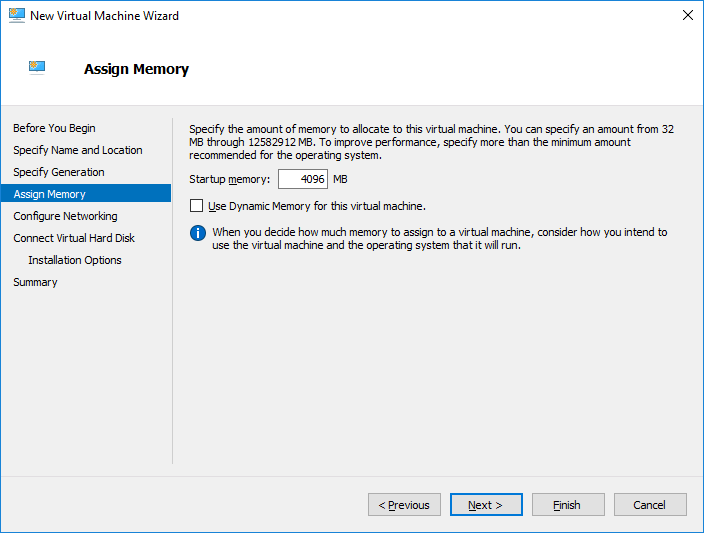
Specify the amount of memory to allocate to this Virtual Machine
Don’t connect the network because we must remove the default adapter and then create a new one. The newly adapter will be a legacy adapter.

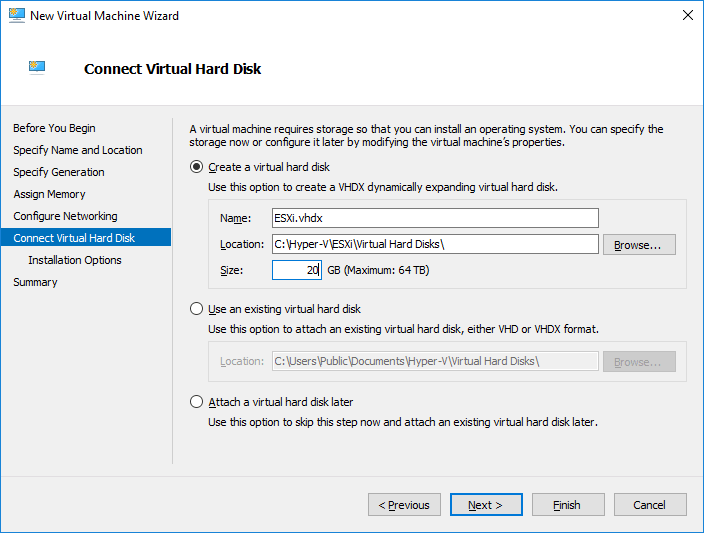
Select “Create a virtual hard disk”
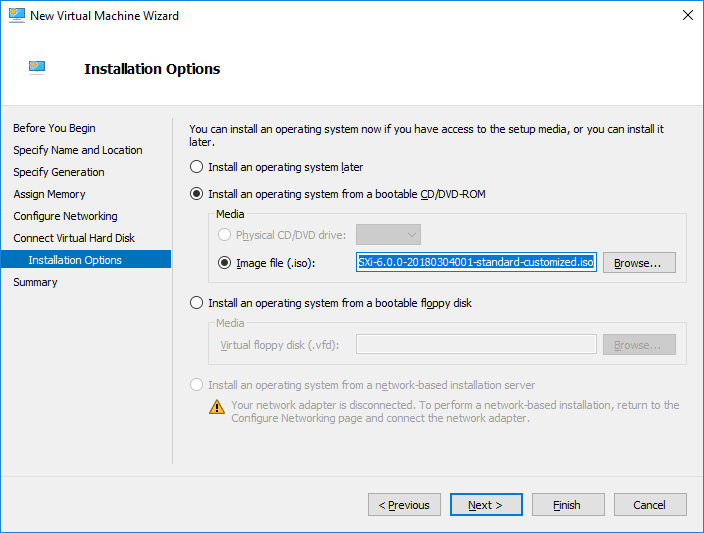
Now you can mount the ESXi ISO file
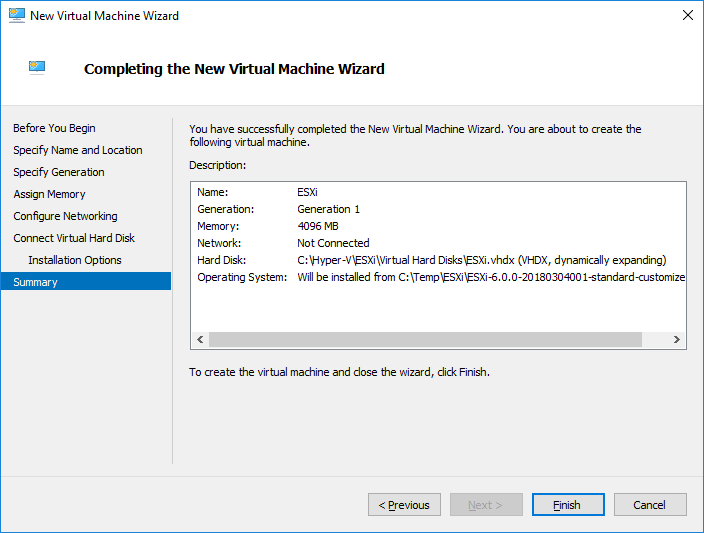
Review the information and validate the wizard by clicking Finish
Ok now, I successfully created the ESXi VM but before starting this Virtual Machine, I must modify the settings.
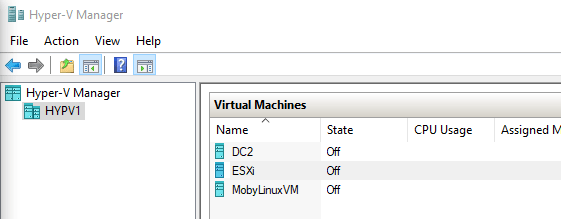
Right-click the Virtual Machine and select “Settings”
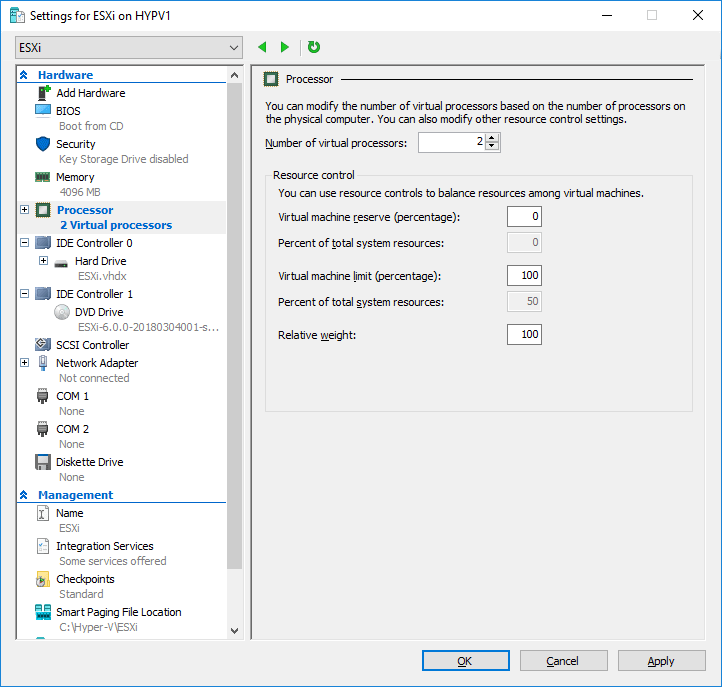
Modify the number of virtual processors. I will configure 2 processors for this VM.
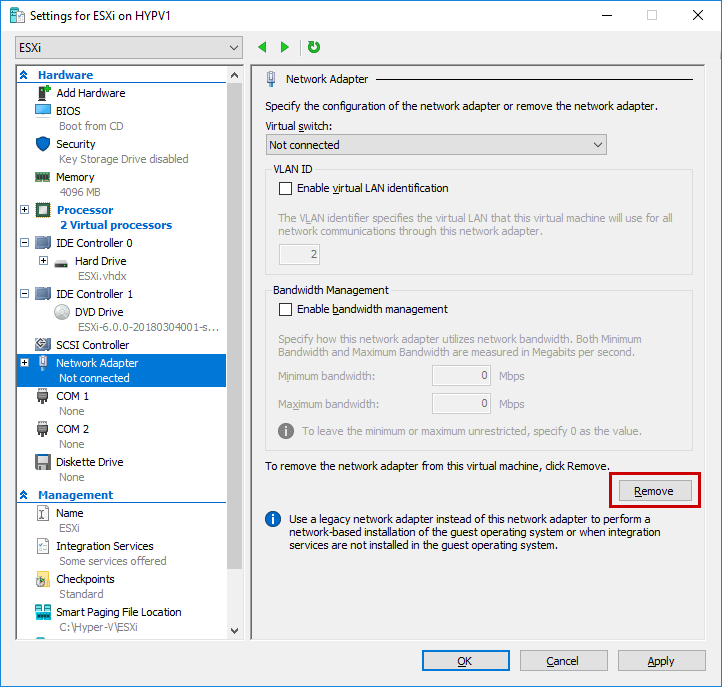
Then remove the default network adapter
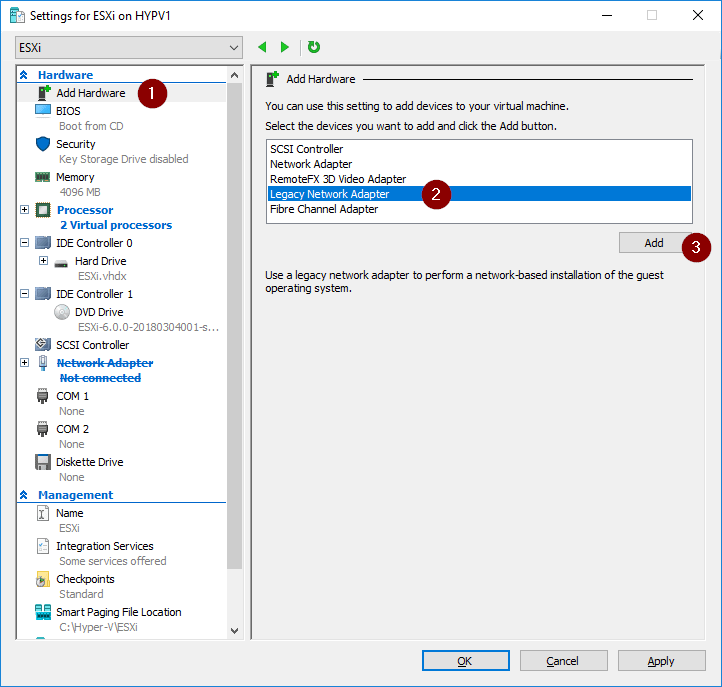
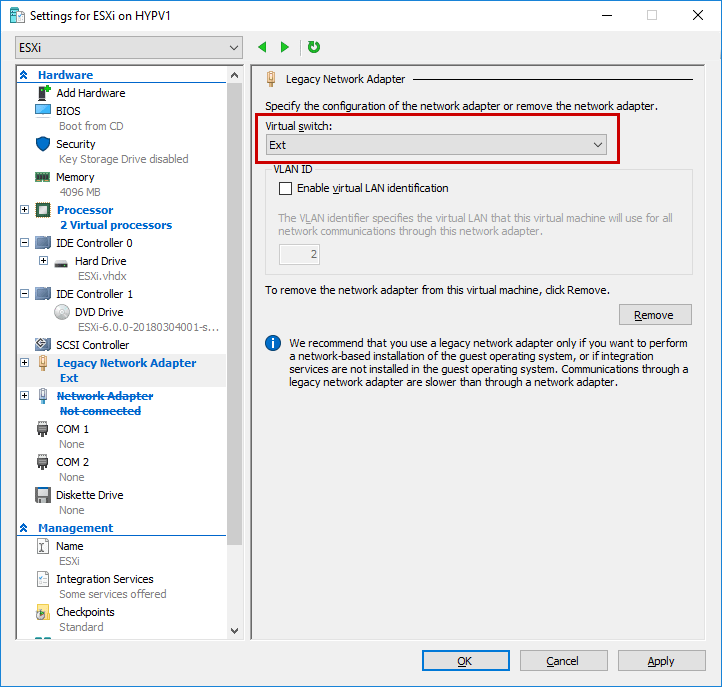
Add a Legacy Network Adapter and connect to your Hyper-V Virtual Switch in order to communicate with the internet or with your LAN.
Enabling Nested Virtualization
This step is very simple, because we just need to run the “Enable-NestedVm.ps1” script:
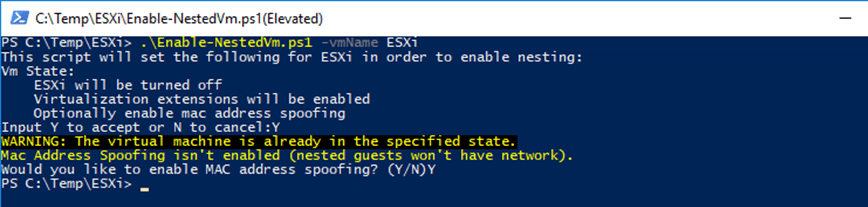
Note: Don’t forget to enable Mac Address Spoofing.
Starting and configuring the ESXi Virtual Machine
Here is the final step. Start the Virtual Machine and add the following command to the boot options:
ignoreHeadless=TRUE
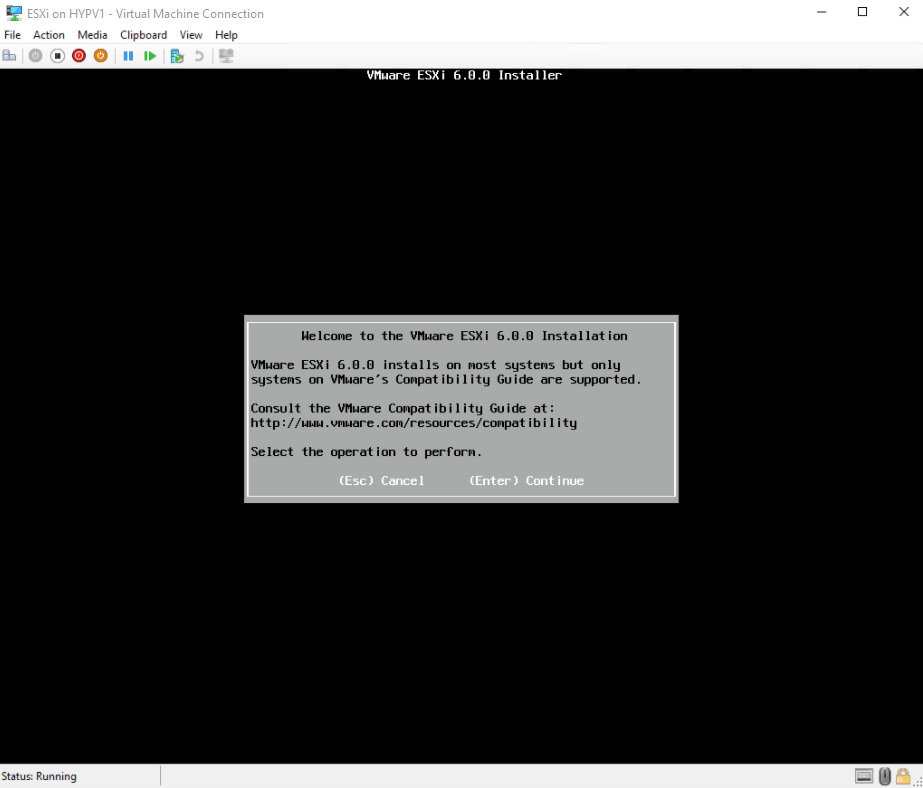
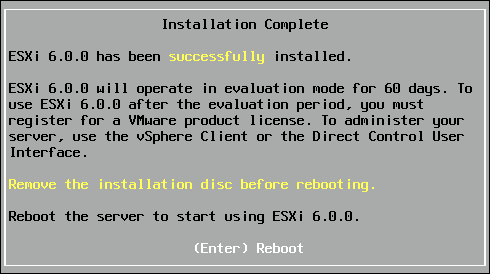
Wait a few seconds until the installation is finished. Once it’s done, your ESXi is installed in a Hyper-V Virtual Machine and ready to be used.
Conclusion
Thanks to Windows Server 2016 and the Nested Virtualization, you can easily install ESXi in a Hyper-V Virtual Machine which is great to test a new ESXi version.
Follow our Twitter and Facebook feeds for new releases, updates, insightful posts and more.