
Organizations today are utilizing Microsoft’s Hyper-V hypervisor for production workloads and it is growing in adoption, features, and capabilities. There is no question, however, if using Hyper-V for running production workloads, you will want to configure your Hyper-V hosts as a Hyper-V cluster utilizing Windows Server Failover Cluster services to ensure your Hyper-V environment is highly available. When managing Hyper-V clusters at scale, System Center Virtual Machine Manager provides tremendous benefits to the Hyper-V environment and provides the ability to unlock features of Hyper-V that provide true enterprise functionality.
This post will be a two-part series:
In this first post, we will take a look at SCVMM 2019 overview & installation as it contains the latest and greatest features in managing Hyper-V environments.
In the second part, we will take a look at how to add Hyper-V host cluster to System Center 2019 Virtual Machine Manager.
What is System Center Virtual Machine Manager?
A System Center Virtual Machine Manager (SCVMM) is a virtual support center for Microsoft Windows machines, that entails the system administrators to have a centrally virtualized environment that holds multiple physical servers consolidated in it.

The VMM being a part of the system center suite helps the IT-admins to create and manage all the virtual machines from a single window and provides a unified management experience across on-premises, service provider, and the Azure cloud.
Capabilities of VMM:
- Manage and Configure data center components as a single fabric. The components of the data center include virtualization servers, storage resources, and networking components
- VMM helps to create and manage VMware/Hyper-V hosts and clusters. It also helps to provision and manage the resources for the host
- Discover, classify, allocate and assign local and remote storage with the help of VMM. VMM supports block-level storage such as SAN, SAS, iSCSI and fiber channel
- The VMM provides an option to virtualize the network, that allows tenants to have isolated networks enabling a higher rate of privacy and security. These virtual networks can connect to physical networks in their local site or different locations using gateways
- The VMM helps to retain a library of file-based and non-file-based resources that are used to create and deploy VMs and services on different virtualization hosts. The virtual hard disks, scripts, and ISO images are resources that are file-based meanwhile, profiles and templates used for the creation of VMs are denoted as non-file-based resources
System Center 2019 Virtual Machine Manager New Features
There have been a number of new features added to System Center 2019 Virtual Machine Manager. These include the following:
- Enabling nested virtualization
- Various Performance Improvements
- Ability to manage ESXi 6.5 hosts
- Migrate EFI enabled VMware VMs to Hyper-V
- Enhanced Console Session
- Cluster Shared Volumes Enhancements
- Better Monitoring
- Improvements to VMM Storage QoS
- Ability to Upgrade and patch S2D clusters
- Encrypted VM networks
These are just a few of the new improvements found in System Center 2019 Virtual Machine Manager. It is certainly worthy of the upgrade to take advantage of all the latest advancements in Hyper-V technology.
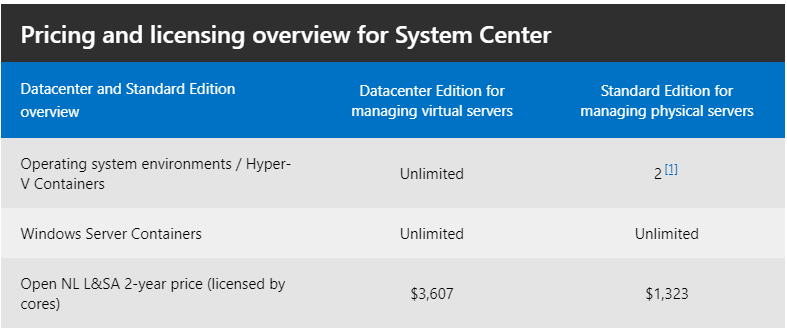
Licensing System Center Virtual Machine Manager 2019
Unfortunately, you can’t simply license System Center Virtual Machine Manager as a standalone product. Rather, you can purchase System Center in either the Datacenter Edition or the Standard Edition. Both Standard and Datacenter licenses contain the following components of System Center:
- Configuration Manager
- Data Protection Manager
- Endpoint Protection
- Operations Manager
- Orchestrator
- Service Manager
- Virtual Machine Manager
System Center 2019 Virtual Machine Manager System Requirements
Below are the capacity limits found in System Center 2019 Virtual Machine Manager.
| Entity | Recommended maximum count |
|---|---|
| Physical Hosts | 1000 |
| Virtual Machines | 25000 |
| Services | 1000 |
| User Roles | 1000 |
| Clouds | 20 |
| Virtual networks | 2000 |
| logical networks | 20 |
| Library resources | 1000 |
| Library Objects (templates, profiles) | 100 |
Hardware Requirements:
| Hardware | VMM server | VMM database | VMM library | VMM console |
|---|---|---|---|---|
| Processor (minimum) | 8 core Pentium 4, 2 GHz (x64) | 8 core Pentium 4, 2.8 GHz | 4 core Pentium 4, 2.8 GHz | 2 core Pentium 4, 1 GHz CPU |
| Processor (recommended) | 16-core, 2.66 GHz CPU | 16 core 2.6 GHz CPU | 4 core 2.8 GHz CPU | 2 core 2 GHz CPU |
| RAM (minimum) | 4 GB | 8 GB | 2 GB | 4 GB |
| RAM (recommended) | 16 GB | 16 GB | 4 GB | 4 GB |
| Hard drive (minimum) | 4 GB | 50 GB | Based on size/amount of stored files | 10 GB |
| Hard drive (recommended) | 10 GB | 200 GB | Based on size/amount of stored files | 10 GB |
Server Operating System Compatibility:
| Operating system | VMM server | Remote VMM library | Remote VMM database/th> |
|---|---|---|---|
| Windows Server 2016 (Server Core) | Y | N | If supported by SQL Server version |
| Windows Server 2016 (with desktop experience) | Y | Y | If supported by SQL Server version |
| Windows Server 2019 (with desktop experience) | Y | Y | If supported by SQL Server version |
| Windows Server 2019 (Server Core) | Y | Y | If supported by SQL Server version |
SCVMM 2019 Installation – Step by Step
Let’s take a look at the step-by-step process to install System Center 2019 Virtual Machine Manager.
The download from Microsoft is an ISO file which is a little over 1 GB in size. Mount the ISO, then, the executable found in the ISO is a self-extracting executable that will extract its contents to a folder of your choosing. Once you have extracted the files on the ISO, you are ready to launch the setup.exe file in the folder.
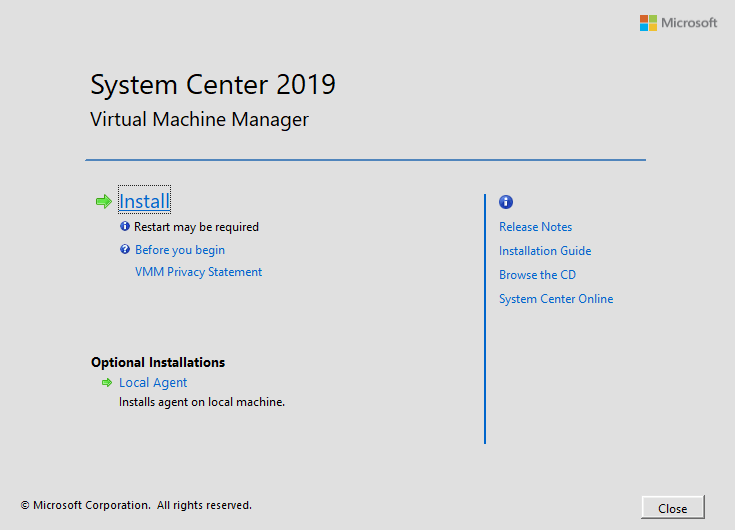
Launch the installer from the setup.exe file in the folder. This begins the System Center 2019 Virtual Machine Manager installation.
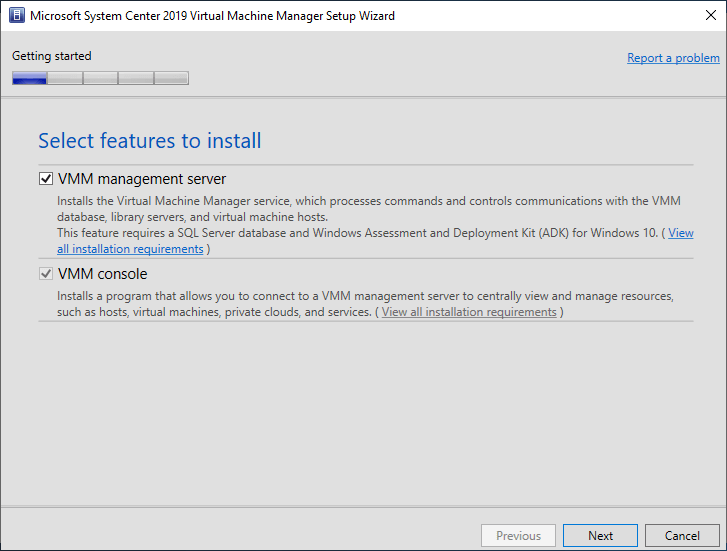
Step 1:
Select the features you want to install. Options include:
- VMM management server
- VMM console
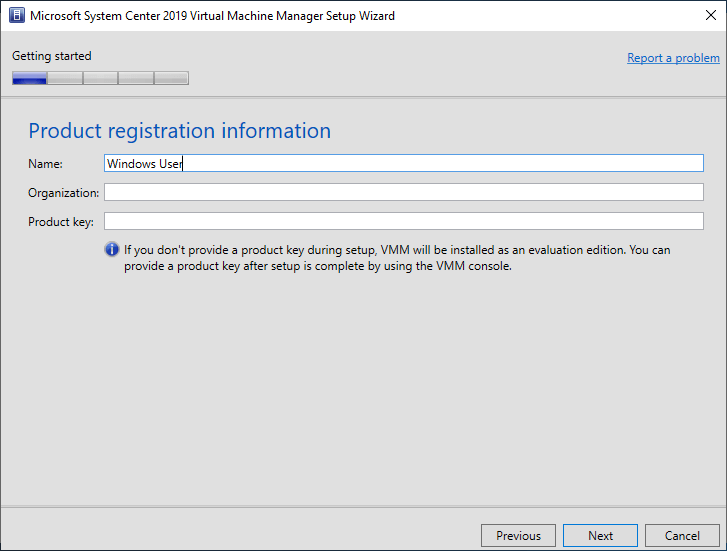
Step 2:
Enter the product registration information.
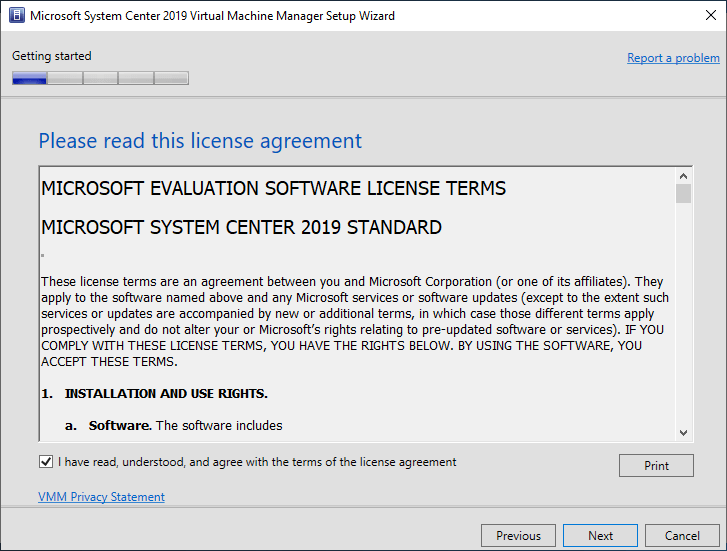
Step 3:
Accept the EULA.
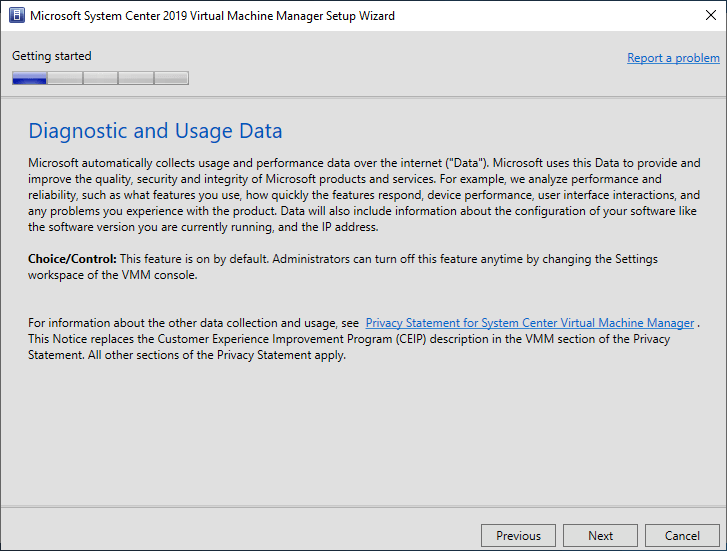
Step 4:
Diagnostic and Usage Data.
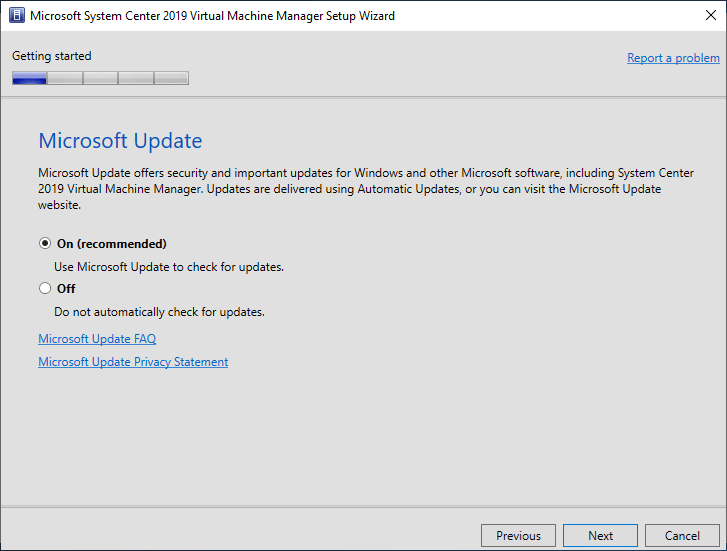
Step 5:
Choose whether you want to use Microsoft Update for updating System Center 2019 Virtual Machine Manager.
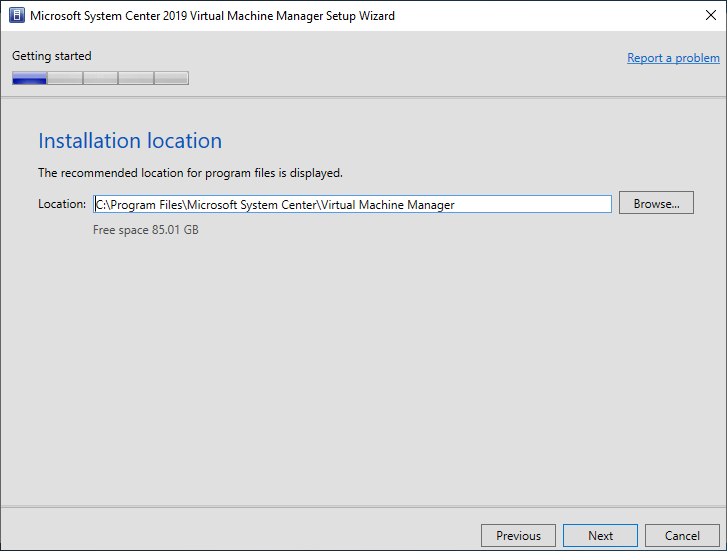
Step 6:
Choose your installation location.
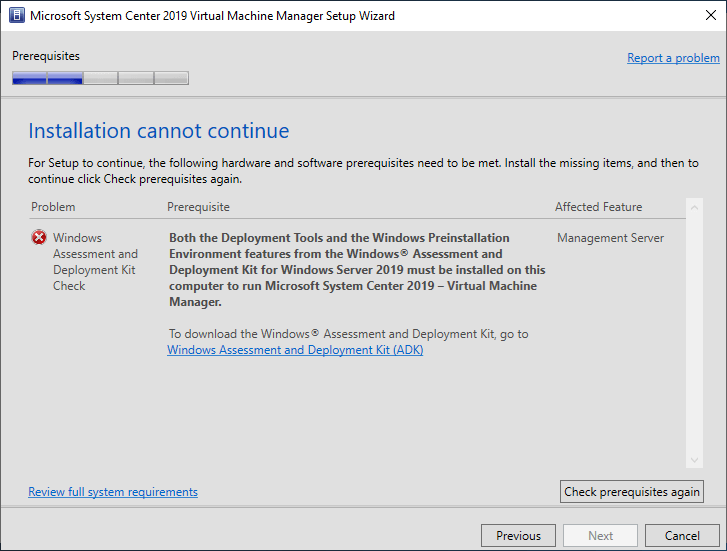
Prerequisites failure. Keep in mind you will need the following prerequisites:
- Windows Preinstallation Environment features from the Windows Assessment and Deployment Kit
- SQL Server Command Line Utilities
- A SQL Server at your disposal for the installation of the SCVMM database
Step 7:
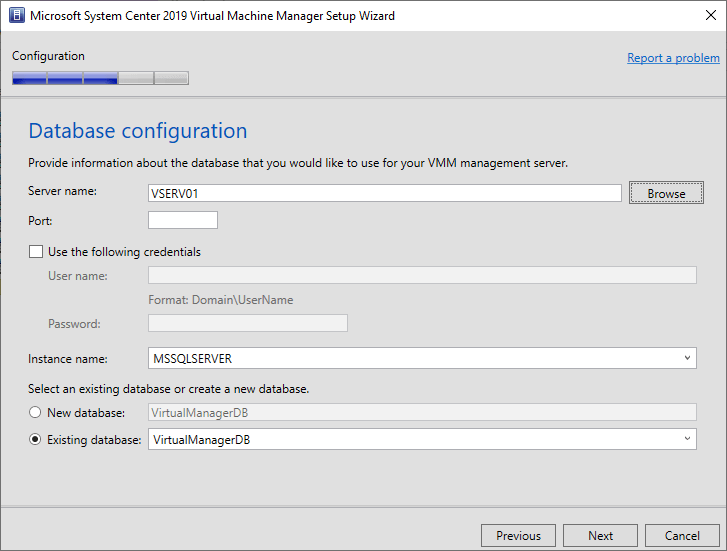
Next, is the database configuration. Choose your database server as well as whether you are using an existing DB or creating a new DB.
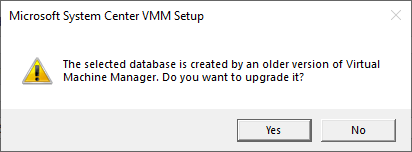
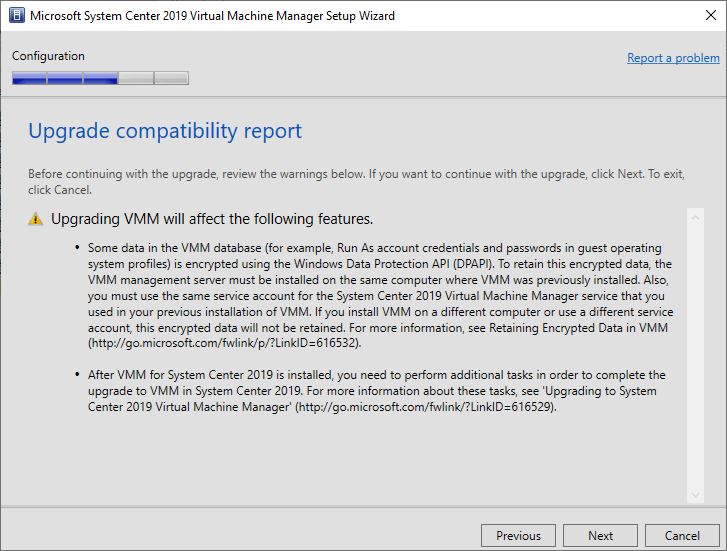
If you used your SCVMM DB for an older version, you will see the following:
Step 8:
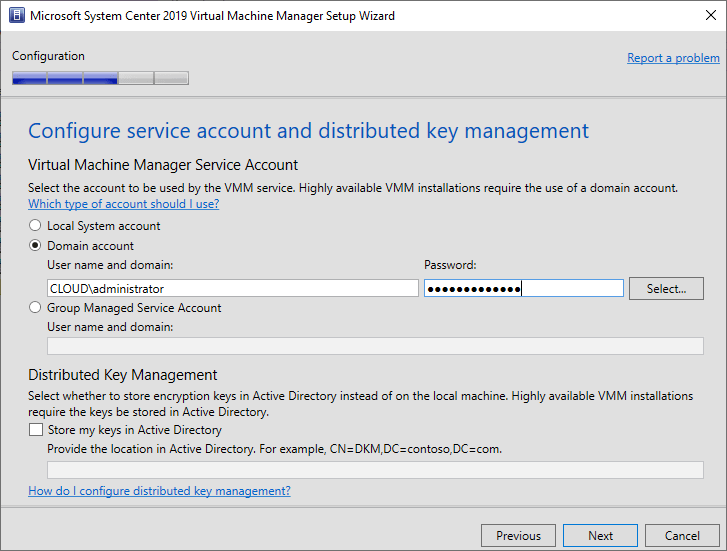
Configure your service account for SCVMM as well as Distributed Key Management.
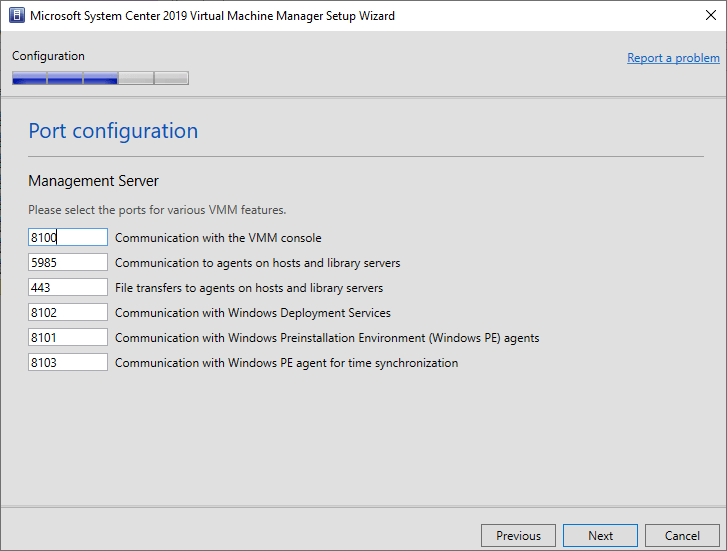
Step 9:
Port configuration.
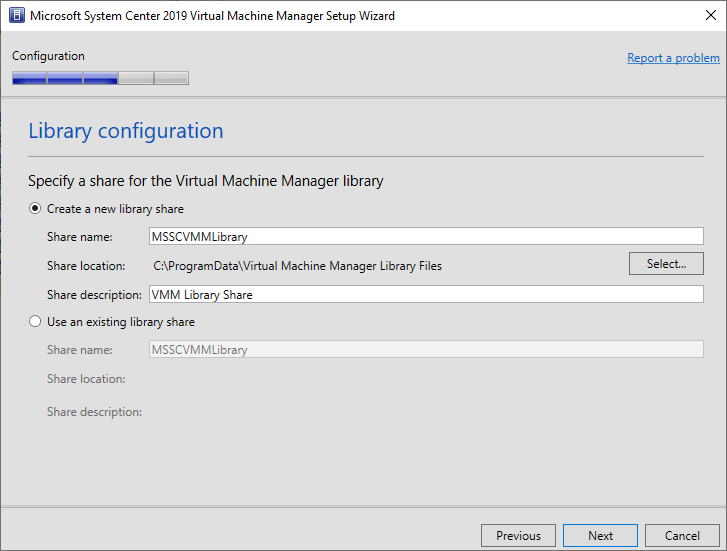
Step 10:
Library configuration.
Since I have used an existing DB, there are warning regarding the upgrade compatibility to be aware of.
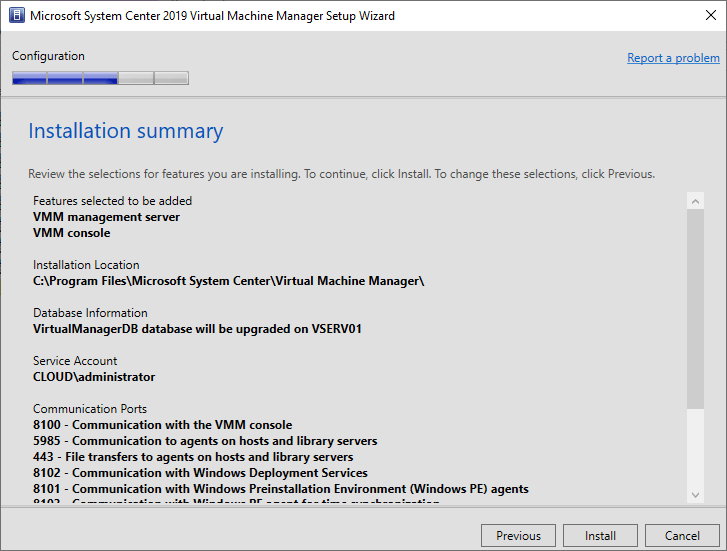
Finally, we have the installation summary showing the selections made configuration that will be executed. Click the Install button to begin the installation.
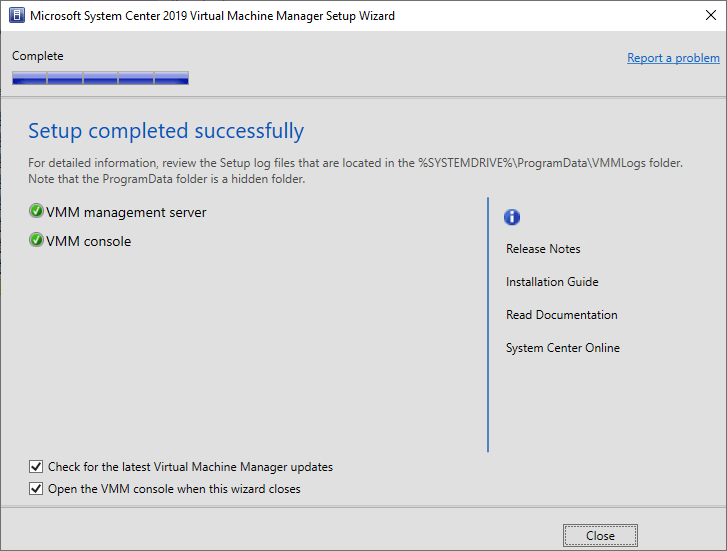
The setup should complete successfully. You can choose to check for updates after the successful installation as well as open the VMM console when the wizard closes.
Concluding Thoughts
There are many advantages to using System Center Virtual Machine Manager in Hyper-V environments when it comes to scaling Hyper-V virtualization solutions. System Center is a behemoth product containing so much functionality that it spans almost all verticals of products. System Center 2019 Virtual Machine Manager certainly has many enhancements to speak of and is straightforward to install as shown in the step-by-step installation guide in the post.
In part 2, we will take a look at adding a cluster, and basic management of a Hyper-V cluster with System Center 2019 Virtual Machine Manager.
Follow our Twitter and Facebook feeds for new releases, updates, insightful posts and more.