
Introduction :
What is VMware Site Recovery Manager (SRM)?
VMware Site Recovery Manager is a part of VMware’s vSphere suite that can automate the backup and recovery of VMs running on a vCenter server. VMware Site Recovery Manager is available on-premises or in the AWS cloud as a Disaster Recovery as a Service (DRaaS) service model. SRM orchestrates recovery programs to minimize the downtime in event of disasters or if any VMs are corrupted. You can also restore the VM from the DR site, provided the vSphere replication is enabled for every VMs running under a specific vCenter server.
In this how-to blog, we are providing the steps involved in installing a VMware Site Recovery Manager 8.4.0.5 appliance on an ESXi host 7.0 U1 managed by a vCenter server 7.0.1. The VMware Site Recovery Manager appliance should be deployed on the ESXi host managed by the vCenter server. You cannot deploy directly on an unmanaged ESXi host.
Prerequisites for installing a VMware Site Recovery Manager ( SRM )
- A running ESXi host 7.0 U1
- A running vCenter server 7.0.1 (installed through vCenter server Appliance download)
- VMware Site Recovery Manager appliance ISO file downloaded from the VMware site and it’s placed on the ESXi host datastore
Deploying VMware Site Recovery Manager appliance on a ESXi host running under a vCenter server
Before deploying VMware Site Recovery Manager, make sure your ESXi host is connected and managed by the vCenter server appliance without any issue.
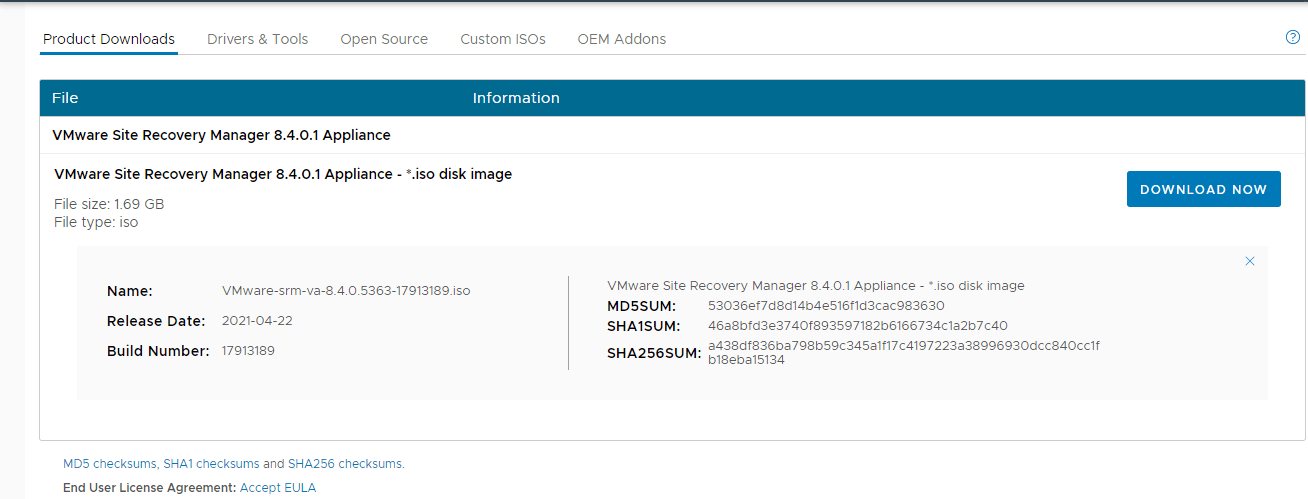
Download the VMware Site Recovery Manager appliance ISO disk image from the VMware product download page as shown in the image below.

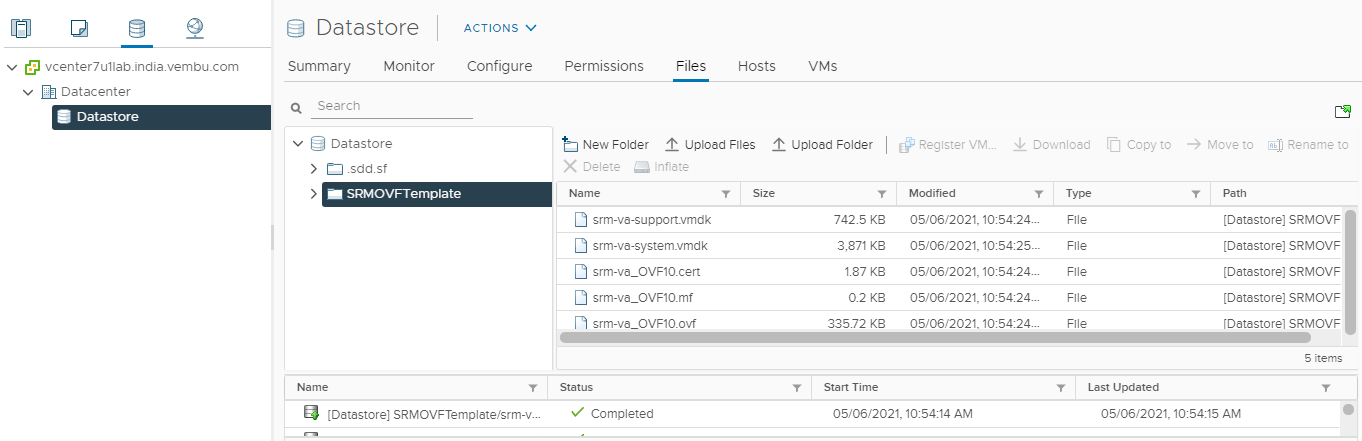
After downloading, extract the ISO file and copy the files from the bin directory which has VMware Site Recovery VM template to a new directory in an ESXi datastore to deploy a SRM appliance as shown in the image below.
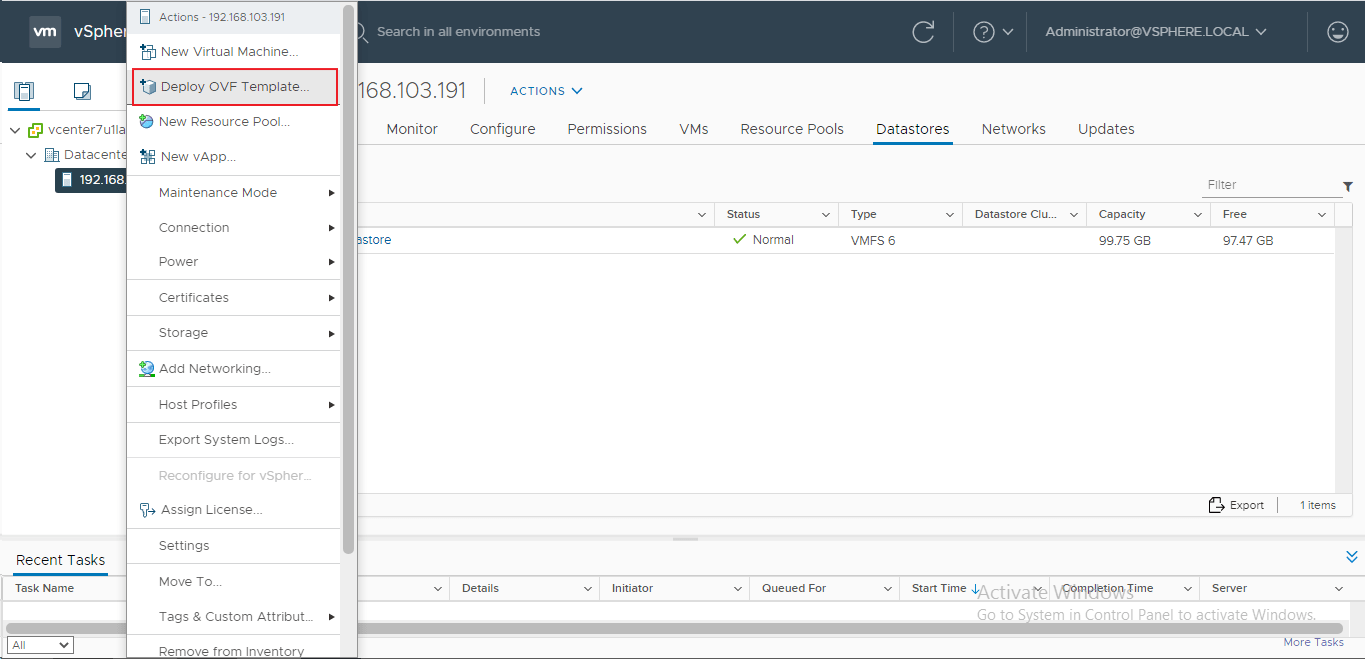
In the vCenter server host view, right-click on the host and select “Deploy OVF template, and this will open a new wizard to create a new VM. Here we are deploying a VM from an OVF template and vmdk file. So choose “Deploy a virtual machine from OVF or OVA file”. As highlighted using a red box in the image below.
This will open the Deploy OVF template wizard. On the first screen, select an OVF template from a remote URL or local file system. In our case, the template is uploaded into the connected datastore, and hence choose “Local file”, and upload the ovf, vmdk and certificate files (total 5 files) by clicking on the UPLOAD FILES button as shown below.
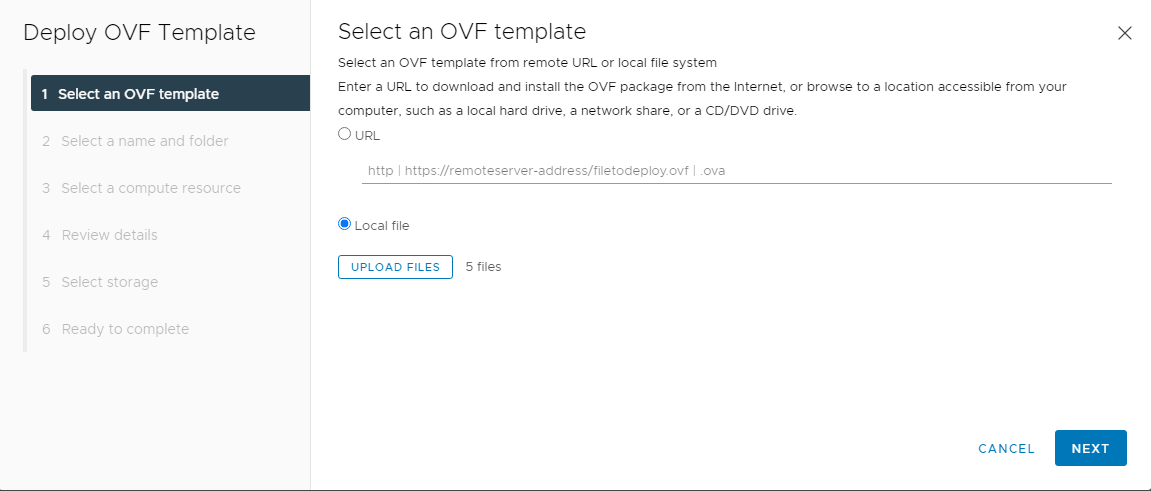
Click NEXT to proceed to the next step.
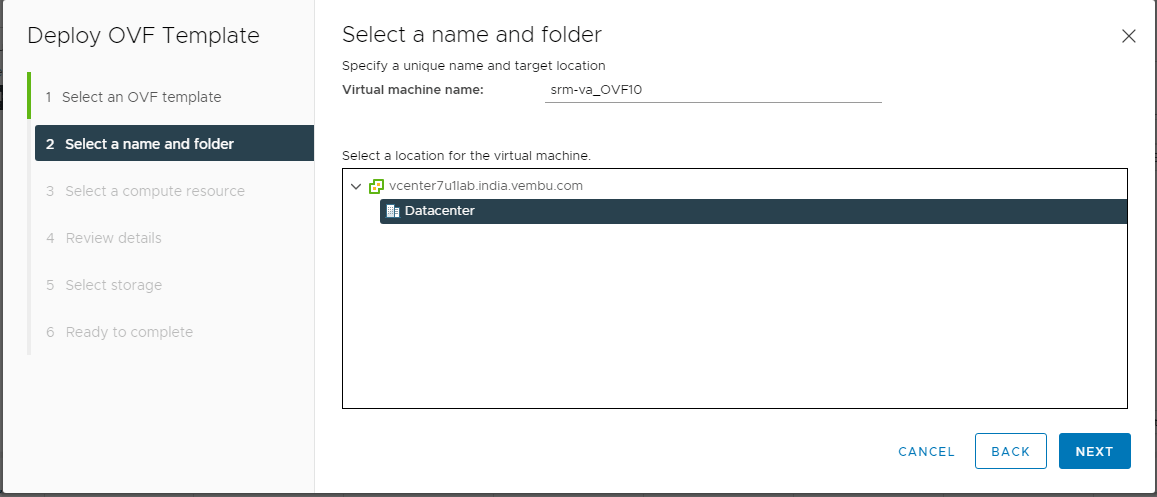
On the next screen, provide an unique name for the appliance VM and choose the location for the appliance VM. Here “srm-va_OVF10” is the VM name and Datacenter is the default location as shown in the image below.
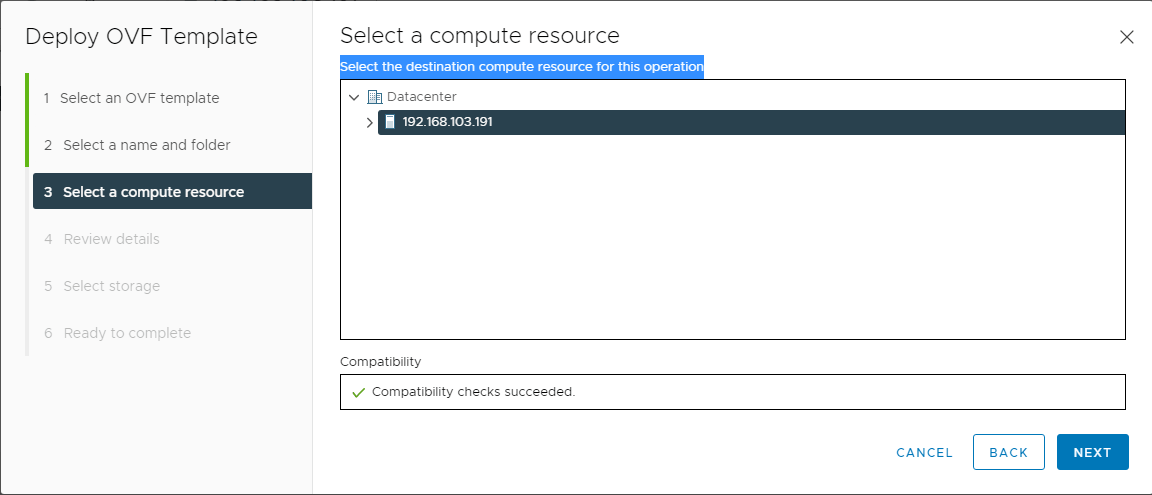
Click NEXT to go to select a compute resource page. Here we need to select the destination compute resource for this operation i.e the ESXi host where the appliance needs to be deployed. Also verify compatibility check succeeded message for correct configuration of the ESXi host as shown in the image below.
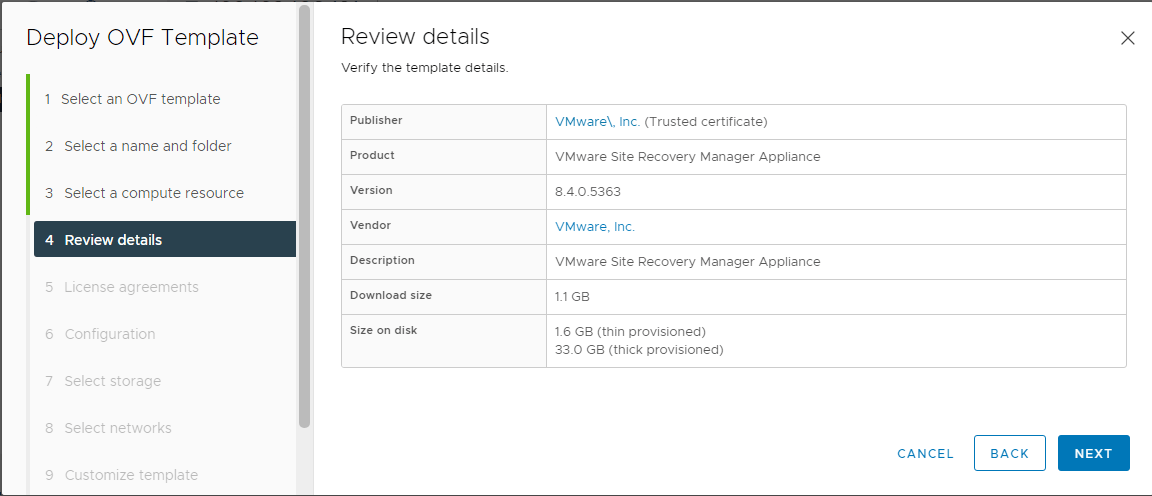
Click NEXT to go to the Review page, where you can see the details of the SRM appliance such as version details, disk size details, etc. as shown in the image below.
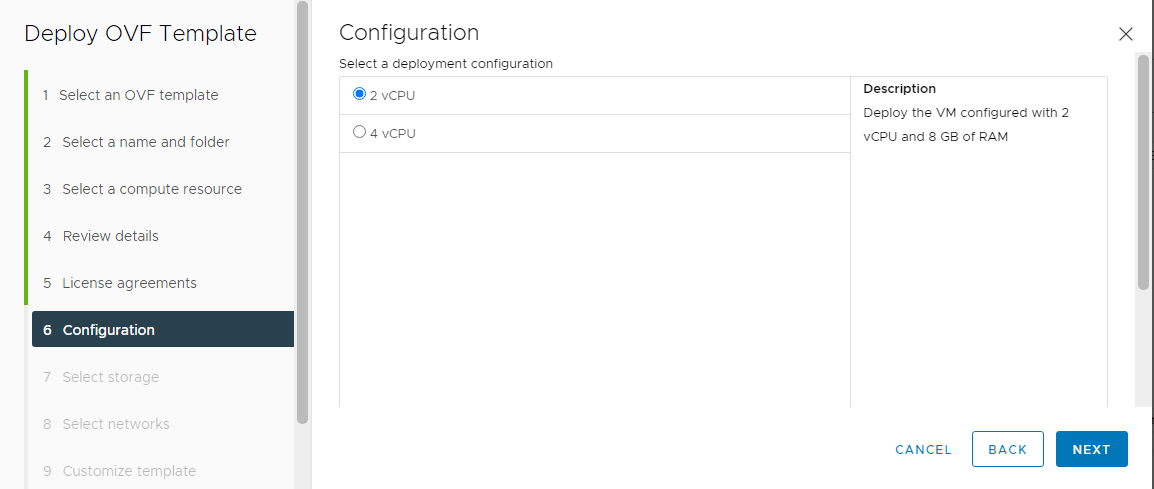
Click NEXT to the license acceptance page, here select the check box ‘I accept all license agreements’, and Click Next to continue to configure the vCPU required to use for the appliance VM. Depending on the logical processor count you may choose 2vCPU with 8 GB of RAM or 4 vCPU with 12 Gb RAM options.
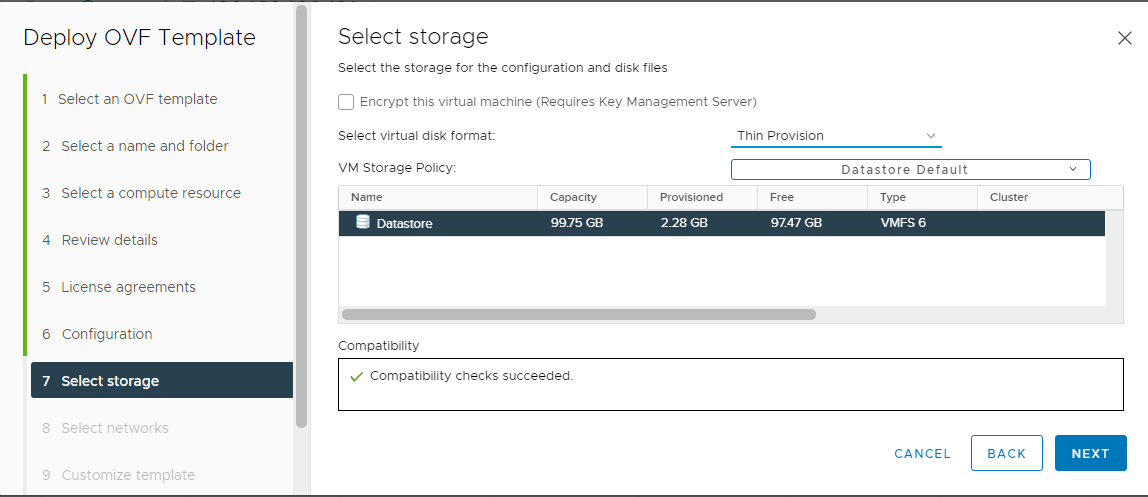
Click Next to go to the Select storage section. Here you can choose the available datastore attached to the ESXi host, and you can also enable encryption for the VM. Then select virtual disk format as thin or thick, here we are selecting thin as virtual disk format.
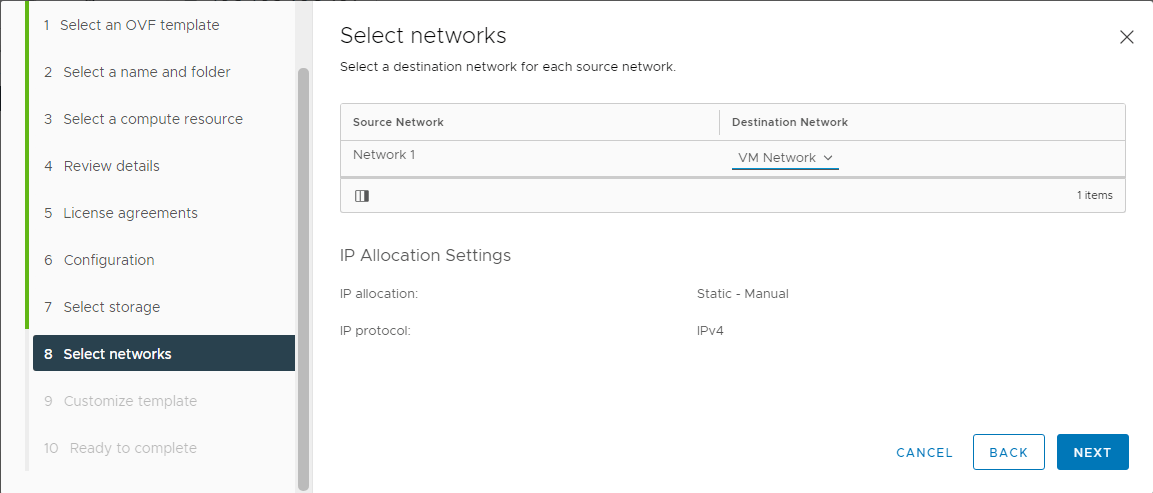
Click Next to go to the Select networks section. By default, source and destination networks are selected automatically, and IP allocation settings is set to IPV4 static.
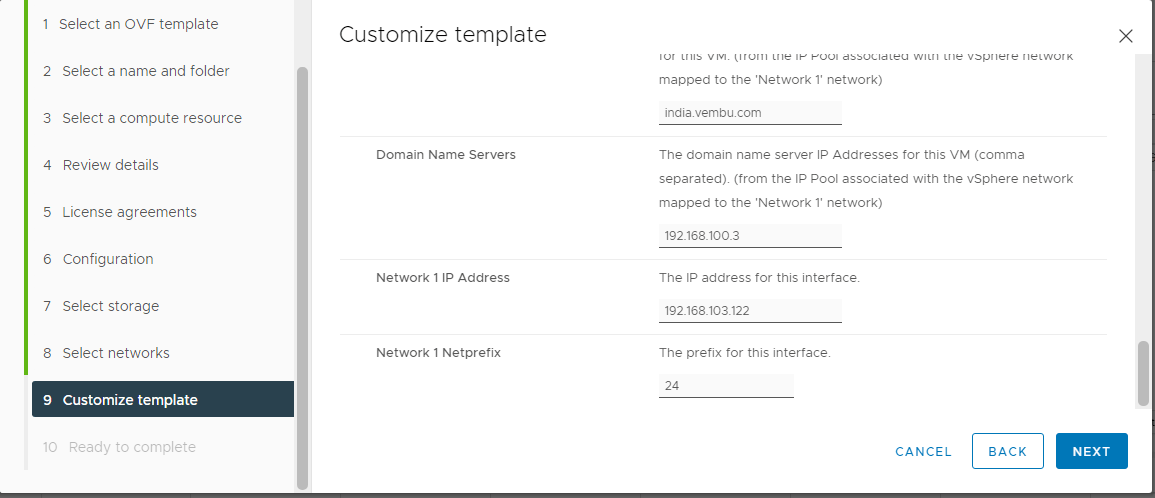
Click NEXT to go to the Customize template page. Here you will be asked to enter passwords for admin and root users. This password can be used to login into the SRM appliance console after the deployment. You will be also asked to configure the network for the SRM appliance. You need to provide an IP address for the appliance, Netmask, Default Gateway and DNS server IP address.
Click NEXT to go to the final step, here all the configuration selected will be displayed, and you can confirm the configuration by clicking the finish button. Then your SRM appliance will be deployed in the selected ESXi host in a few minutes. Finally you will be able to see the deployment completed message in the “Recent tasks” section on the vSphere client main page as shown in the image below. The red box shows the OVF template deployment process completed successfully.
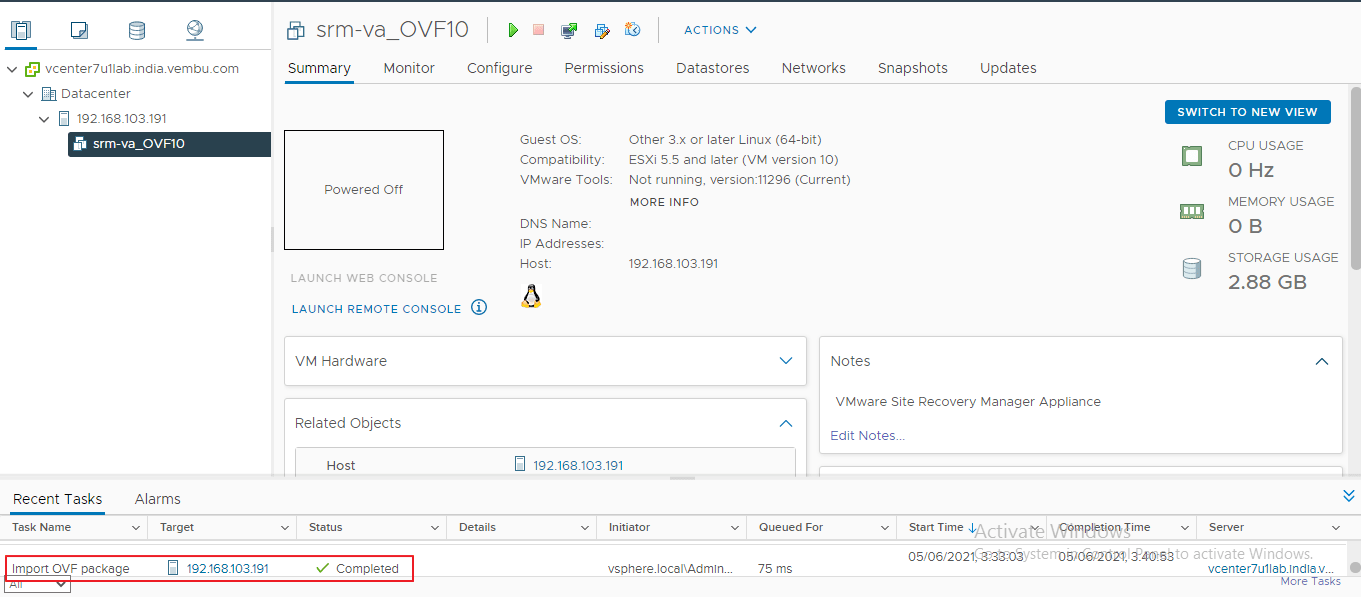
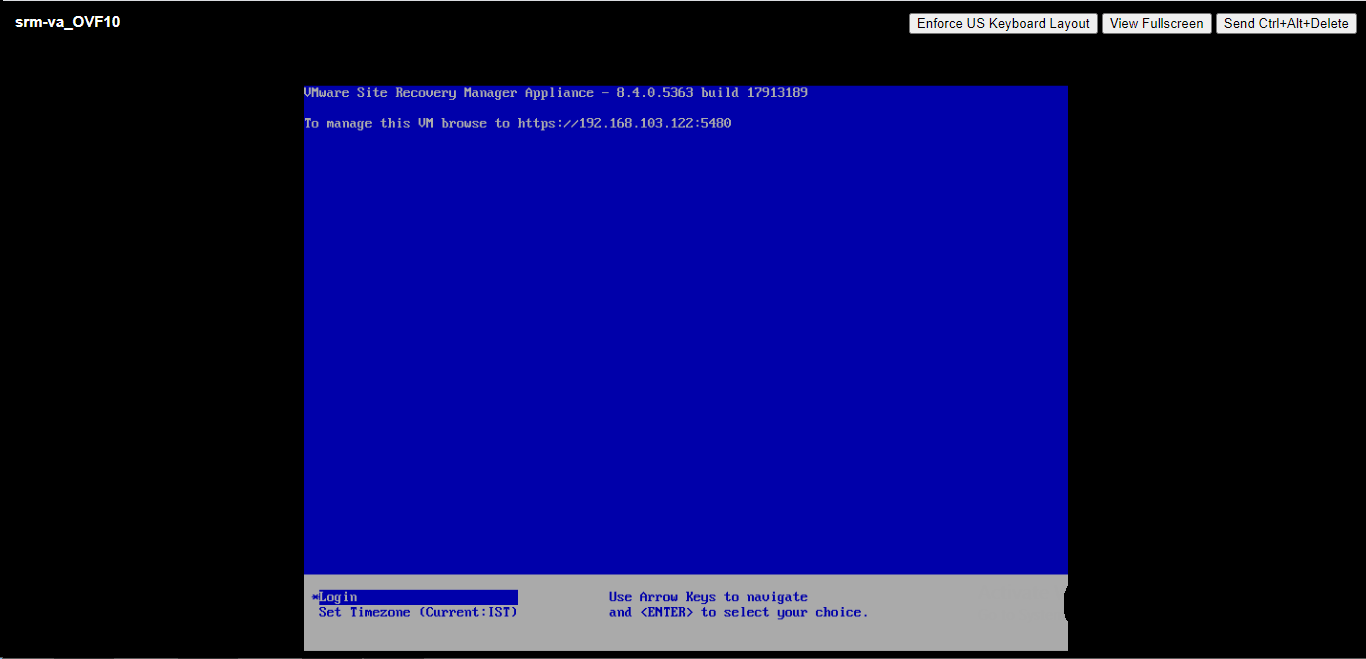
Now it is time to start the SRM VM, Click Power on button after selecting the “srm-va_OVF10” VM. After a while, your SRM VM runs and you will get a successful first page similar to the image below.
Note: In few cases, users may need to reconfigure the network settings by running the command “/opt/vmware/share/vami/vami_set_network” The screenshot below shows this command to setup IPv4 for the appliance manually. This can be done after log into the SRM appliance using root user credentials.
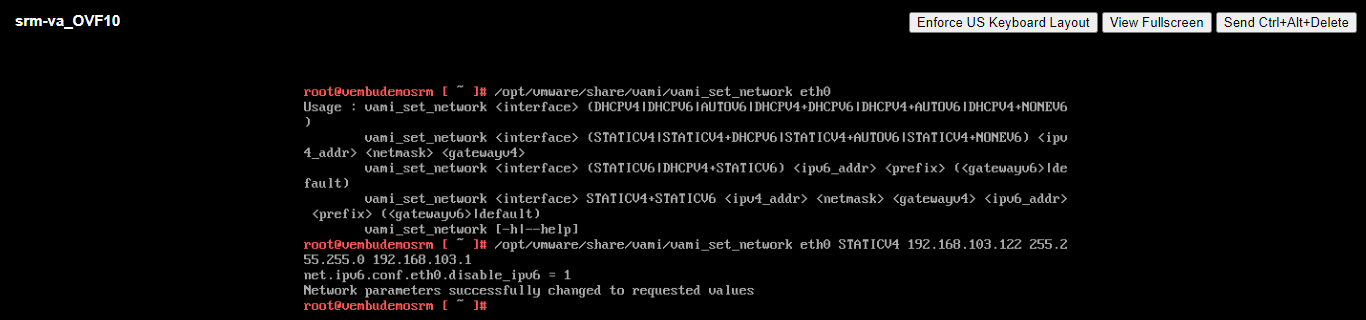
After configuring the network, restart the appliance VM to get the new IP for the appliance.
Conclusion :
It is very easy and straightforward to deploy the SRM appliance in a vCenter environment, and it does not take much time. In this blog, we have covered only the appliance deployment. To make SRM work, users need to perform few other things. This is a complex solution with huge benefits. Users need to have extensive knowledge about SRM recovery plans, DR site configuration and SAN storage systems on either side of the sites, and those configuration steps are not covered in this blog.
To ensure comprehensive protection for your Virtual machines running on either VMware vCenter , Try BDRSuite today!
Follow our Twitter and Facebook feeds for new releases, updates, insightful posts and more.