
In this article, we provide a detailed guide on how to configure backup for Archive Mailbox in Exchange Server using PowerShell Commands. We also highlight the pros and cons of the PowerShell method and offer an alternative backup solution.
In-Place Archiving in Exchange Server:
Email communication is a vital part of most businesses, but user mailboxes have limited storage space. It is important to manage inactive emails properly which are required anytime. One effective solution for this is in-place archiving, which allows users to move their inactive mails to the archive mailbox. Archive mailbox is an additional mailbox enabled for users, which is accessible by using Microsoft Outlook and Outlook on the web. This greatly reduces data stored on the user’s primary mailbox and allows users to access their emails easily.
Steps to Backup Archive Mailbox using PowerShell
It is possible to create a backup of your entire Exchange server (or) individual/multiple databases (or) individual/multiple mailboxes using PowerShell cmdlets. In this post, we will specifically focus on the process of creating a backup of an in-place archive mailbox using PowerShell cmdlets.
Step 1: Open PowerShell ISE in Administrator Mode. You need to first set the execution policy in your local machine as unrestricted to interact with server without any issues. Execute the command below:
Install-Module -Name ExchangeOnlineManagement
Set-ExecutionPolicy -ExecutionPolicy Unrestricted

Step 2: Use the command below to connect to the Exchange Server. You will be asked to provide the password to proceed.
Connect-ExchangeOnline
Step 3: Assign mailbox Import Export Role to the User using the command below:
New-ManagementRoleAssignment -Role “Mailbox Import Export” -User DomainName/UserName or alias
Step 4: Next, you need to create a shared folder location to save the exported backup files (.pst). Follow the steps below:
- Create a new folder. Right-click on the folder and select Give access to > Specific people
- Click the dropdown and select Find People. Search and add the username to who has Mailbox Import Export role assigned
- Click OK and then click Share
Step 5: To export and backup only In-Place Archive mailbox, use the command below:
New-MailboxExportRequest -Mailbox
-FilePath -IsArchive
You can check the export progress using the following command:
Get-MailboxRestoreRequestStatistics
You can then go to the Shared Folder location to check the backed up archive mail stored in .pst format.
Drawbacks of Archive Mailbox Backup using PowerShell:
This process is lengthy and time-consuming and requires more storage in server. It also involves the risk of PST corruption. One of the major drawbacks is you need to perform backup every time manually, hence there are no options to define proper backup strategies.
Archive Mailbox Backup and Recovery using BDRSuite:
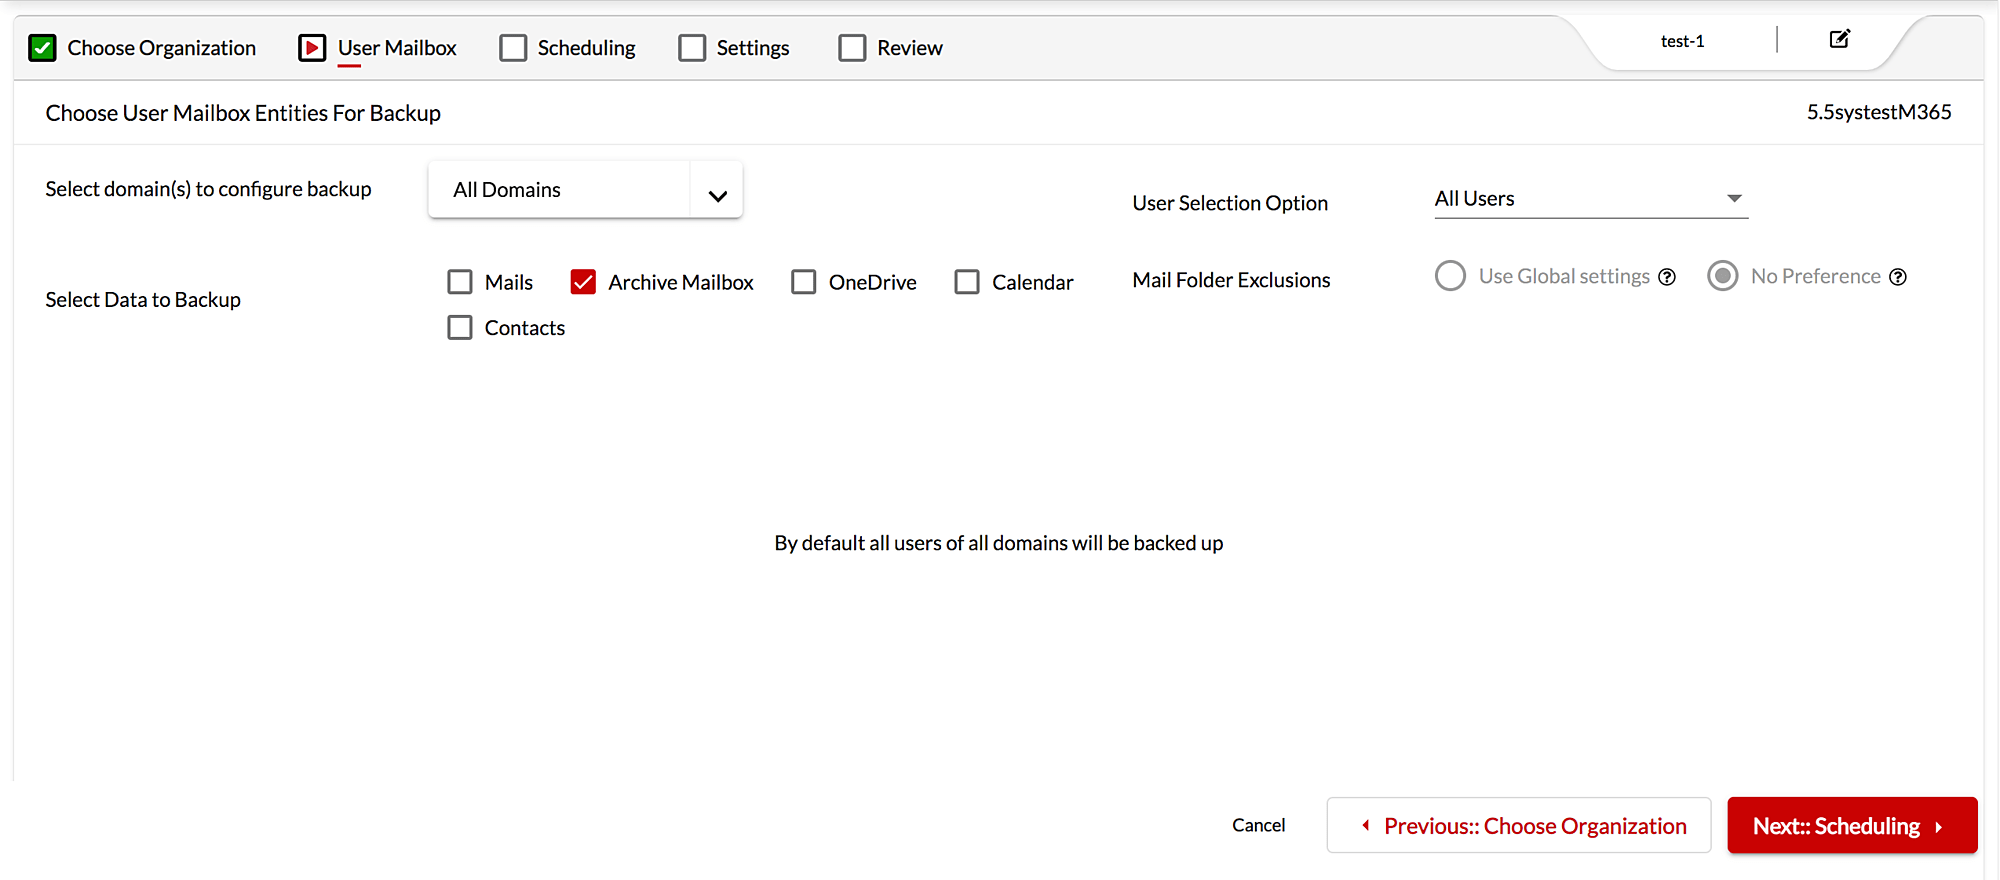
BDRSuite for Microsoft 365 supports backup and recovery for User Mailbox (Mails, Archive Mails, Contacts, Calendars, OneDrive), Group Mailbox, SharePoint Online, and Teams.
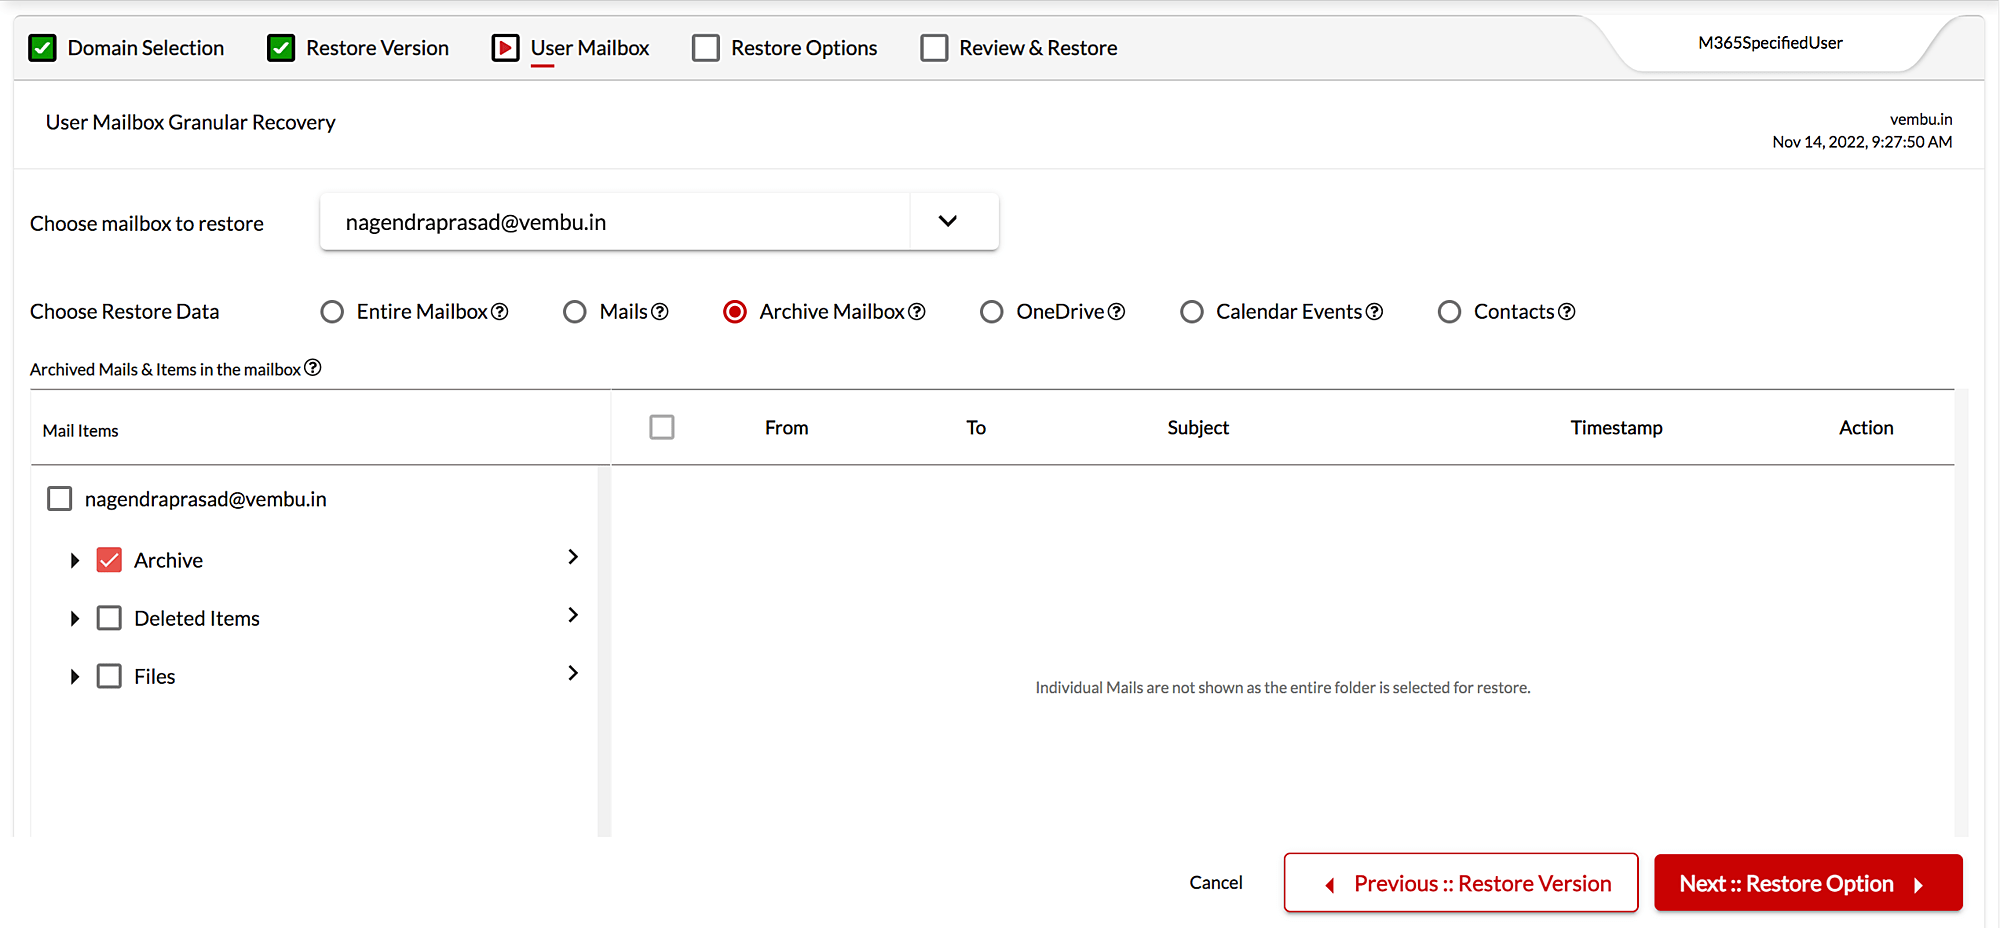
With BDRSuite, you can configure automated backups for archive mailbox and recover it to the same/different mailbox (or) export into different formats – PST, EML, etc.
Refer to BDRSuite User Guide for more information on Microsoft 365 backup and recovery configuration.
Are you Interested in checking out BDRSuite? Try our 30-day free trial now or Request a demo
Follow our Twitter and Facebook feeds for new releases, updates, insightful posts and more.