
When we think of cloud resources, one of the first things that most may think of utilizing the cloud for is for storage. The idea of cloud storage has been around for quite some time. In fact, services such as DropBox, Box, Google Drive, Microsoft OneDrive, and others offer cloud storage. Microsoft Azure has been making huge strides in the cloud space and is gaining market share for its plethora of services that are offered. One of the services that are offered with Microsoft Azure is a storage account. With the storage account, we can literally create a file share that exists in the cloud that is accessible via the Internet. There are firewall rules that come into play as well with outgoing connections for SMB, however, in a general sense we can access this file share from anywhere. Let’s take a closer look at how to provision this file share as well as a few considerations with it along the way.
Configure Azure Storage Account File Share
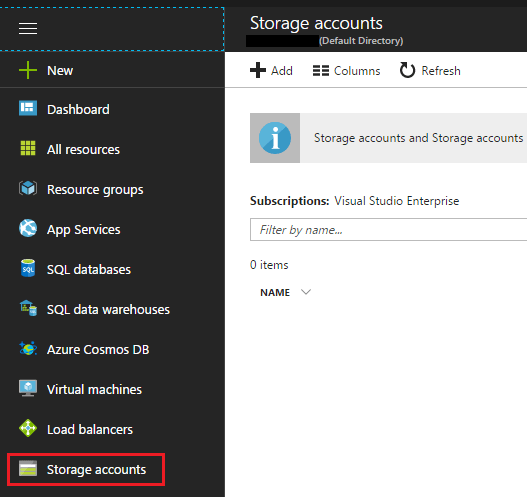
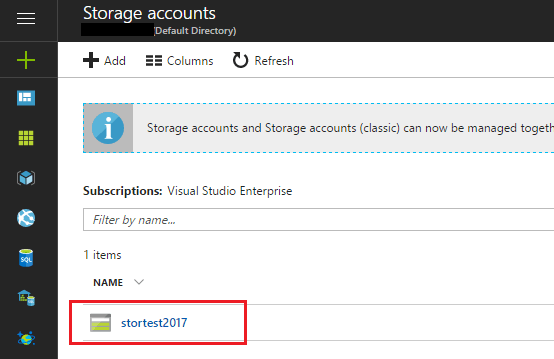
The first thing we need to do is create a storage account in Azure. This is done by simply logging into your Azure account and clicking the Storage Accounts link.
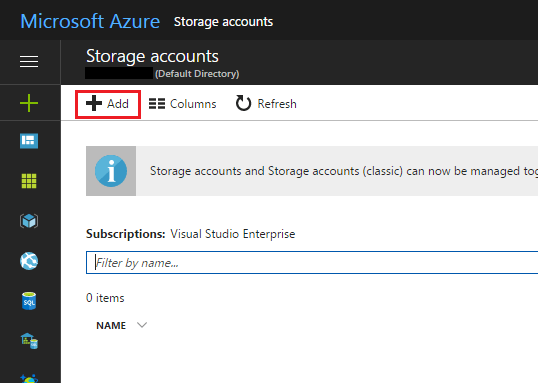
This will take us to the screen where we can add a storage account to our Azure login. Click the “+Add” button.

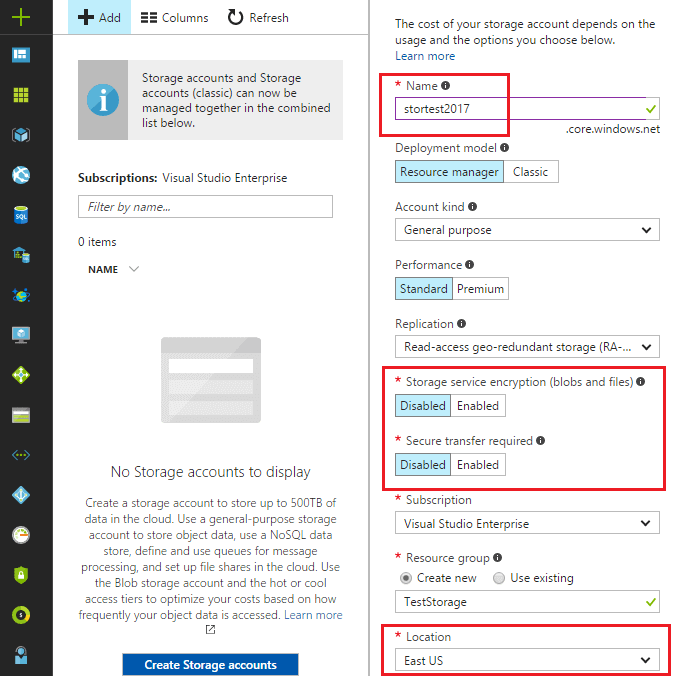
Now, we can configure our storage account. In the Name field, we have to choose a unique name to the “.core.windows.net” domain. You will see an error if the name you choose isn’t unique. On the deployment model, we choose the Resource Manager deployment. What is the difference between the Resource Manager and classic deployment models?
For all new deployments, Microsoft recommends that you use Resource Manager for all new resources. If possible, that you even redeploy existing resources through the Resource Manager. Azure originally provided the classic model where each resource existed independently and in such there was no way to group related resources together. With the resource manager deployment, there is the concept of the resource group which houses all the resources that share a common lifecycle. The benefits are the group of resources, consistent deployments, access control on the resource group, ability to add tags, JSON, and other benefits.
You can choose your performance option here as well – standard vs premium. The premium disks are low latency high-performance disks.
For security, you can enable storage service encryption (blobs and files). This protects the data that is stored at rest and you can also set options for secure transfer required.
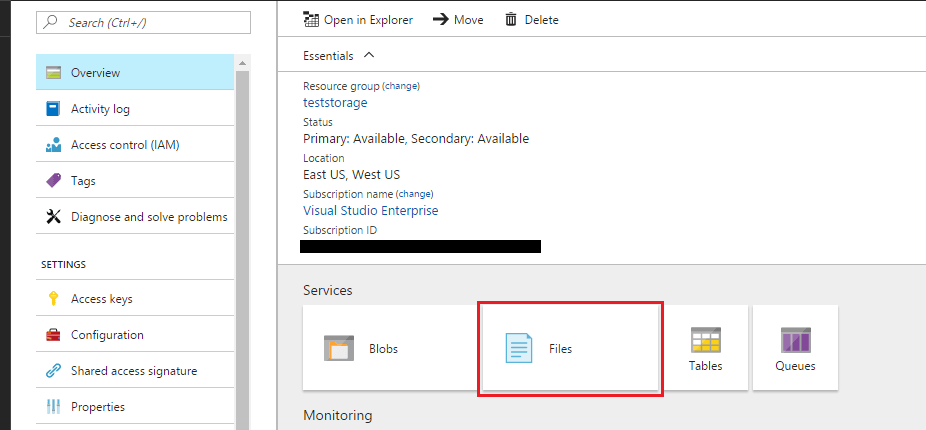
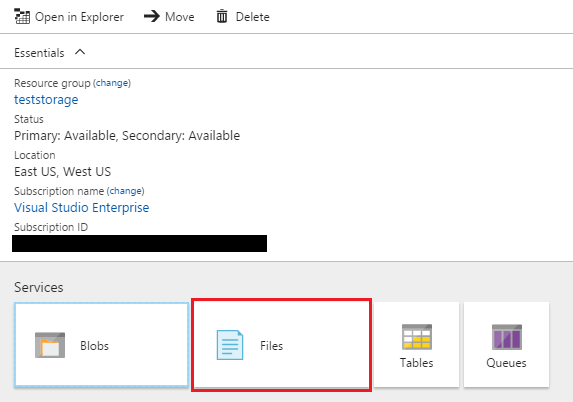
After we create the storage account, click your storage account name. Then click the Files button under Services.
Click +File share button at the top which will allow us to create a new file share.
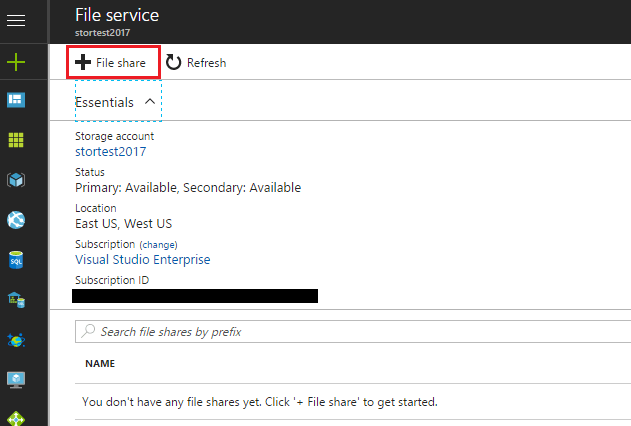
The New file share dialog is extremely simple. We have a Name to give the share and then we can set the Quota limit which basically says how much data the share is allowed to hold.
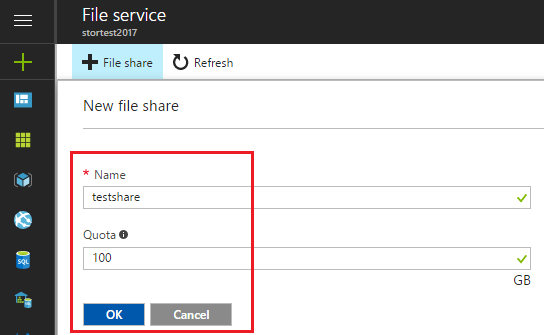
Once you click OK, the file share is created. Now we can go out and click our storage account name to get back to our Files and our new file share that was created.
Click the name of your share that is located at the bottom of the pane for us to see the details.
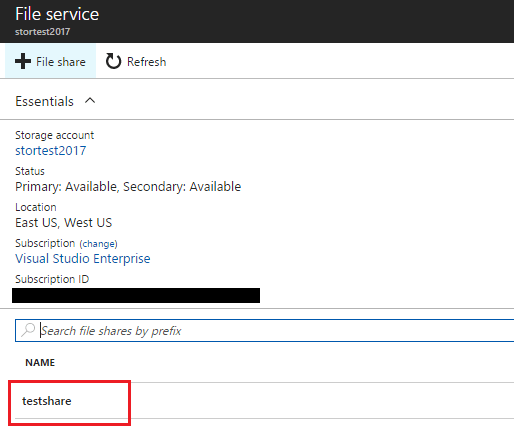
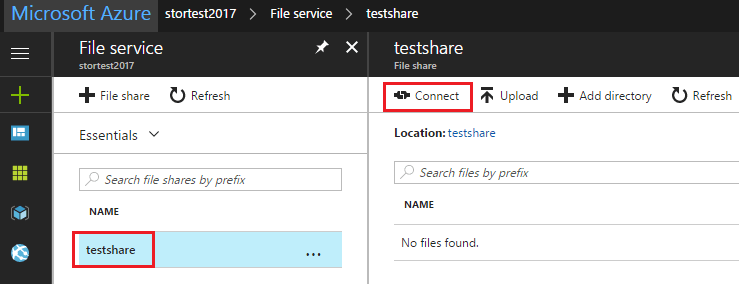
Notice the buttons on the upper right-hand corner of the pane when you click the share name. Click the Connect button.
When you click the Connect button, it conveniently presents the connection strings you need to use to connect to the file share either with Windows or Linux. You can copy the net use or sudo mount statements directly to your command prompt/PoSH or Linux terminal and run them. Note, the connection string contains the username AND the password. So be careful when viewing this information.
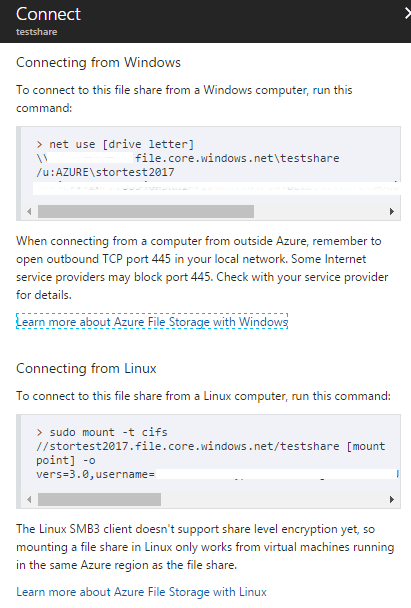
Also, another area you can see your passwords for the file share is under the Settings menu for your storage account and then Access keys. Over in the right-hand pane, you will see your Default keys for the account. Again, these are used as passwords for the file share.

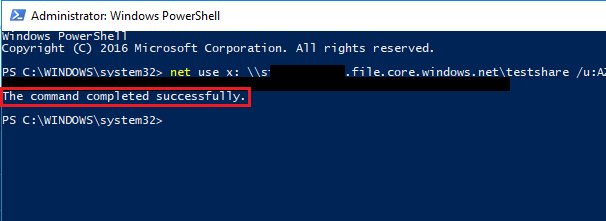
Now, let’s test our connection using the net use statement that was presented to us. As you can see below, on a test, remote workstation, the file share was successfully mapped using the provided connection string.
Pricing
The way Azure storage is billed is based on usage in the storage account. There are a few variables that weigh into the costs of storage:
- Region/Location
- Account type – blob, general purpose, etc
- storage capacity – how much of your storage account provisioned are you using
- Replication scheme – how many copies you maintain
- Storage transactions – refers to all read and write operations
- Data egress – data that is transferred out
Microsoft has a helpful calculator of sorts where you can check out the details on pricing with a specific selector for particular regions or currency here: https://azure.microsoft.com/en-in/pricing/details/storage/files/
Thoughts
Microsoft Azure storage is extremely easy and intuitive to provision. As you can see above with just a few steps, we can have an Azure cloud-based file share that can be accessed anywhere. One of the considerations with making a connection to the file share is to make sure that outbound SMB is not restricted by firewall rules from the originating source. Once the file share is provisioned and outbound traffic is verified, it is simply a matter of mapping a drive to the Azure file cloud share.
Follow our Twitter and Facebook feeds for new releases, updates, insightful posts and more.