
As we learned in the last post, Microsoft Hyper-V is a robust virtualization platform that provides an enterprise-ready hypervisor to run business-critical workloads. However, we are starting with the basics of the solution and building our way up as we learn more about Hyper-V and how we can use it in the enterprise data center. In this Hyper-V beginner’s post, we will look at installing Hyper-V in the Windows Server and see how you can quickly provision Hyper-V to start running virtual machines.
Getting a copy of Windows Server for Beginners
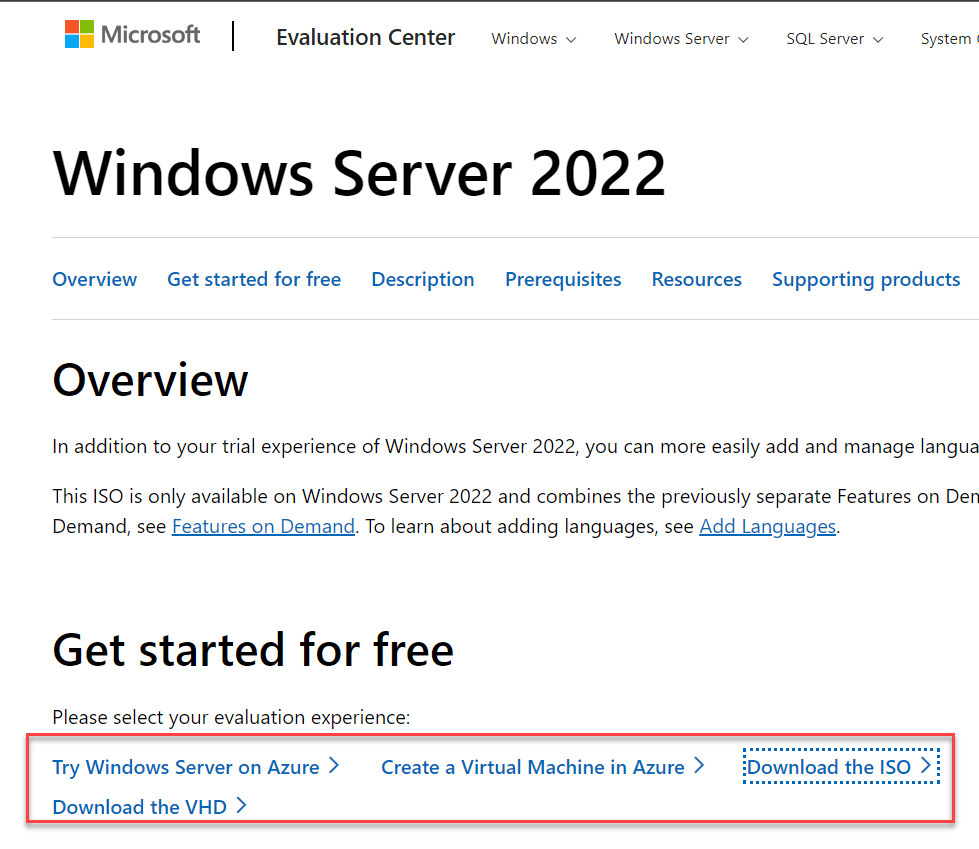
If you are a beginner and want to install and learn Hyper-V on Windows Server, how can you get a legitimate copy of Windows Server for your lab environment? The Microsoft Evaluation Center is a great place to start. You can get full copies of Windows Server and other products for 180 days which is generally long enough for lab purposes.
You can evaluate the latest versions of Windows Server, including Windows Server 2022.
Requirements and considerations for installing Hyper-V
Let’s first discuss some requirements and considerations for installing Hyper-V in Windows Server and client operating systems. Hyper-V installation requirements for Windows Server include the following as detailed in the official documentation from Microsoft:
- A 64-bit processor with second-level address translation (SLAT) – To install the Hyper-V, the processor must have SLAT. However, suppose you just want to install Hyper-V management tools like Virtual Machine Connection (VMConnect), Hyper-V Manager, and the Hyper-V cmdlets for Windows PowerShell. In that case, you don’t have to have SLAT capabilities
- VM Monitor Mode extensions
- Memory – Microsoft says you need 4 GB of RAM. However, this is a bare minimum. For an acceptable experience running virtual machines, the more memory you have, the better. You’ll need enough memory for the host and all virtual machines you want to run simultaneously
- Virtualization support turned on in the BIOS or UEFI:
- Hardware-assisted virtualization. Modern processors generally include a virtualization option, such as Intel Virtualization Technology (Intel VT) or AMD Virtualization (AMD-V) technology
- Hardware-enforced Data Execution Prevention (DEP) must be available and enabled. For Intel systems, this is the XD bit (execute disable bit). For AMD systems, this is the NX bit (no execute bit)
Verifying the requirements are met for Hyper-V installation
Microsoft provides an easy way to determine if you have met the requirements mentioned above with the systeminfo.exe utility. You can run this utility from the command line or PowerShell prompt to display whether or not your machine meets the requirements for installing and running Hyper-V. If you scroll down to the bottom of the output, you will see the Hyper-V Requirements listed and whether the hardware meets the requirements.


Install the Windows Server Hyper-V Role
Hyper-V is easily installed in Windows Server or Windows client operating systems. For beginners who have not worked with Windows Server before, the Hyper-V role is easily installed using the Server Manager management console. For example, with Server Manager, you can easily install the Hyper-V role as follows.
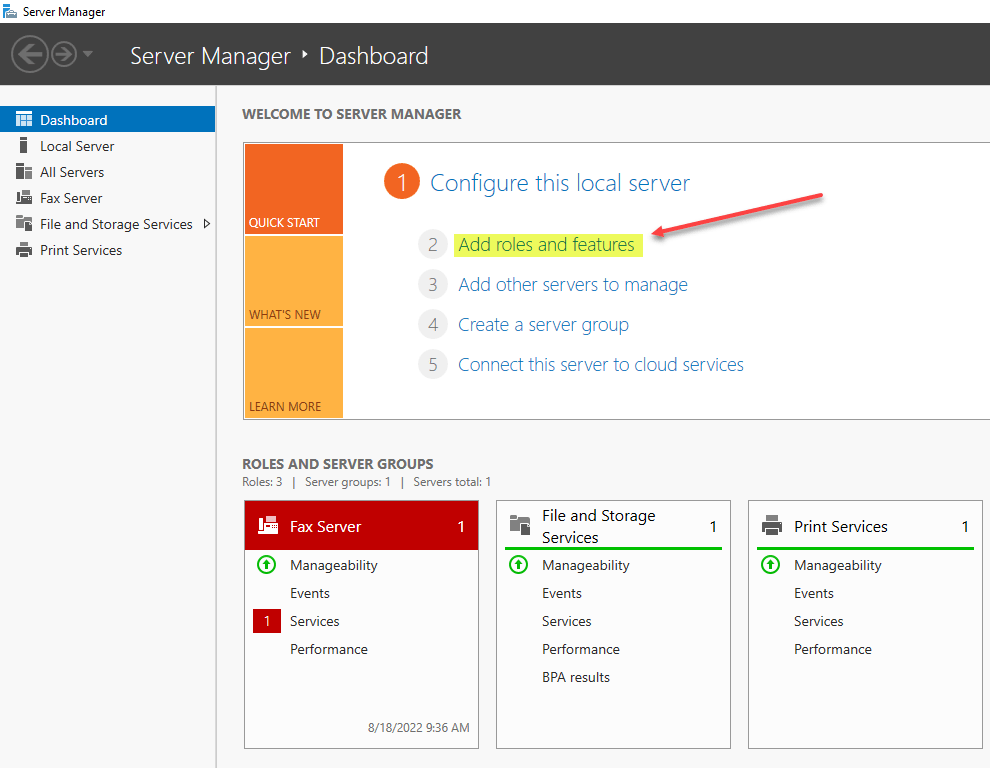
Add the Hyper-V server role in Windows, using the Server Manager console. You can launch Server Manager using the servermanager.exe command at a run or command prompt, or look for Server Manager in the Windows Server start menu.
Once it launches, you will see the option to Add roles and features
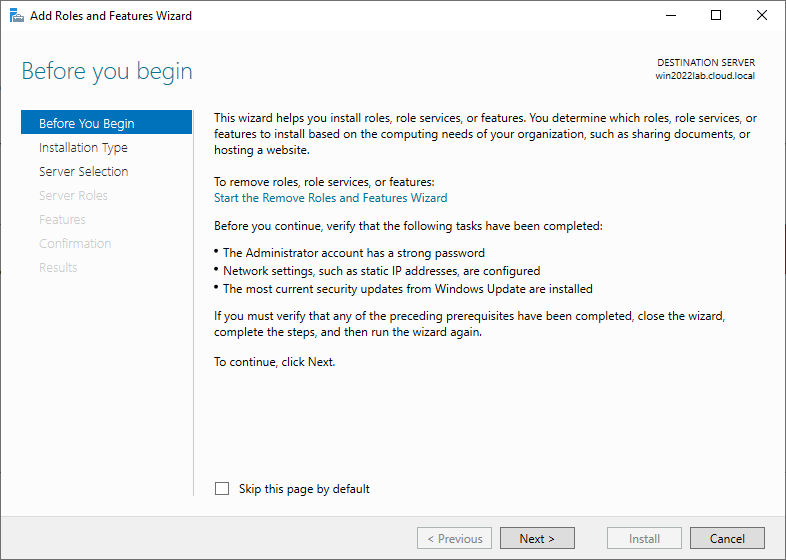
This launches the Add Roles and Features Wizard. Click Next.
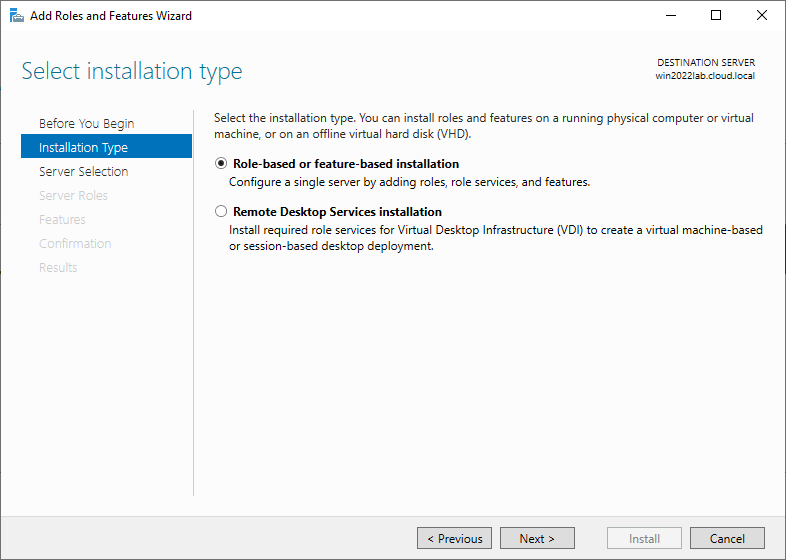
Choose Role-based or feature-based installation.
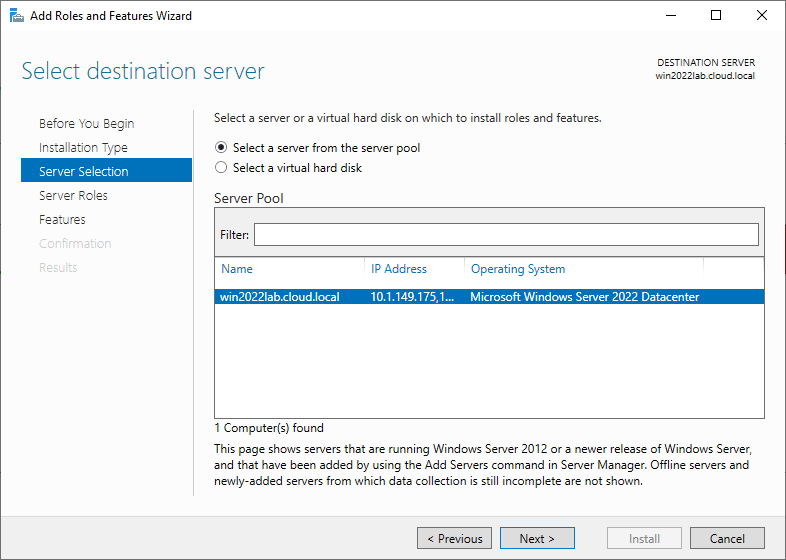
Leave the local server selected as the default for installation. Click Next.
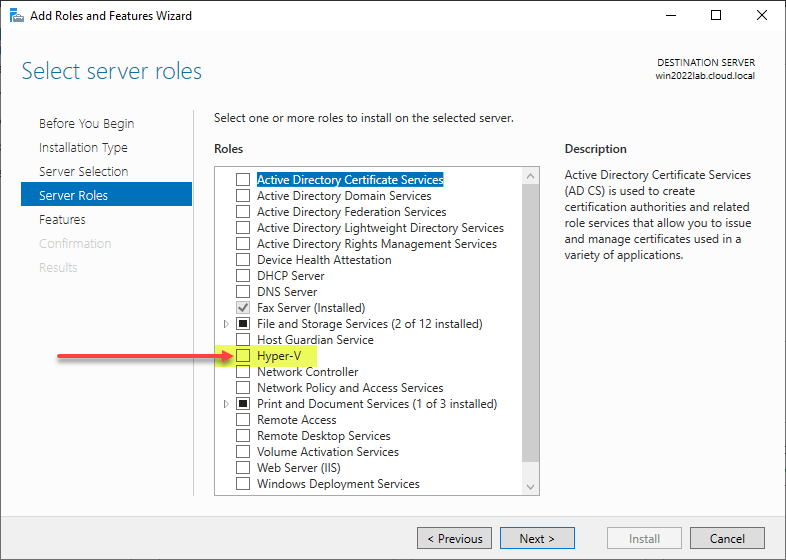
On the Server Roles page, we select Hyper-V.
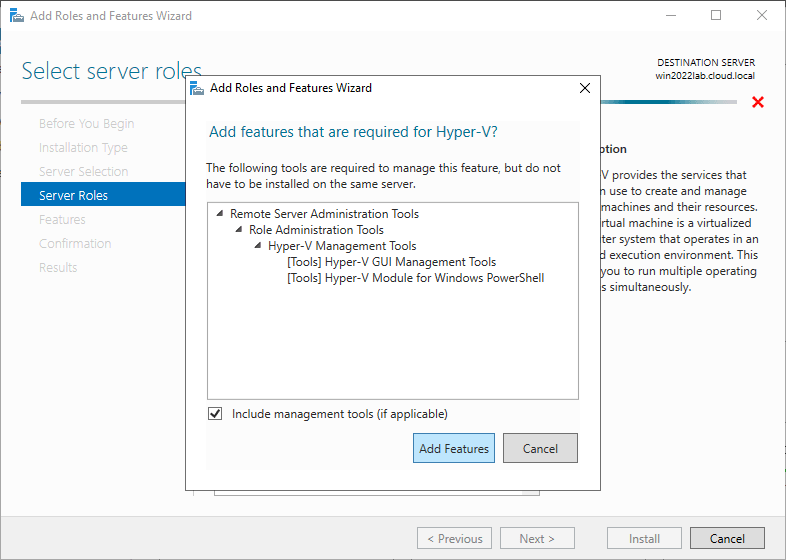
You will be asked to add features that are required for Hyper-V. These include:
- Remote Server Administration Tools
- Role Administration Tools
- Hyper-V Management Tools
- [Tools] Hyper-V GUI Management Tools
- [Tools] Hyper-V Module for Windows PowerShell
- Hyper-V Management Tools
- Role Administration Tools
Click the Add Features button.
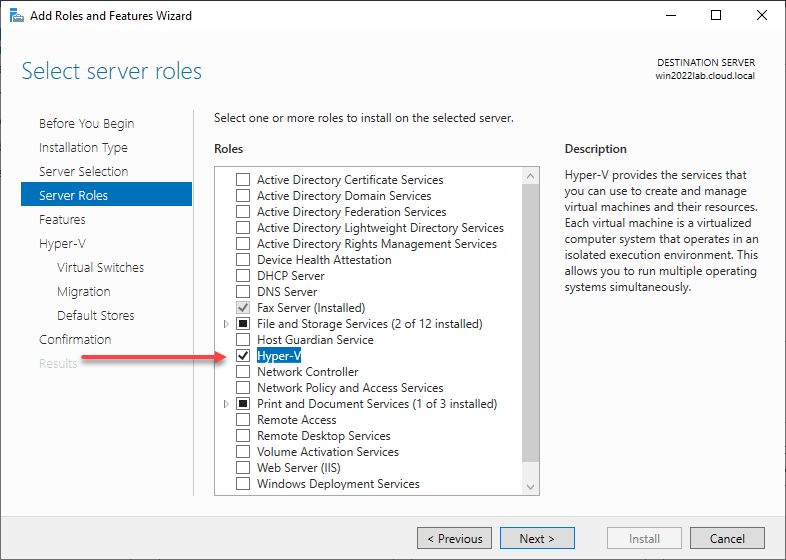
After clicking the Add Features button, you will see the checkbox populated next to Hyper-V. Click Next.
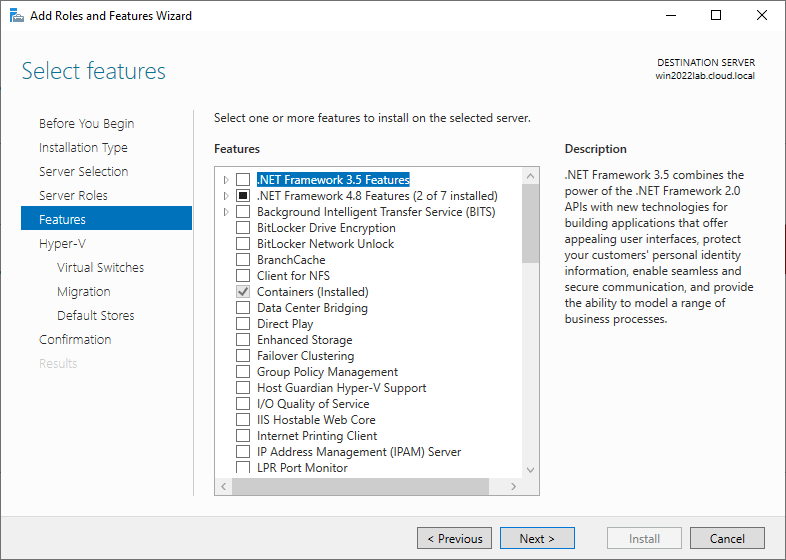
One the Features page, click Next.
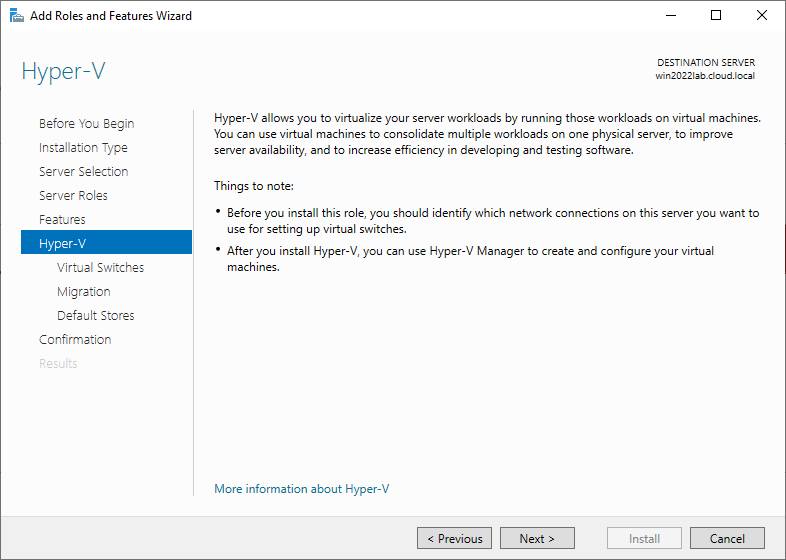
On the next screen, you will begin the Hyper-V-specific configuration. First, the wizard displays an overview of the Hyper-V role.
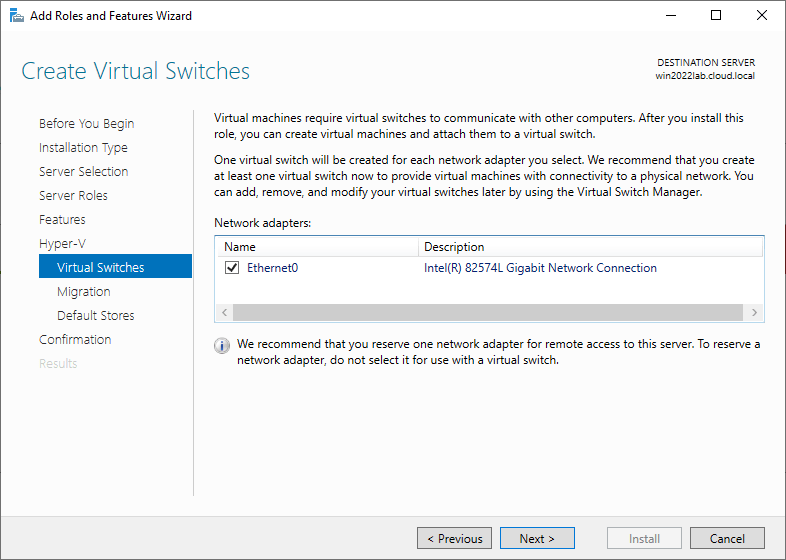
You will configure the first Hyper-V Virtual Switch on the first Hyper-V configuration page. As a note, you are not required to do this during the installation of the Hyper-V role and can do this later using Hyper-V Manager. Below, we have selected the network adapter we want to use to create the first virtual switch.
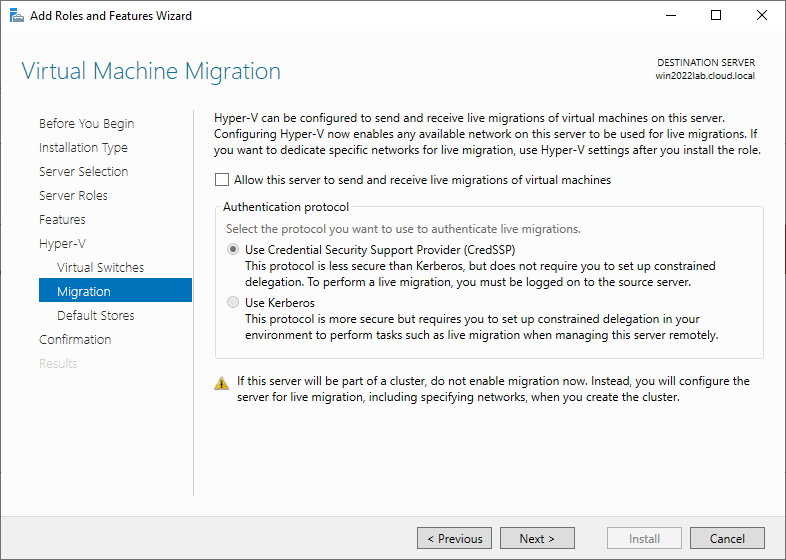
Configure the options to allow virtual machine migration. Configuring Hyper-V now enables any available network on this server to be used for Hyper-V Live Migration. You can also specify this configuration later using Hyper-V Manager.
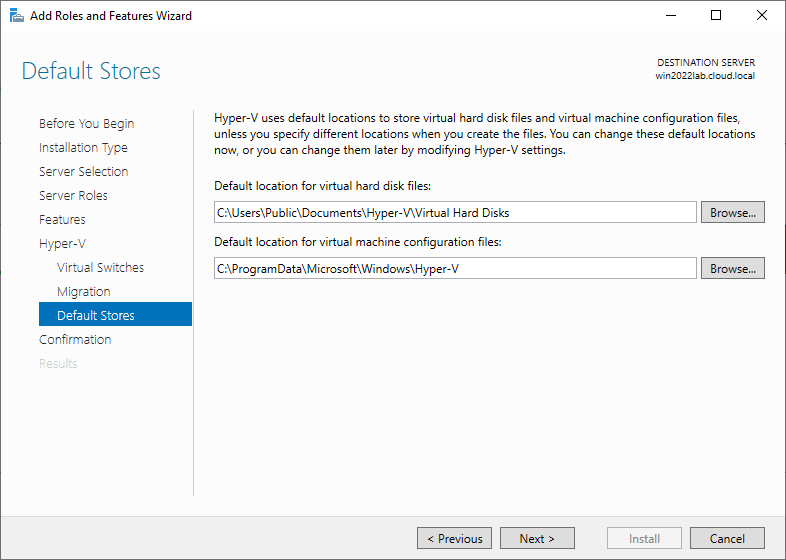
Configure the default storage for Hyper-V virtual machines. Hyper-V stores virtual machine hard disk files in the “C:\Users\Public\Documents\Hyper-V\Virtual Hard Disks” directory.
The default virtual machine configuration file location is “C:\ProgramData\Microsoft\Windows\Hyper-V.”
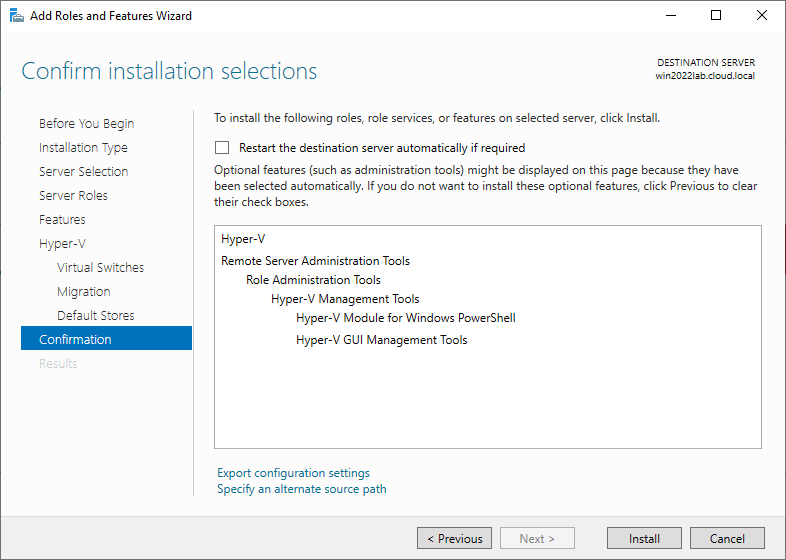
Confirm the installation configuration for Hyper-V. When you click Install, the installation of the Hyper-V role begins.
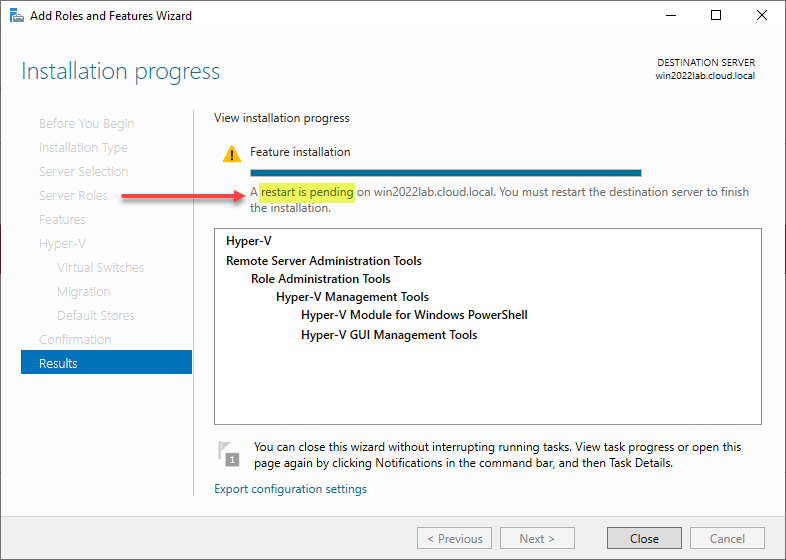
After the Hyper-V Role installation completes, you will see the note in the Installation progress dialog, which reminds you of the need to restart the server. The reboot is needed to instantiate Hyper-V underneath Windows Server and allow it to become the bare-metal installation needed for the type 1 hypervisor.
Verifying your Windows Server Hyper-V installation
Once you have rebooted your Windows Server Hyper-V host, you can verify that Hyper-V and the Hyper-V management tools were successfully installed by launching the Hyper-V Manager. You can launch Hyper-V Manager by typing virtmgmt.msc at a run or command line. The Hyper-V Manager console shortcut is also found under the Administrative Tools in the Start Menu.
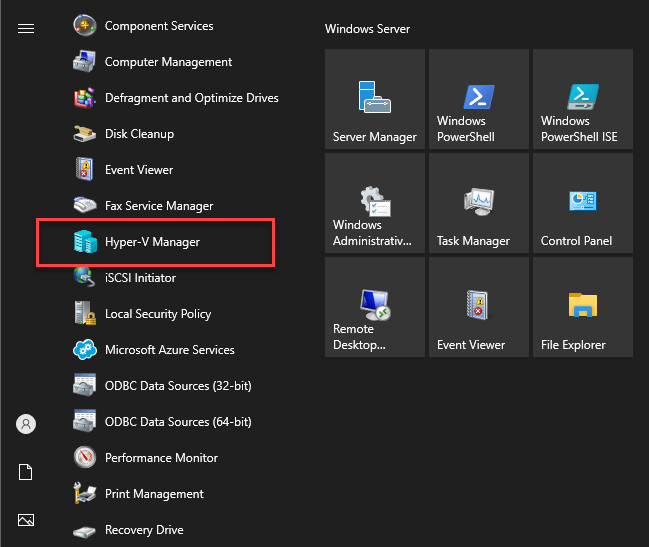
Hyper-V Manager should successfully launch, and you will see your local Windows Server listed by default. In an upcoming post, we will get into the inner workings of Hyper-V Manager more. It is the primary management tool to manage and configure Hyper-V and create virtual machines.

Wrapping Up
Beginners looking to learn and install Microsoft Hyper-V have good resources to begin learning, including the Microsoft Evaluation Center. The Microsoft Evaluation Center provides a way to get legitimate copies of Windows Server for 180 days before they expire. After that, installing Hyper-V in Windows Server is straightforward using the Server Manager GUI. Next, we will look at how to do the same process using PowerShell in Windows Server.
Follow our Twitter and Facebook feeds for new releases, updates, insightful posts and more.