
Next up for our Hyper-V beginner’s series is learning about installing the Hyper-V Role on a Windows Server Core installation of Windows Server. Until now, we have demonstrated using Windows Server Desktop installations when installing Microsoft Hyper-V. Why is it good to learn Windows Server Core related to Microsoft Hyper-V? Let’s dive into how to install Microsoft Hyper-V in Windows Server Core for beginners and see why and how this is done.
What is the Windows Server Core edition?
If you have not heard about the Windows Server Core edition, let’s explain what this edition of Windows Server is and its purpose. For years, Microsoft has been criticized for the attack surface associated with the “Windows” part of the operating system, in other words, its GUI. While Linux distros have long had a headless operating system without a GUI that helps to minimize the attack surface, etc., Windows was missing such an option.
With the introduction of the Windows Server Core edition, that has changed. The Windows Server Core option is a minimal installation of Windows Server Standard and Datacenter editions. Unlike the classic “Desktop Experience” installation, the Windows Server Core installation option has a smaller disk footprint and a stripped-down interface with a much smaller code base. All of this translates to a much smaller attack surface.
The difference between the Windows Server Desktop Experience installation and the Core installation option becomes readily apparent when Windows Server boots for the first time. Instead of the normal Windows “Desktop” login experience, you will be greeted with a “text-based” command prompt style interface, known as the “SConfig” utility.
Why run Microsoft Hyper-V on a Windows Server Core installation?
With the security benefits and the reduced attack surface, the Windows Server Core installation makes a great platform for running a production Microsoft Hyper-V installation. It is lightweight, secure, and can be managed with other tools and consoles outside of the Hyper-V host.

The much lighter footprint and fewer installed Windows components make lifecycle management, servicing, and other management and operations tasks much simpler. Arguably, Windows Server Core installations with fewer moving “parts” underneath the hood should also be more stable.
Installing the Windows Server Core installation option
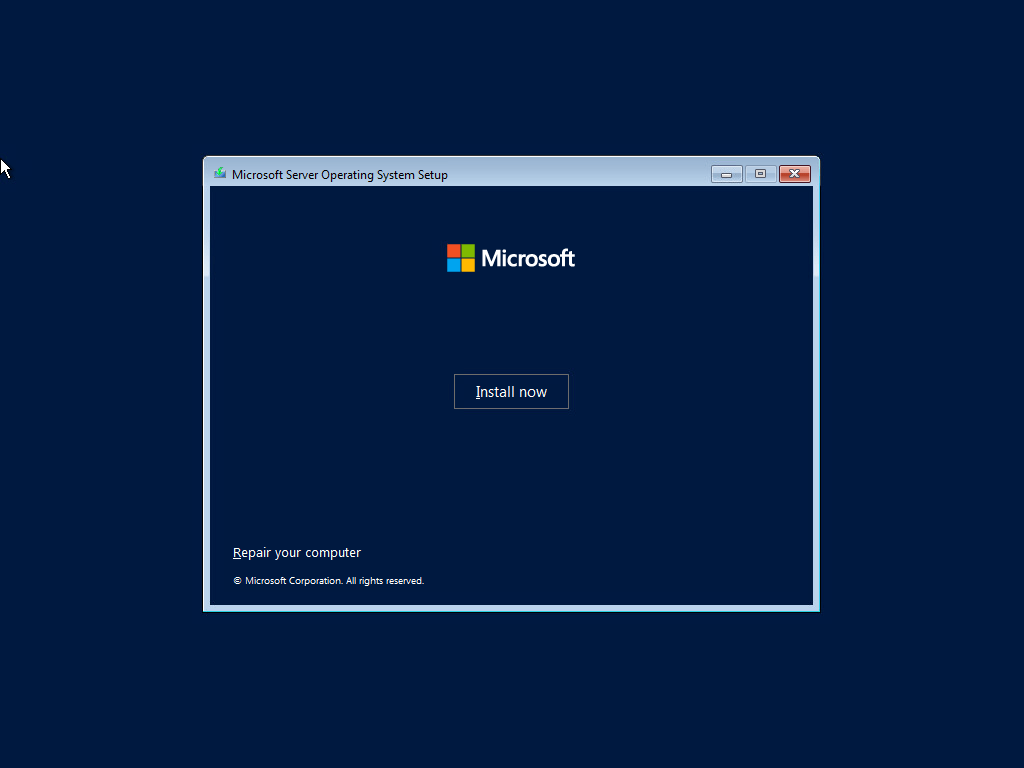
Let’s look at how you install Windows Server Core. How do you install Windows Server Core instead of the Desktop Experience? Below, we are beginning the installation process from the ISO of Windows Server 2022. Click the Install button.
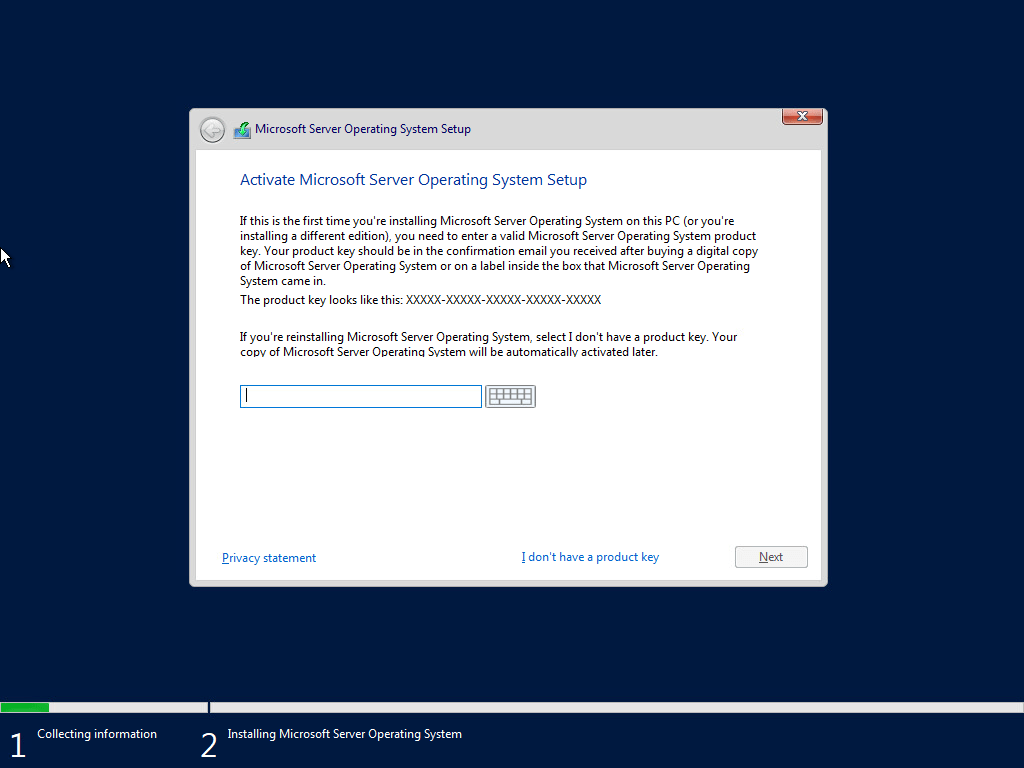
Enter the product key for Windows Server 2022. Also, you can click the option “I don’t have a product key.”
When you get to the Select the operating system you want to install screen, you will see (4) options listed. They look the same. However, the Standard and Datacenter options listed without the (Desktop Experience) are Windows Server Core installations. Select either the Standard or Datacenter installation option for installing Windows Server Core.

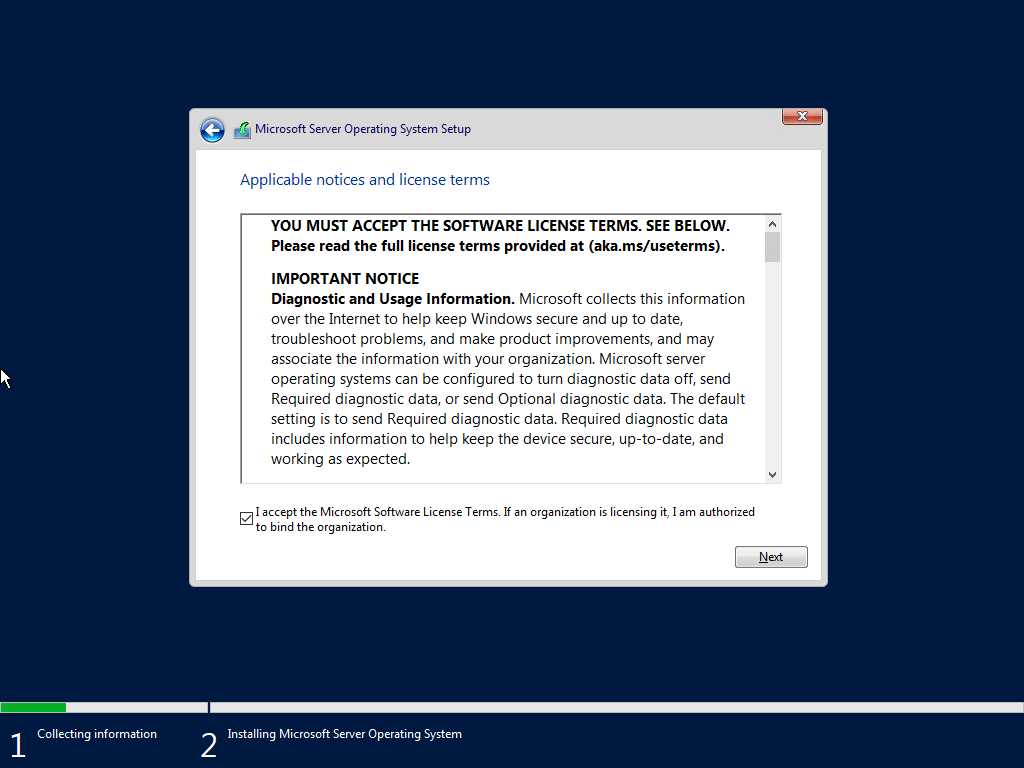
Accept the EULA by clicking Next.
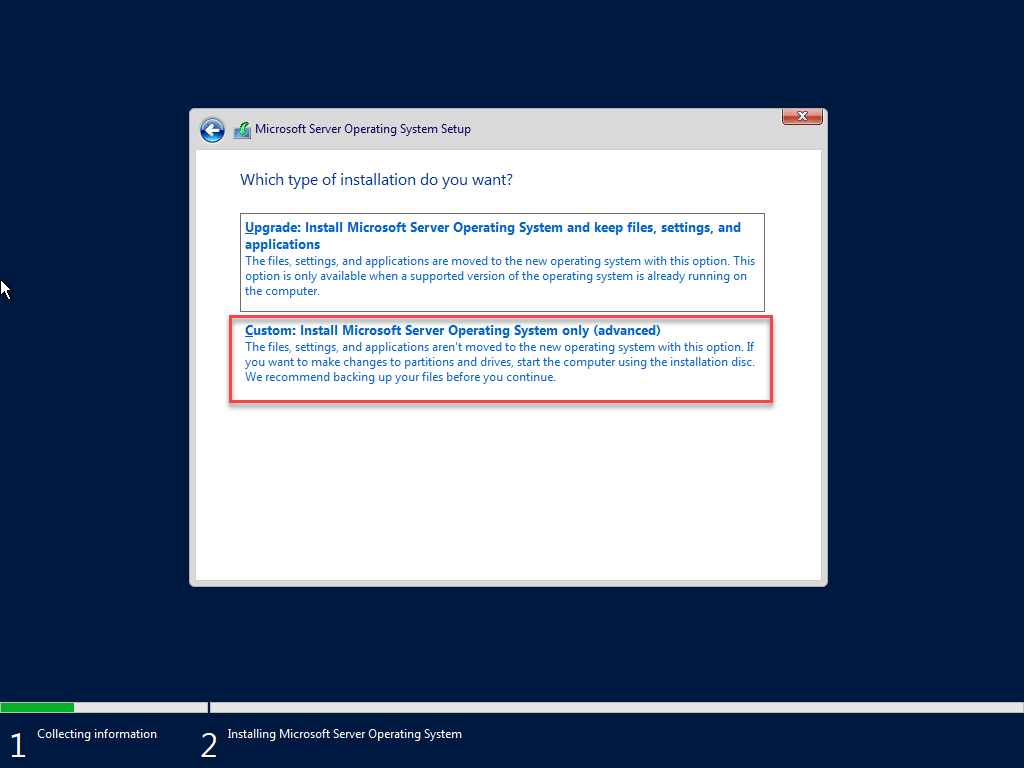
Click the Custom installation option.
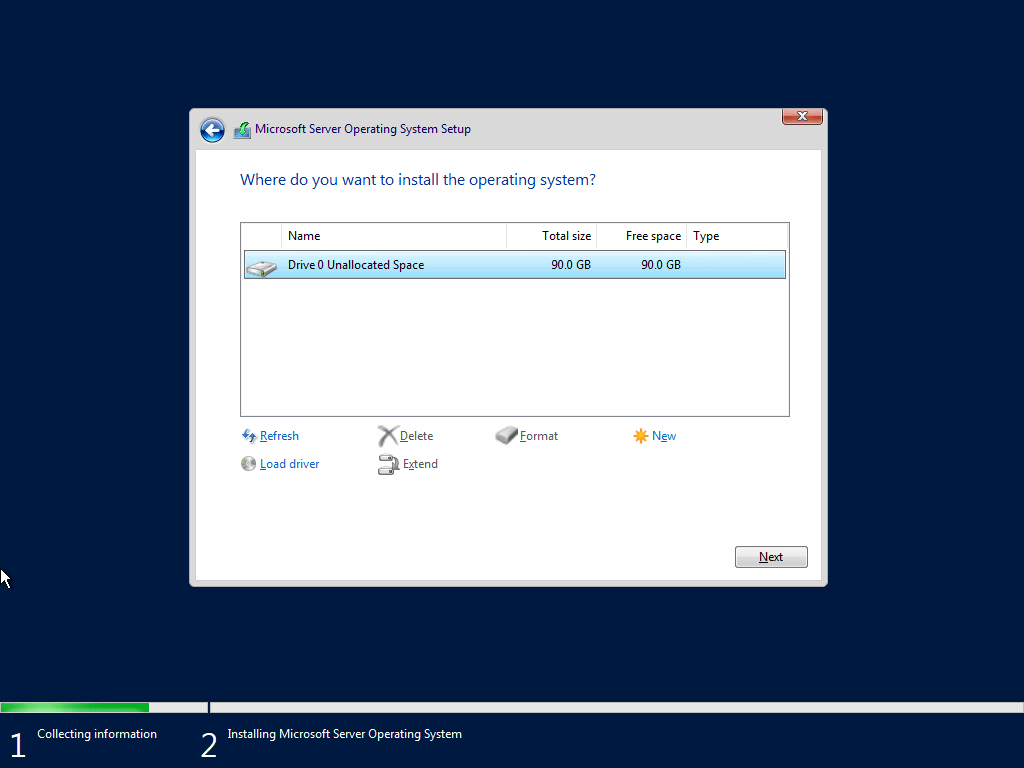
Next, select the disk you would like to target for the Windows Server Core installation. Click Next.
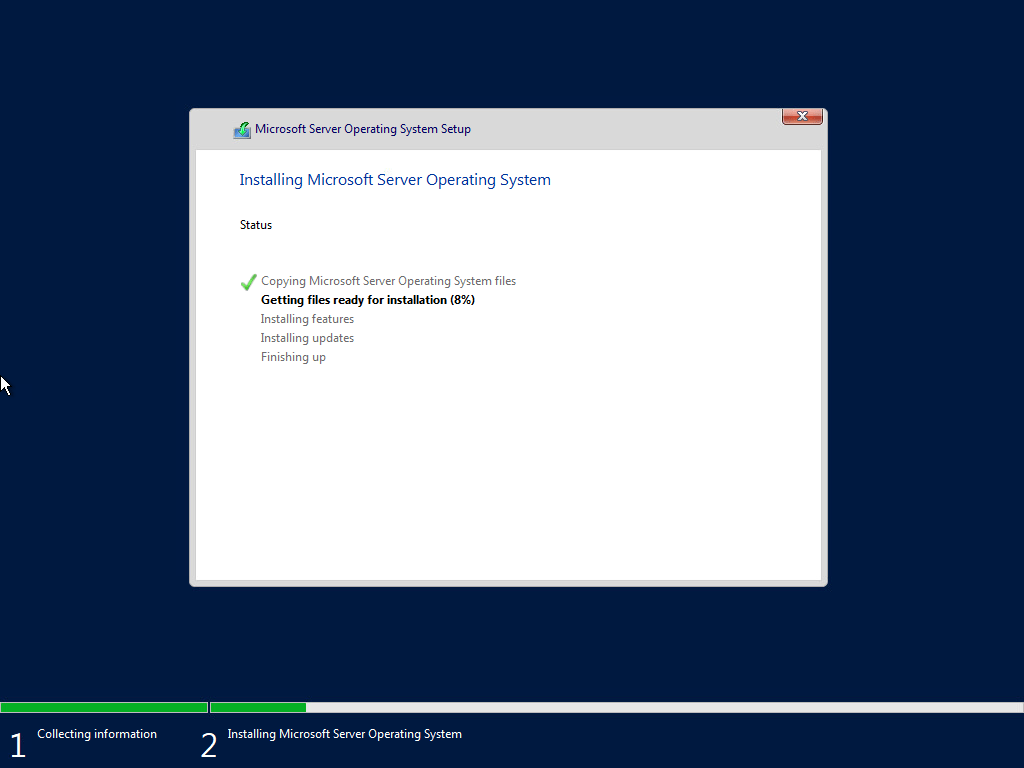
The Windows Server Core installation begins.
Configuring Windows Server Core
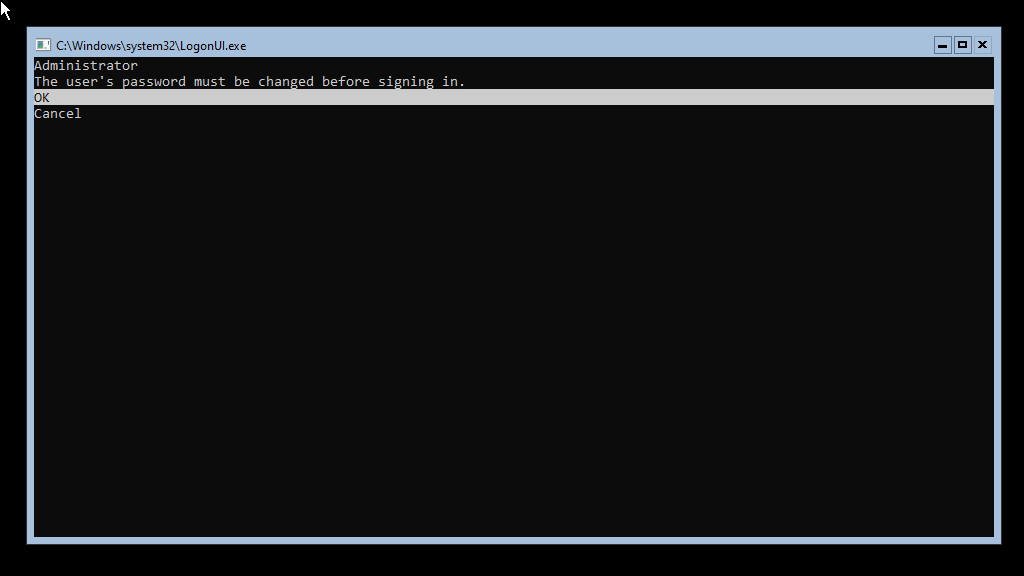
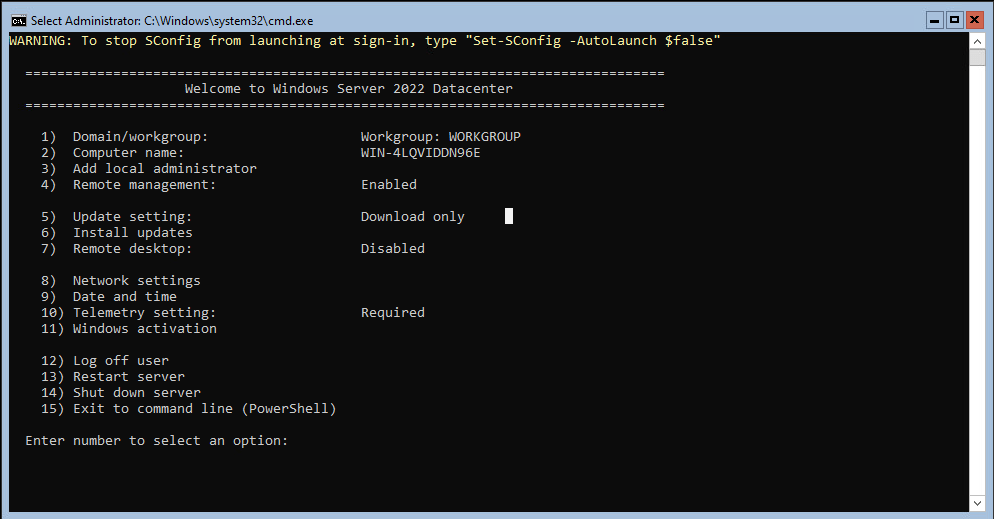
Once the installation of Windows Server Core is complete, the server will boot into the SConfig command prompt menu. This utility is the default tool for configuring Windows Server Core. Like in the Desktop Experience version of Windows Server, you will be asked to configure a default password for the local administrator account.
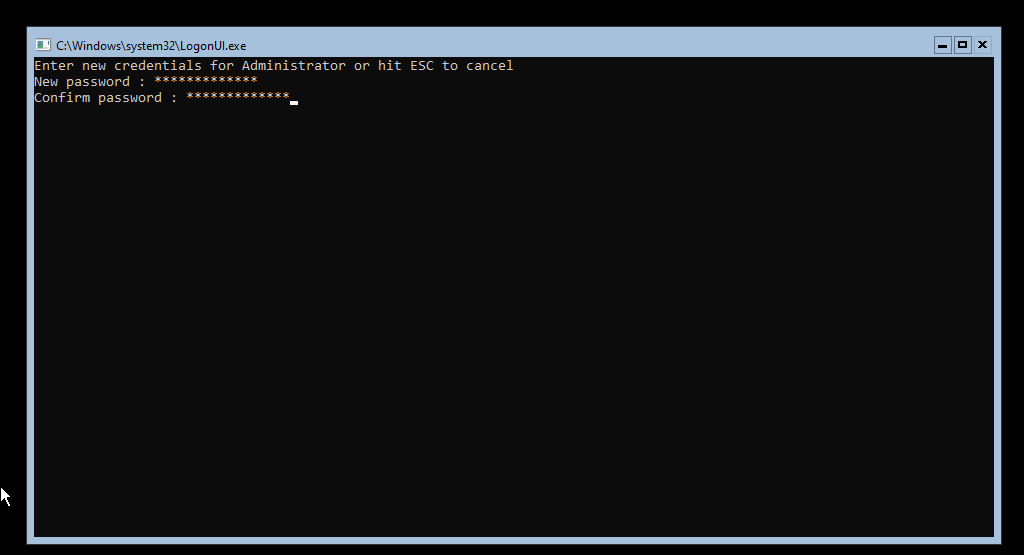
Configure and confirm a new administrator account password.
Once the administrator password is configured, the SConfig utility will load. It is a lightweight utility with (15) menu options that allow applying a basic configuration to your Windows Server Core installation. There are a few recommendations for getting a basic configuration on a Windows Server Core installation that will be used for hosting the Hyper-V Role. These include:
- Join a domain (optional)
- Change the computer name (this can also be a part of the “Join a domain” option
- Set a static IP address on the Windows Server Core installation
- Run Windows Updates
- Enable remote management (temporarily)
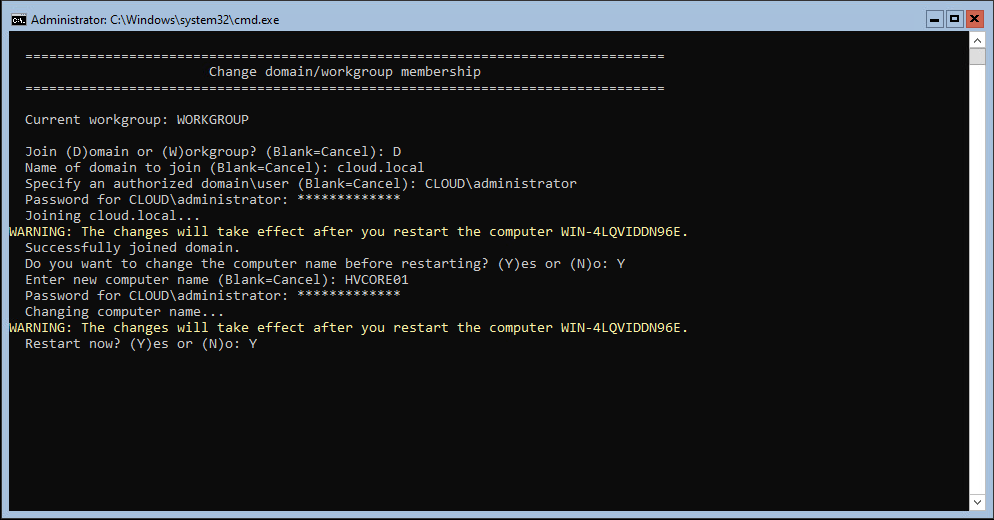
Below, you can see we have joined a domain and changed the computer name.
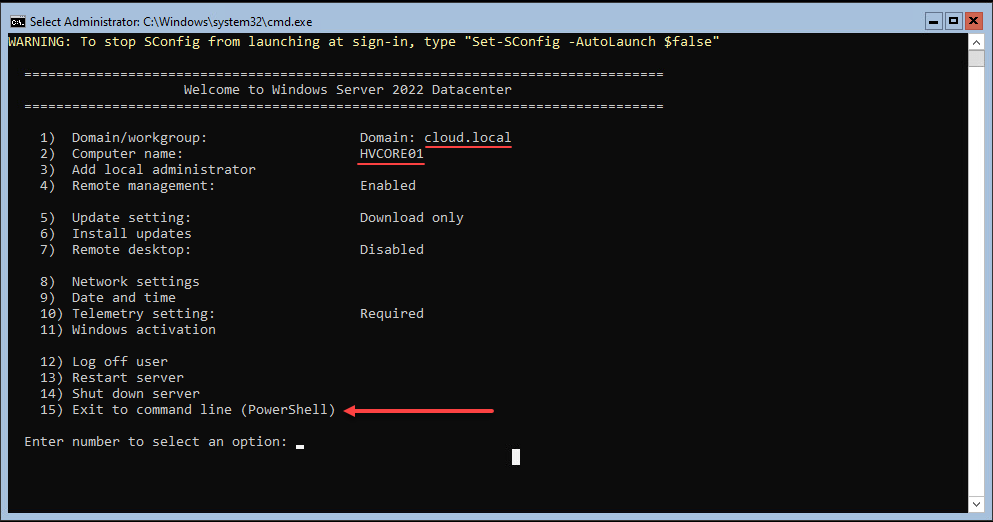
After the computer reboots, you will log back in and should now see the new computer name and domain reflected in the SConfig utility. Let’s now launch the PowerShell command line to install the Hyper-V Role.
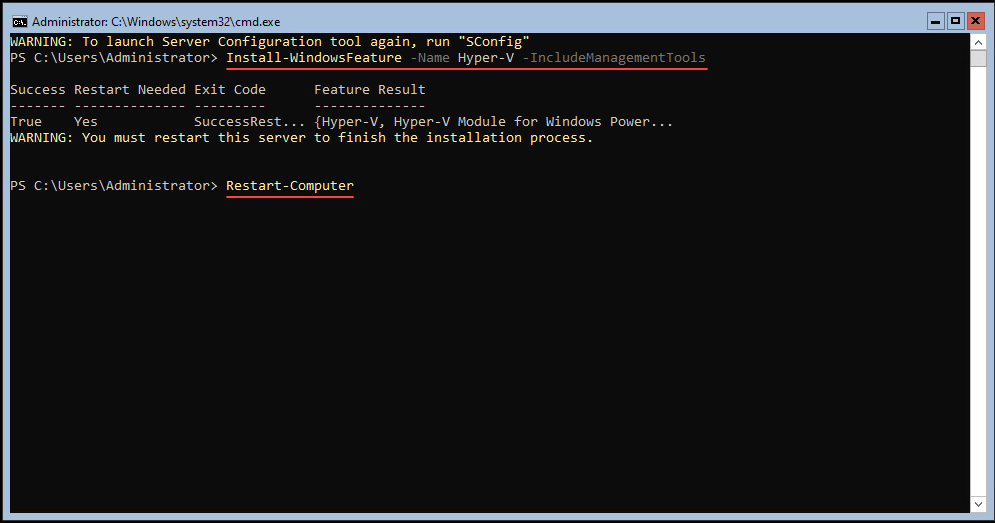
Once we are at the PowerShell command line, we can install the Hyper-V Role and Management Tools. Note the PowerShell cmdlet to install the Hyper-V Role and Management Tools.
- Install-WindowsFeature -Name Hyper-V -IncludeManagementTools
Once the Hyper-V Role has been installed, we can use the Restart-Computer cmdlet to restart the Windows Server Core host with the Hyper-V Role installed.
Once the Windows Server Core installation reboots, the Hyper-V Role will be instantiated, and you can remotely connect to the Hyper-V host with Hyper-V Manager or Windows Admin Center to configure the Hyper-V host.
Wrapping Up
The Windows Server Core installation is a great way to host the Microsoft Hyper-V Role. It provides a streamlined, small footprint, secure, and lightweight Windows Server installation without the GUI. In addition, the GUI-less interface helps to minimize the attack surface, making Windows Server Core an ideal Windows Server installation for housing the Microsoft Hyper-V Role. The built-in SConfig utility makes configuring Windows Server Core straightforward to initialize the installation with basic configuration settings. How do you connect to a Windows Server Core installation running the Microsoft Hyper-V Role? Next, we will take a look at remotely managing a Windows Server Core Hyper-V for beginners and see how this is accomplished.
Check out the other articles in this Hyper-V Beginner’s series:
Beginners’ Guide for Microsoft Hyper-V: Overview of Hyper-V (Part 1)
Beginners’ Guide for Microsoft Hyper-V: How to Install Microsoft Hyper-V with PowerShell -(Part 3)
Follow our Twitter and Facebook feeds for new releases, updates, insightful posts and more.