
AWS OpsWorks
What is AWS OpsWorks?
AWS OpsWorks is a configuration management service that helps you build and operate highly dynamic applications, and propagate changes instantly in Amazon Cloud Infrastructure.OpsWorks lets you use Chef and Puppet to automate how servers are configured, deployed and managed across your Amazon EC2 instances or on-premises compute environments.
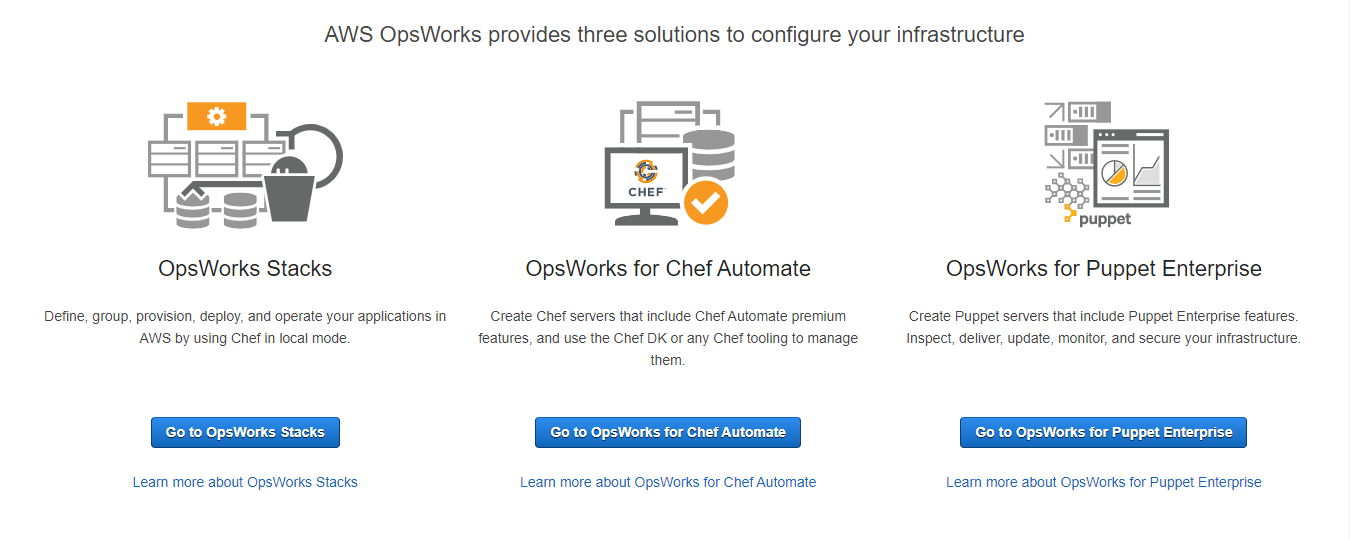
Chef and Puppet are automation platforms that allow you to use code to automate the configurations of your servers or EC2 instances. AWS OpsWorks provides three solutions to configure your infrastructure viz
- Opsworks Stacks
- Opsworks for Chef Automate
- Opsworks for Puppet Enterprise
In this blog, we are providing you an overview of these three solutions in a simple way
Scenario 1 Opsworks Stacks –
AWS OpsWorks Stacks lets users manage applications and servers on AWS and on-premises. With OpsWorks Stacks, users can model their application as a stack containing different layers, such as load balancing, database, and application server. Users can deploy and configure Amazon EC2 instances in each layer or connect other resources such as Amazon RDS databases. OpsWorks Stacks lets users set automatic scaling for their servers based on preset schedules or in response to changing traffic levels, and it uses lifecycle hooks to orchestrate changes as your environment scales. Users can run Chef recipes using Chef Solo, allowing users to automate tasks such as installing packages and programming languages or frameworks, configuring software, and more.

Creating Stacks and registering Instances by the the “Add your first stack” option
Login to AWS console using a valid root user or an IAM user. Choose Services → Management & Governance → OpsWorks.
As said, here you will be offering three services to use to configure your Infrastructure. Here we are choosing OpsWorks Stacks to create a stack and register an EC2 instance under it.
For starting fresh, first create an AWS OpsWorks stack to model your application components, deploy code, configure instances, automate tasks, and control the resources used by your application. Click the button “ Add your first stack “
A stack is a set of layers, instances, and related AWS resources whose configuration you want to manage together. A new dialog window opens to choose your operating system to create a stack as shown below. Here you can choose a sample stack or Chef 12 stack or Chef 11 stack. Here we are choosing a sample stack that explores AWS OpsWorks Stacks with a sample node.jsp application.

Choose the operating system type, and click Create stack. In our case, we have selected the Linux operating system.
This involves five steps viz,
- Creating a stack named “My Sample Stack (Linux)”
- Setting the Chef cookbook repository of the stack
- Creating a layer named “Node.js App Server” in the stack
- Assigning a recipe to the deploy lifecycle event in the layer
- Adding an instance to the layer
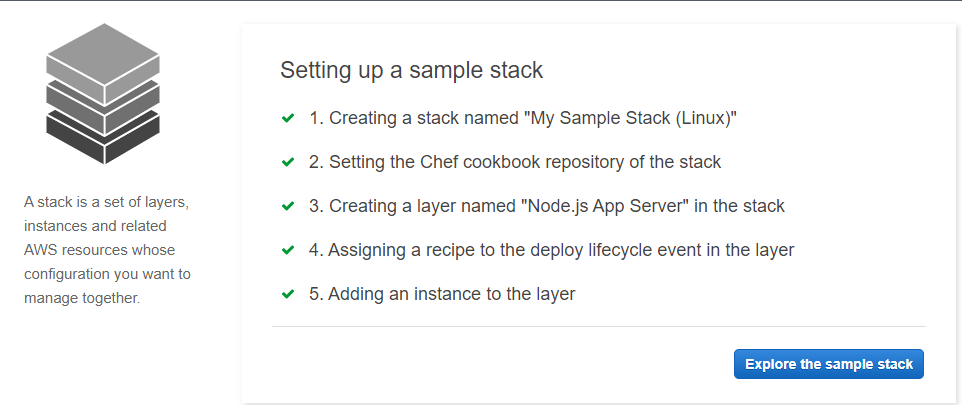
Click “ Explore the sample stack” to proceed further.
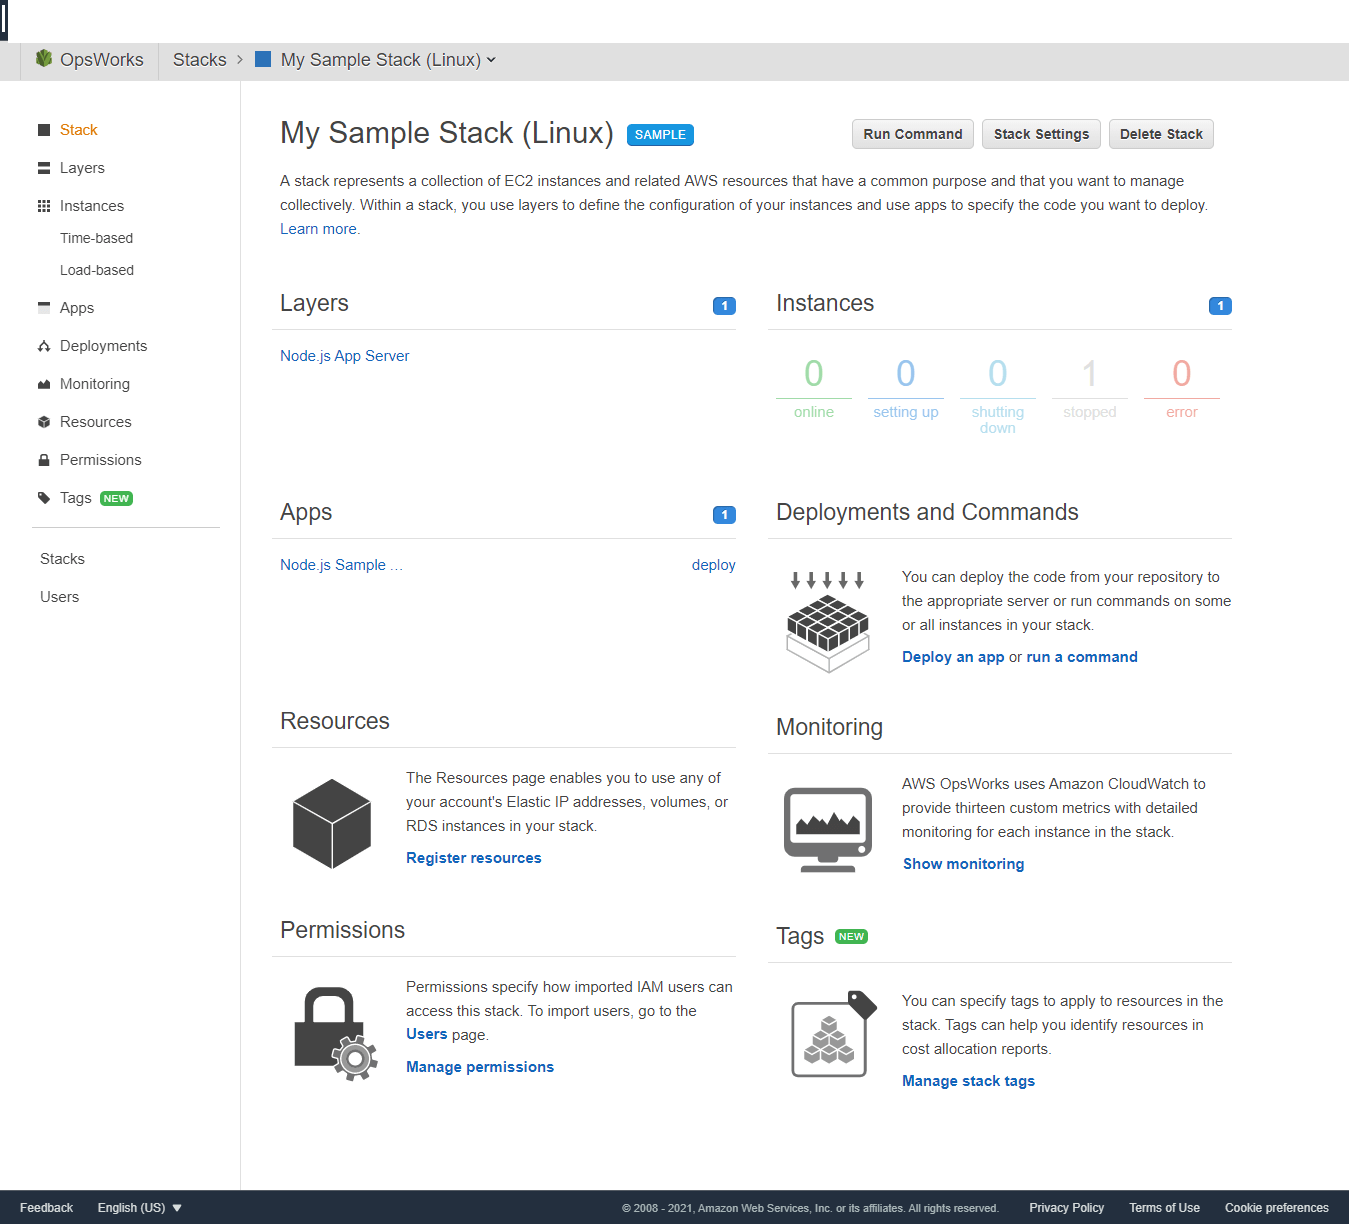
Here the sample stack is provided with the configuration option to choose your instance and use apps to specify the code you want to deploy. You could also set up Monitoring using Amazon Cloudwatch, set up permissions using creating IAM role, and registering your resources such as your account’s Elastic IP addresses, volumes, or RDS instances in your stack.
Registering Instances to the created stack
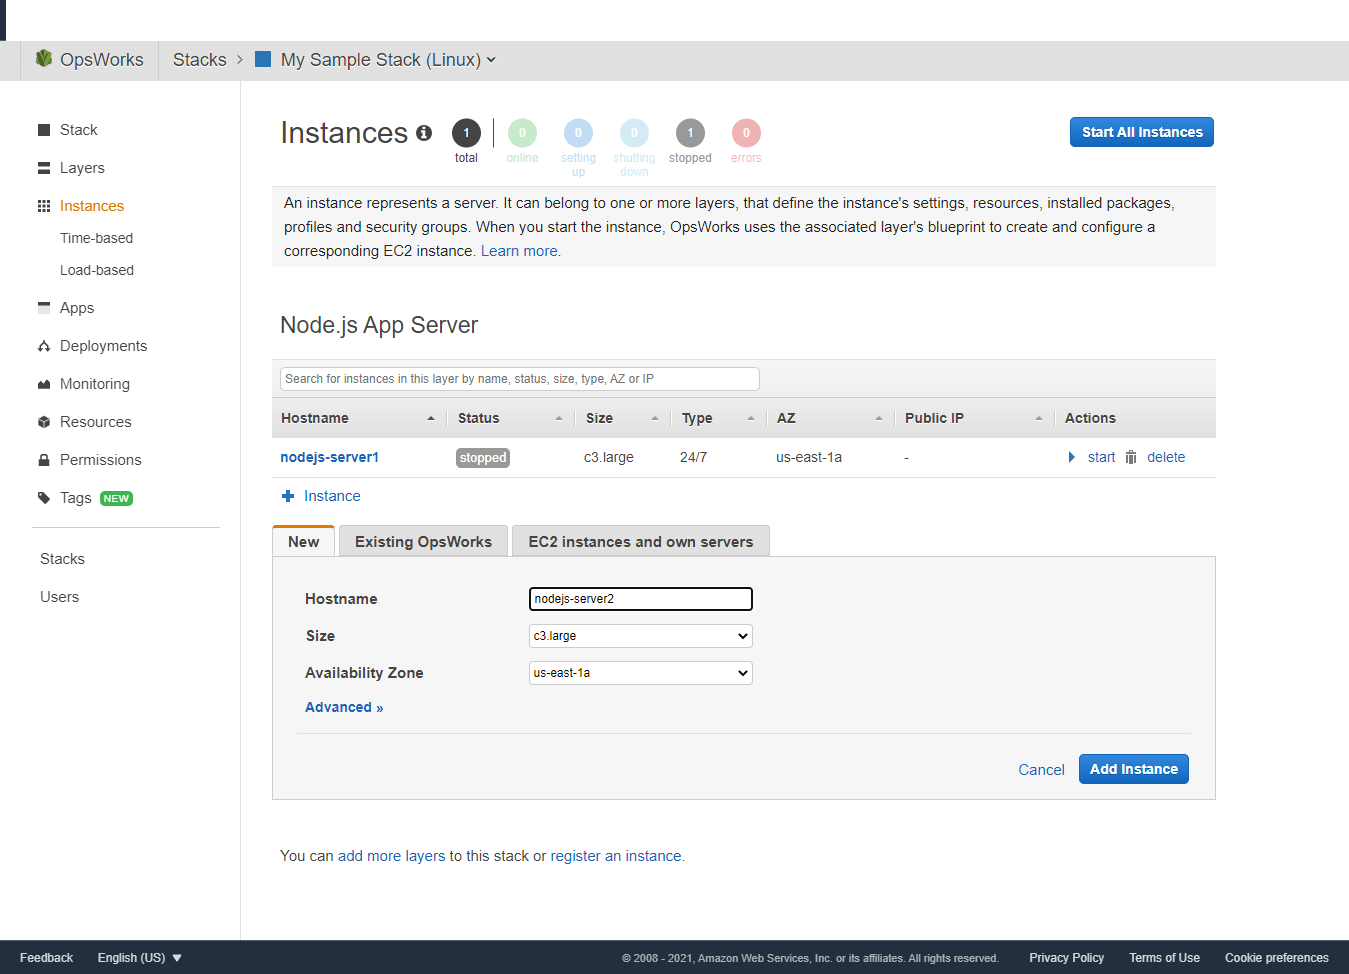
By default, when choosing OpsWorks stacks, a node js app server ( a C3.large EC2 instance ) will be added to the OpsWorks stack, depending on your OS selection as mentioned in the previous section. You could also add a new server, or use another existing OpsWorks stacks or any other EC2 instances you can choose from the available options. This can be done, by clicking the + sign under the Hostname as shown in the below screenshot.
When selecting New, users need to provide the Hostname, Instance type, and availability zone. Then click Add Instance to add to the newly created stack.
Scenario 2 OpsWorks for Chef Automate
Creating a Chef Automate Server
In this type of deployment, a Chef Automate server manages nodes in your environment, stores information about those nodes, and serves as a central repository for your Chef cookbook. Here we need to provide the details for the Chef Automate server such as Instance type, server name, and the region on which the Chef Automate server to be hosted.
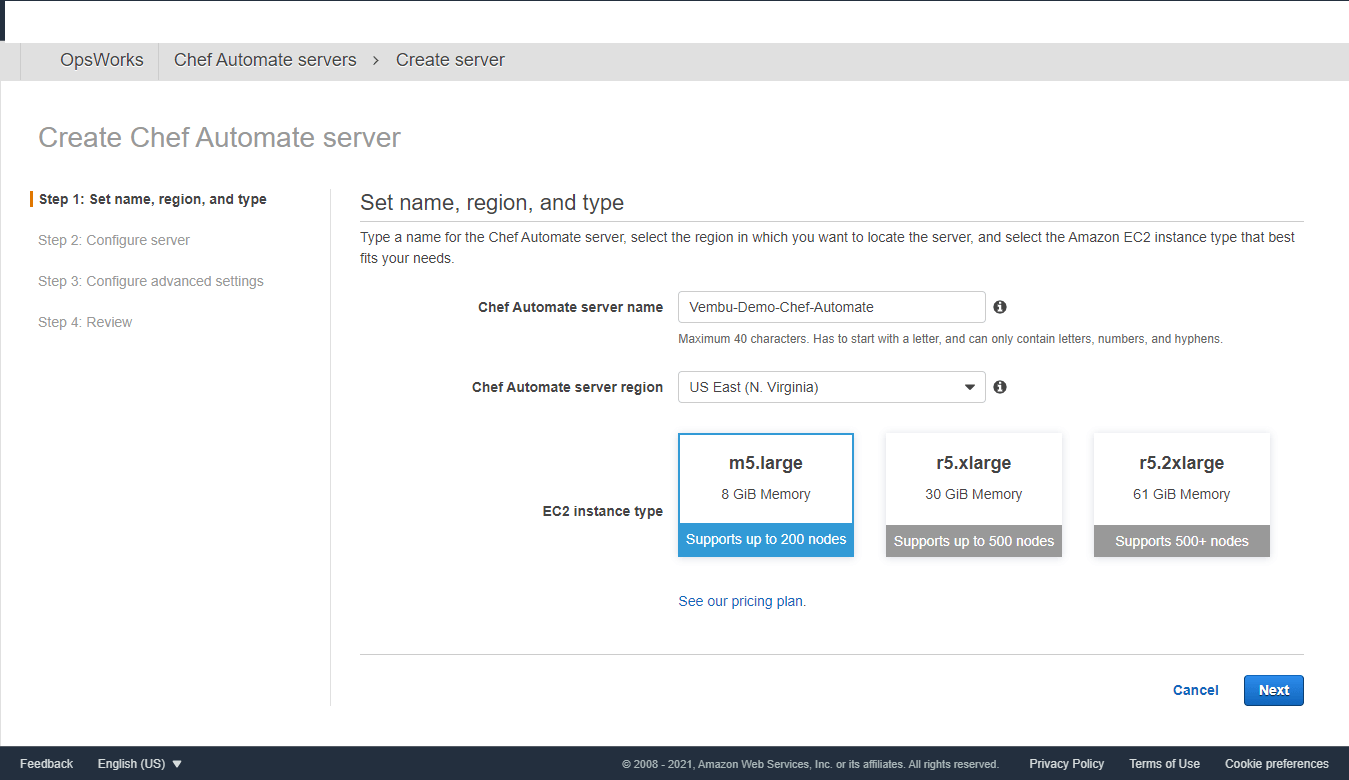
Click Next to configure the Chef Automate server
In this step, the user needs to provide the details for the SSH key pair and server endpoint. Below screenshot shows these details and click Next to proceed to the next step
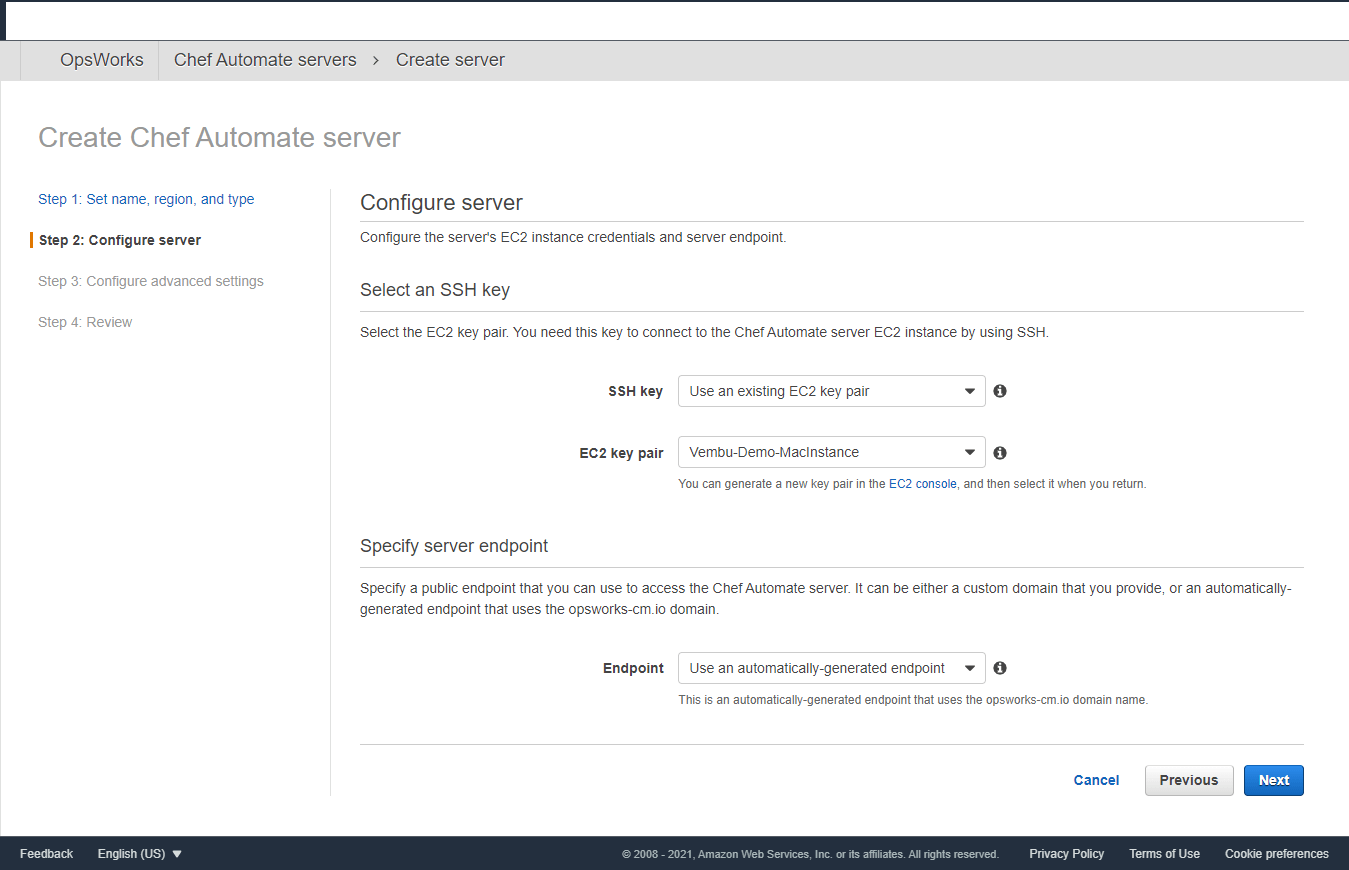
Note: Specifying a public endpoint that you can use to access the Chef Automate server, can be either a custom domain that you provide or an automatically-generated endpoint that uses the opsworks-cm.io domain.
Click Next to continue to complete the advanced settings for the Chef Automate server.
In this step, the user has to provide a new or existing VPC with the subnet group details for the Chef Automate server. Also, associate a public IP address for the Chef Automate server by clicking the Yes option. Also, you could generate a new security group, service role, and instance profile.
In further, you could configure the system maintenance window and automatic backup for the Chef Automate server. The below screenshot provides these details.
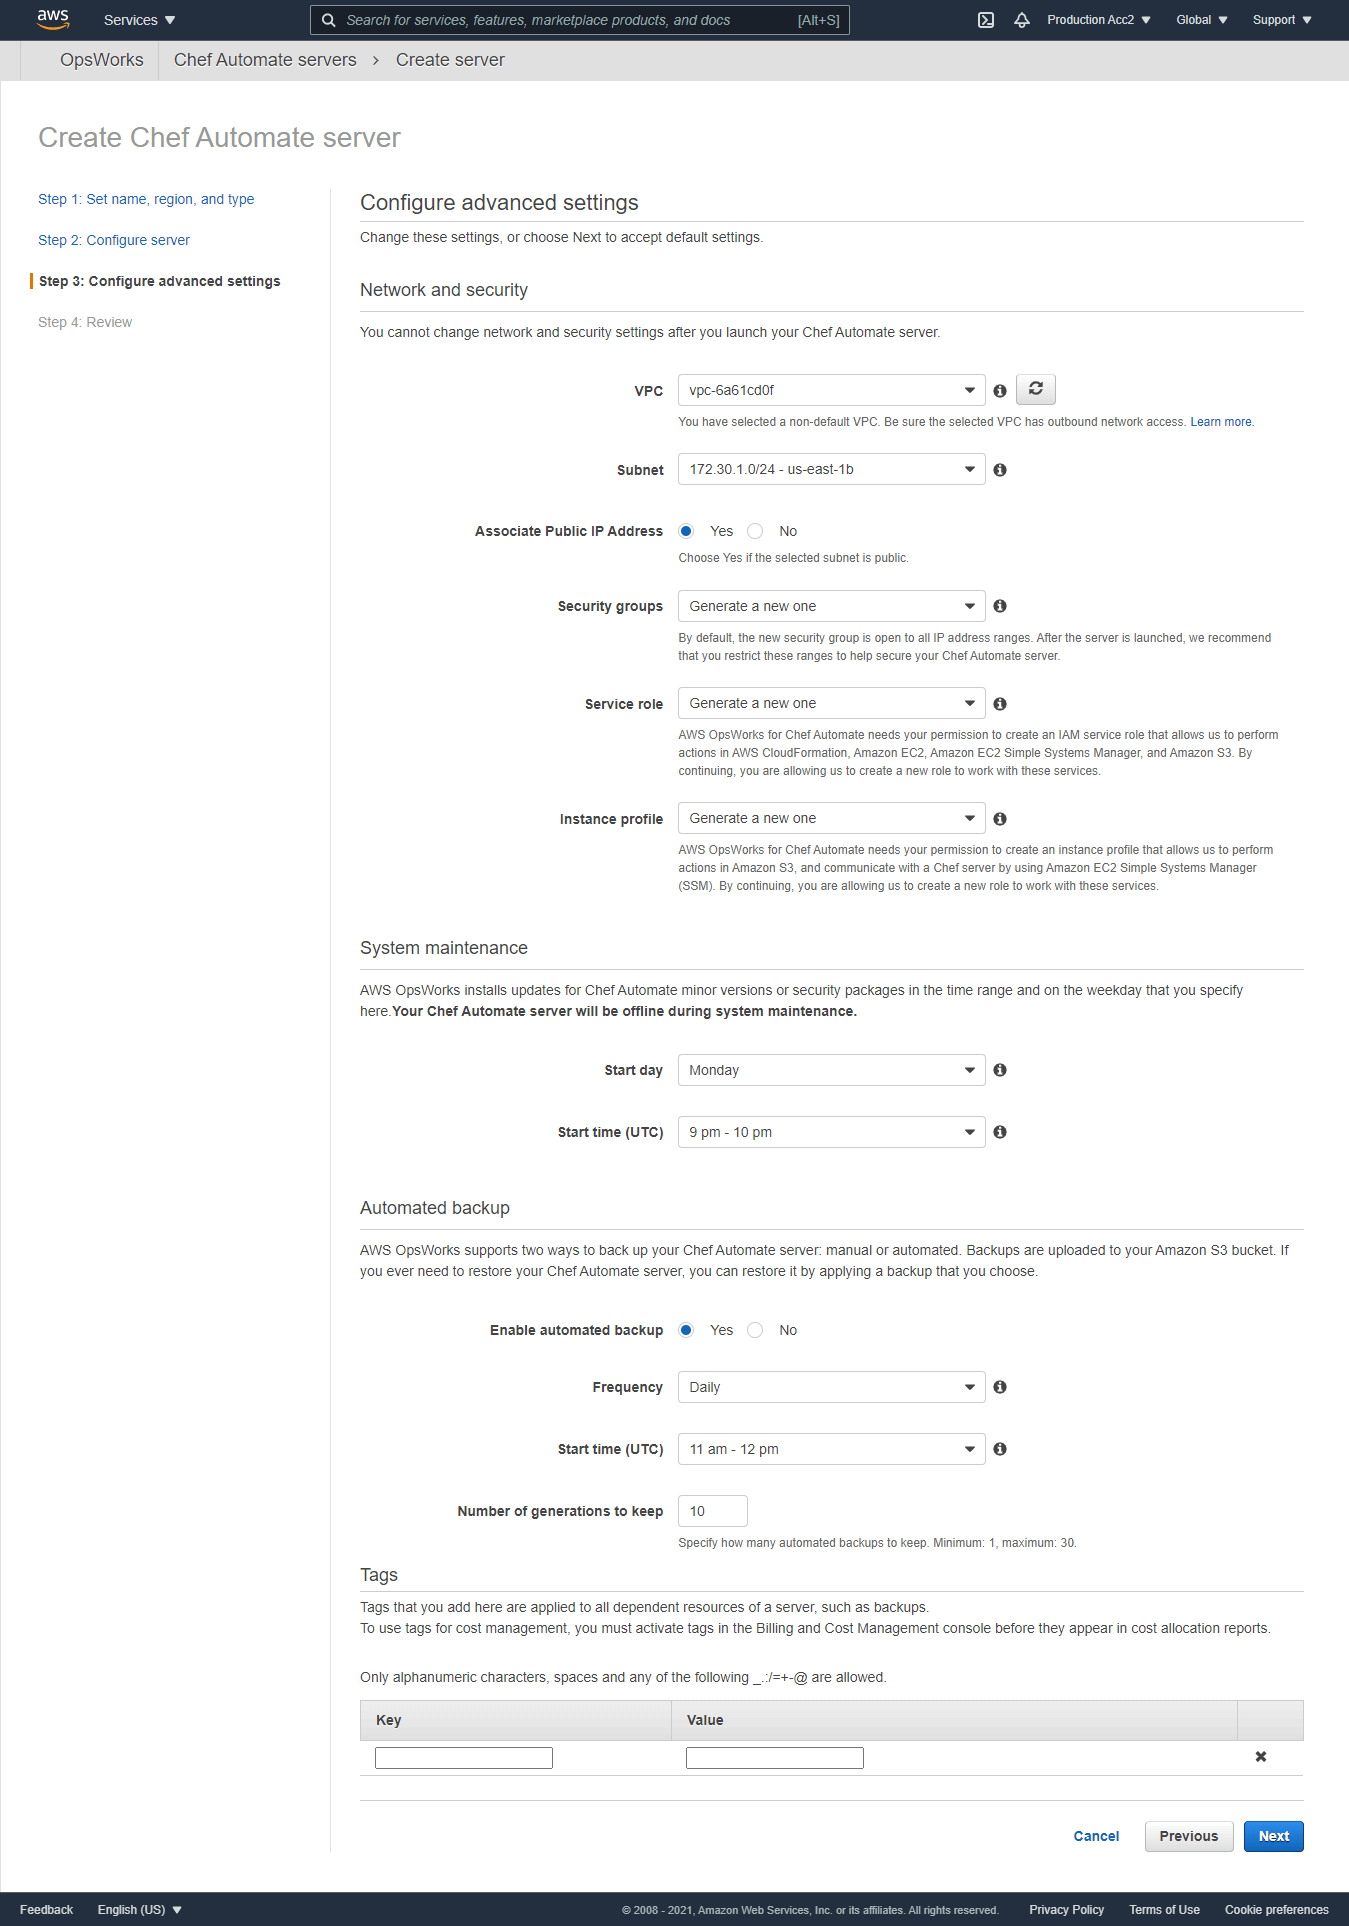
Click Next to continue to the step Review and Create. Here you can review all the details provided, on the confirmation you click the Launch button to create a Chef Automate server
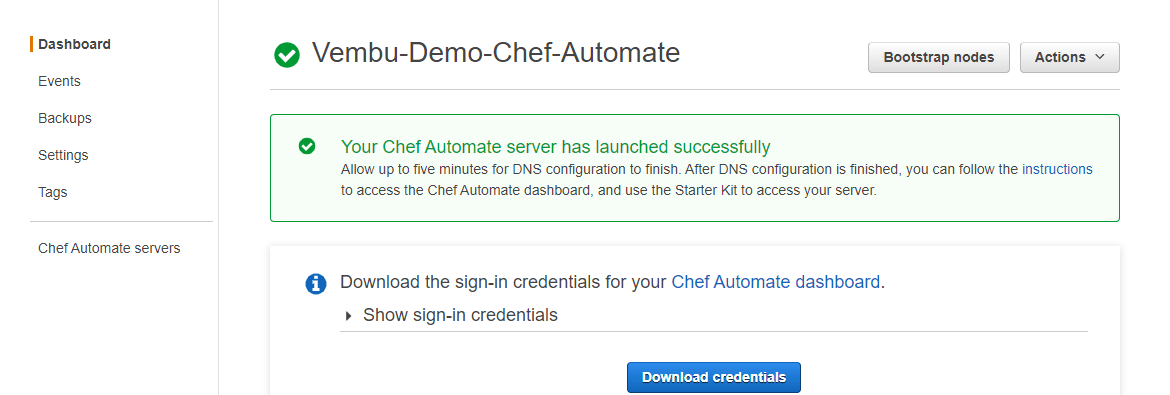
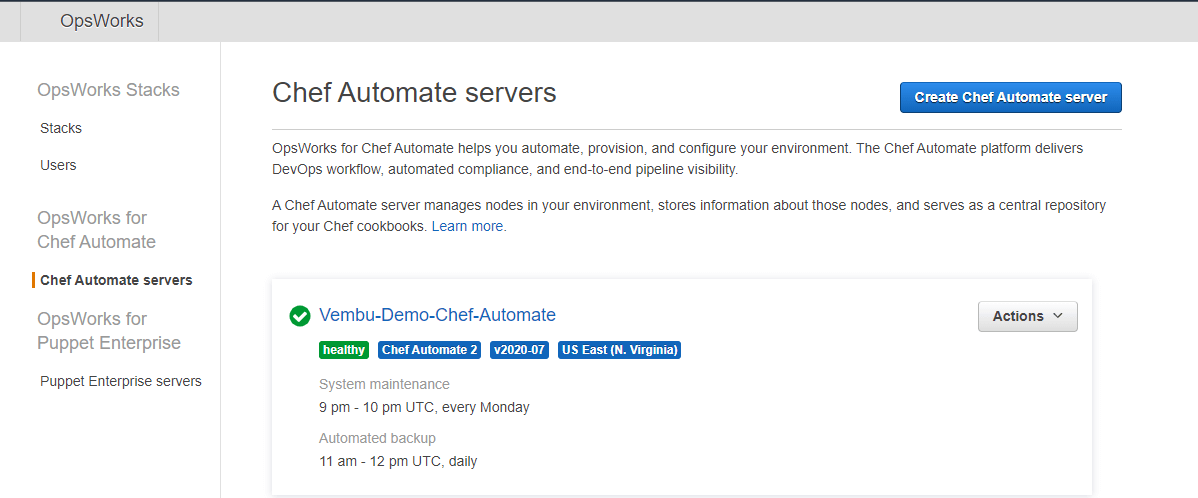
This process can take somewhere around 20 minutes to complete, and you will see a progress bar that shows the current status of the server launch. Finally, you will get a completion notification as shown below, and your Chef Automate Server will be listed under the Chef Automate Servers section as in the second image.
Scenario 3: OpsWorks for Puppet Enterprise
Creating a Puppet Enterprise Server
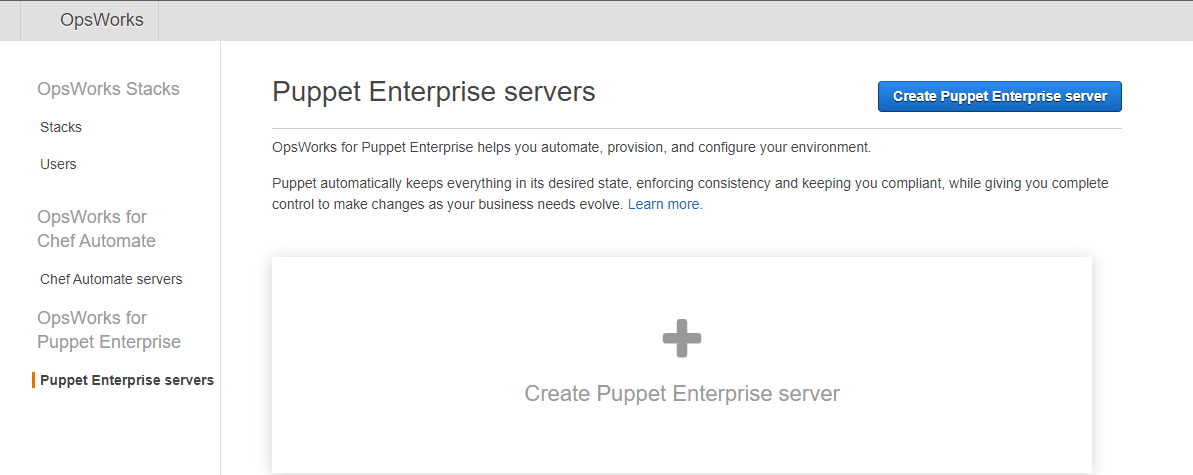
In this section, we are going to describe how to create a puppet enterprise server in Opsworks. Choose Opsworks → to click the button “ Go to Opsworks for Puppet Enterprise “ → Click the button “ Create Puppet Enterprise Server “ as shown below image.
Creating a Puppet Enterprise server is similar to creating a Chef Automate server explained in the above steps. One additional step configuring puppet code manager is to be configured. In this step, the user needs to provide his git repository URL where all your modules reside. So before creating a Puppet Enterprise server, a user must have all his required modules in his git repository with a publicly accessible URL. In this blog, we are not detailing these steps, since we are not using any sample git repository modules, and hence those steps are not covered.
Conclusion :
AWS OpsWorks has its advantages and disadvantages. Implementation and configuration of a Chef Automate server or a puppet enterprise server are very easy, and any administrator can set up in a day with little knowledge. Monitoring and securing these instances also is not a difficult task. Using the IAM role and Cloudwatch one can easily manage them. But getting up and running with OpsWorks is a very technical and potentially time-consuming process, and is required to have a team of professionals to run smoothly.
Follow our Twitter and Facebook feeds for new releases, updates, insightful posts and more.