
Read on:
AWS for Beginners: Understanding AWS Terminologies: Part 1
AWS for Beginners: What is AWS EC2: Part 2
AWS for Beginners: AWS Compute Services: Part 3
AWS for Beginners: How to Protect AWS Security Tools: Part 4
AWS for Beginners: What is IAM (Identity and Access Management) and Best Practices: Part 5
AWS for Beginners: Provisioning IAM Users and Programmatic Access in AWS: Part 6
AWS for Beginners: Securing Root account using MFA: Part 7
AWS for Beginners: Amazon S3 Overview, Security and Best Practices: Part 8
AWS for Beginners: Creating and managing IAM groups: Part 9
AWS for Beginners: AWS Managed Policies and Inline Policies: Part 10
AWS for Beginners: Create and Attach a policy to an IAM User: Part 11
Introduction:
In the AWS cloud, policies are used to define the permissions for entities like users. When a user requests an AWS resource, then the permissions are evaluated. If the policy provides the permissions, then the user is allowed to access the resource. By default, there are policies available that are created and managed by AWS. These policies could be identified under the category AWS managed while you list the policies in the IAM section. AWS managed policies are good enough to start with as these policies cover a wide range of scenarios that are commonly faced in any IT infrastructure. However, there are some situations in which a custom policy might be required depending on the specific organization’s requirements. A Customer Managed policy is created and managed by the customer. These policies could be identified under the category Customer managed while you list the policies in the IAM section. In this way, the permissions can be fine grained and only the specific permission that is required will be attached to the entity. In this article, we will look at how to create Customer managed policies.
Structure of an AWS Policy
AWS policy is a JSON document. You can create/edit the JSON document to create different types of policies. Within an AWS policy, there could be one or more statements. Each statement has a structure as given below.
{
“Statement”:[{
“Effect”:”effect”,
“Action”:”action”,
“Resource”:”arn”,
“Condition”:{
“condition”:{
“key”:”value”
}
}
}
]
}
The various elements that are part of a policy are Effect, Action, Resource, and Condition. We will now look into the details of different elements.

Effect: Effect decides whether to “Allow” or “Deny” access to the resources. So the value of the element Effect can be either of the two values Allow or Deny
Example:
“Effect”: “Allow”
(or)
“Effect”: “Deny”
Action: Action defines what type of operations an identity can perform on a resource. For example, on an EC2 instance, if you would like to provide permission to perform start and stop actions for identity, then the action element can have the following values.
Example:
“Action”: [
“ec2:StartInstances”,
“ec2:StopInstances”
],
Resource: The resource defines the type of resource on which the actions are applied. A resource can be specified by using the Amazon Resource Name (ARN). If the policy has to be applied for all the resources, then a wild card character (*) asterisk can be used.
Condition: Condition defines when a policy will take effect. This is an optional element and need not be defined always. If in case, a specific policy needs to be applied only on certain conditions, then the condition element can be defined.
Version: Version defines the version of the policy language. There are two policy language versions (i.e) 2008-10-17 and 2012-10-17. The current version of the policy language is 2012-10-17.
Example policy:
Below is a sample policy that allows starting all EC2 instances.
{
“Version”: “2012-10-17”,
“Statement”: [
{
“Effect”: “Allow”,
“Action”: “ec2:StartInstances”,
“Resource”: “*”
}
]
}
Create a Customer managed policy from the AWS console
In this section, we will look at how to create a customer managed policy from the AWS console.
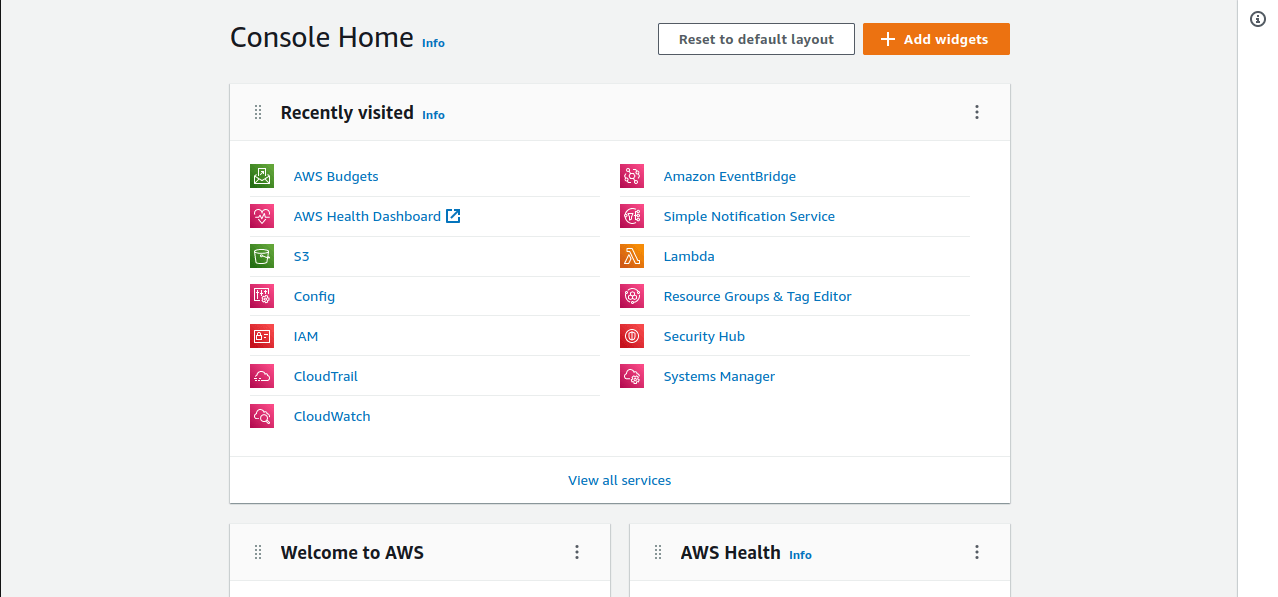
1. Login to the AWS console using the URL https://aws.amazon.com/console
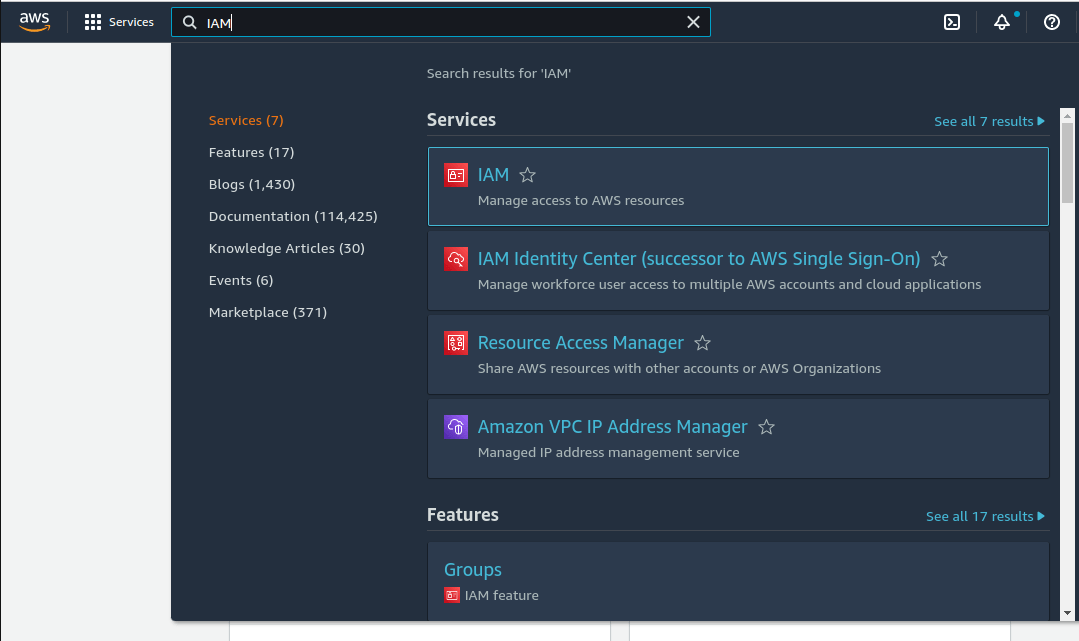
2. Search for the IAM service in the search bar and click on IAM from the results.
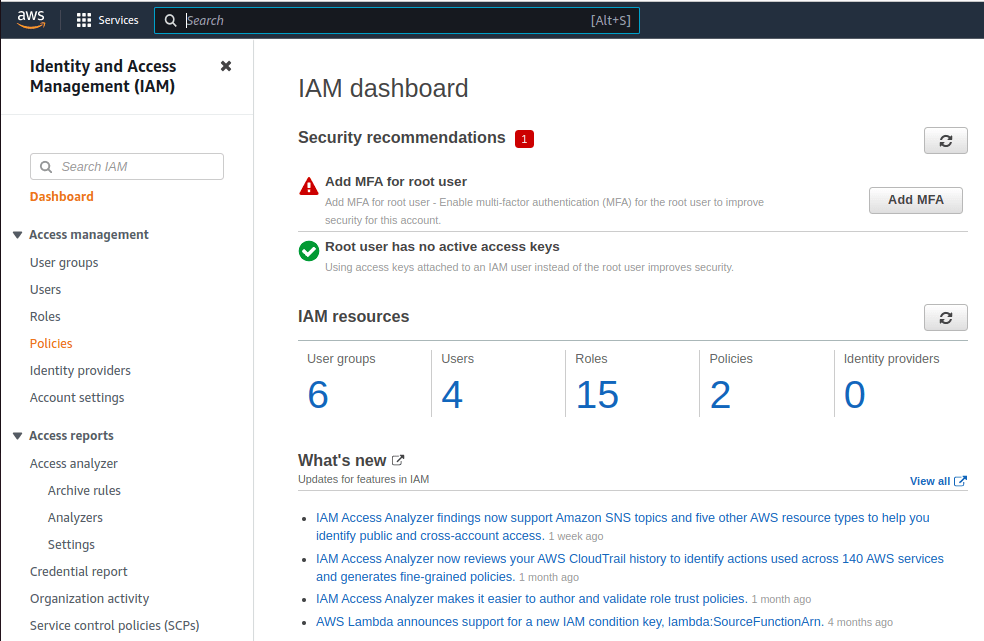
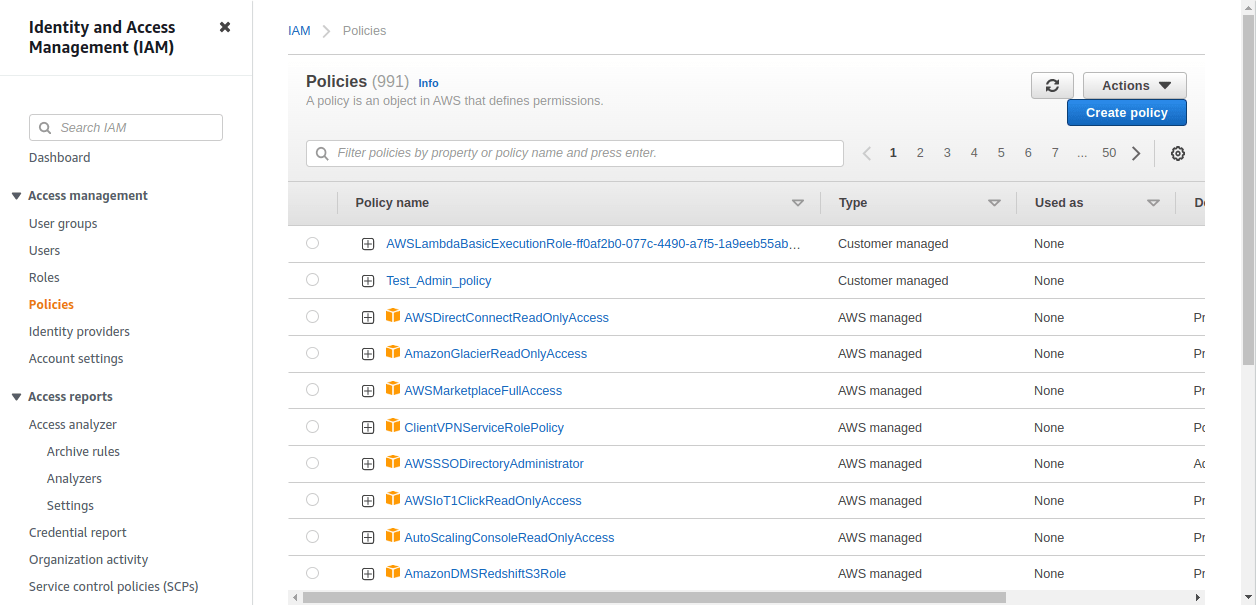
3. Click on policies on the next page
4. In the next screen, click on Create Policy
5. In the next screen, we will find two options to create a policy. One method is using the visual editor and the other method is by using JSON policy document that is written manually. We will go through the visual editor method in this article.
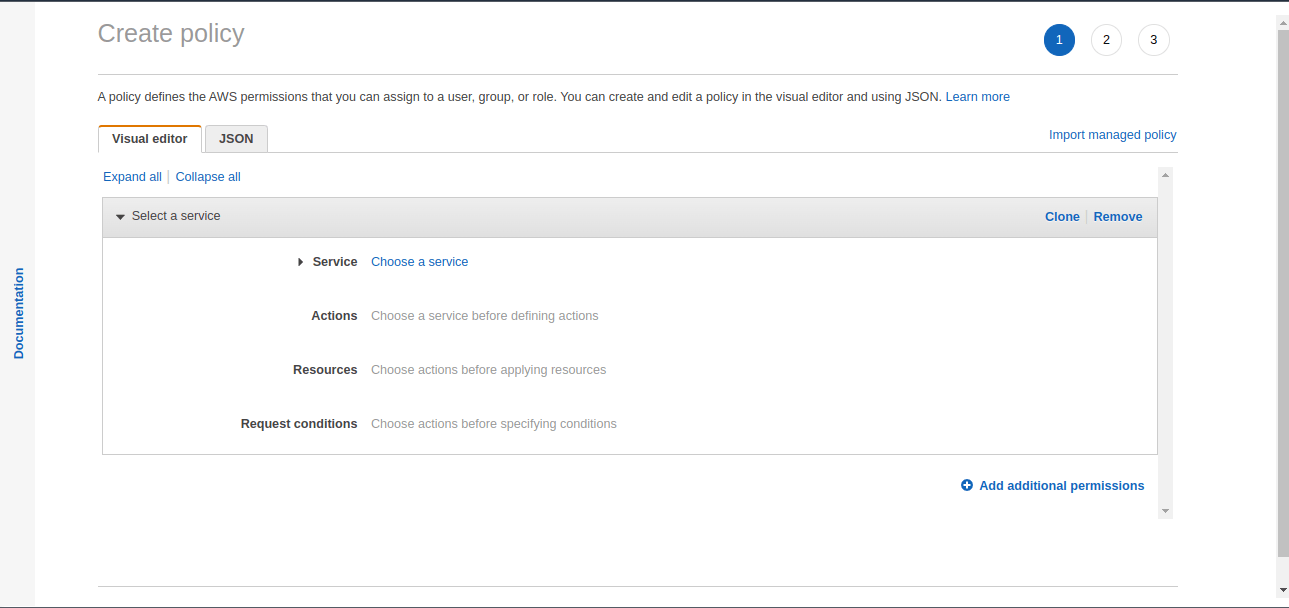
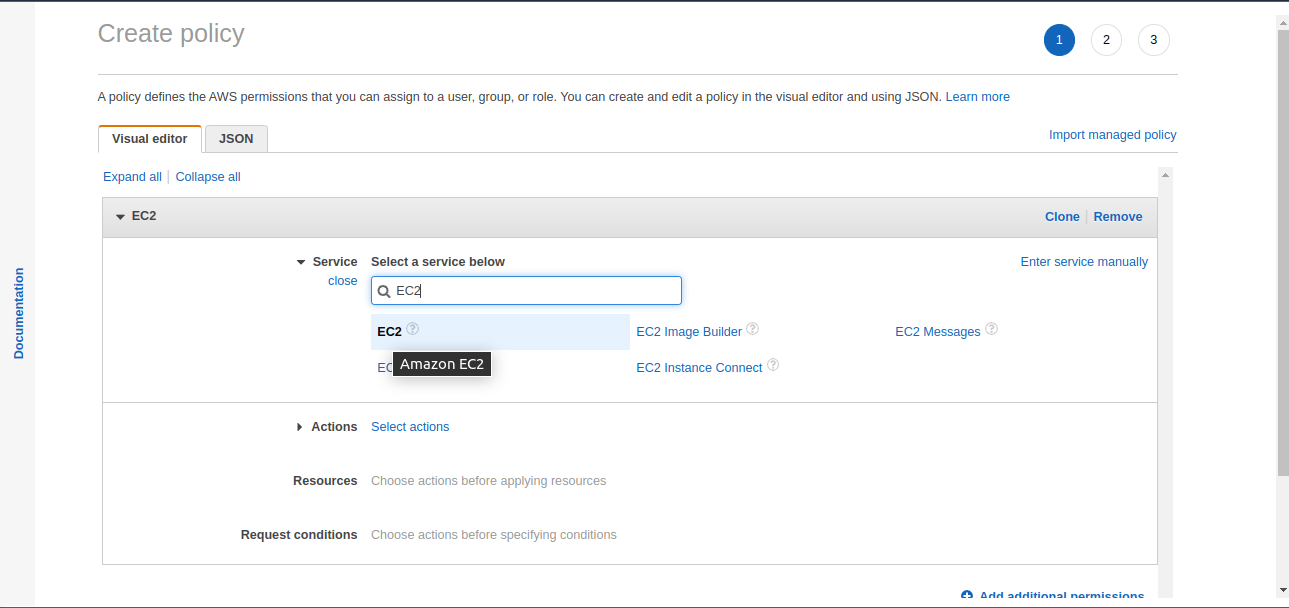
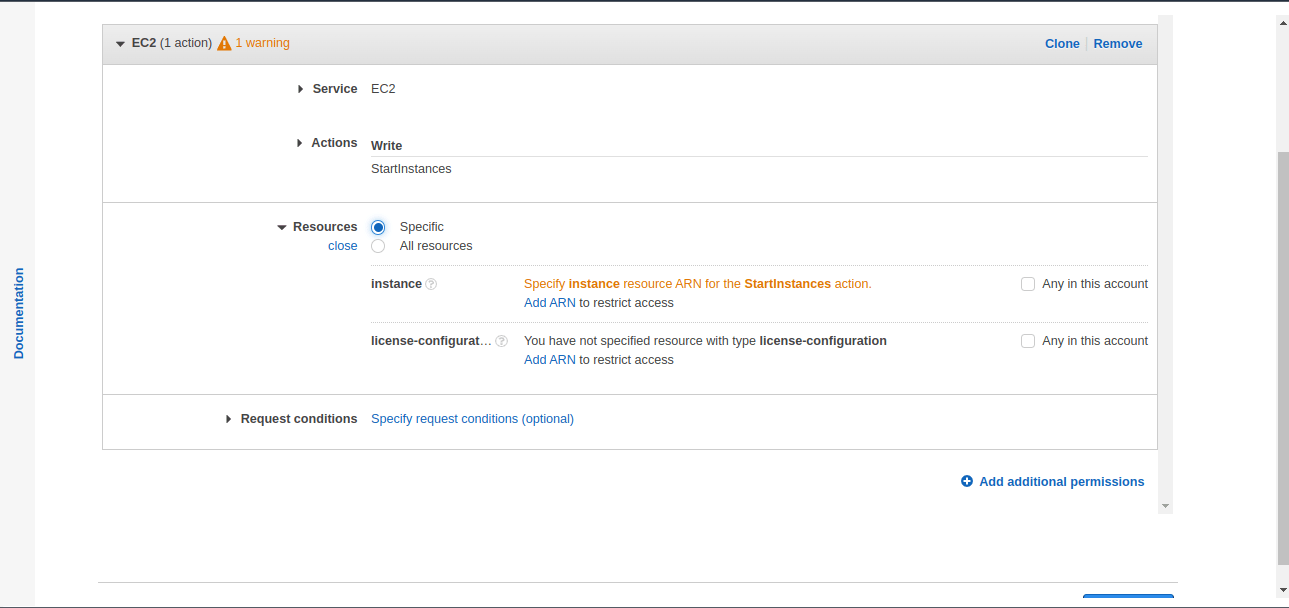
6. Now, we have to select the Service, Actions, Resources and Request conditions that form the policy. In this example, we will select EC2 service, provide action as “StartInstances”, Resources as “All Resources” and without any request conditions.
In the services option, click on Choose a service and search for EC2. Then select the EC2 service.
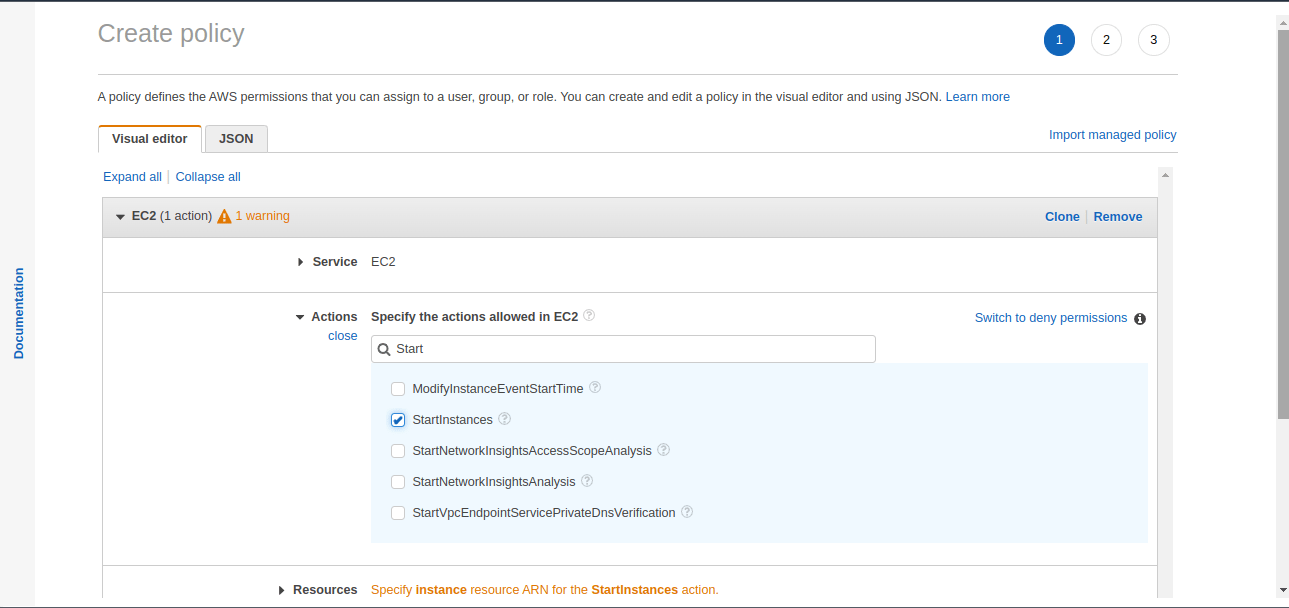
After the EC2 option is selected, in the Actions option, you can either select all actions or search for a specific action. In this case, we will search for the action named “StartInstances”.
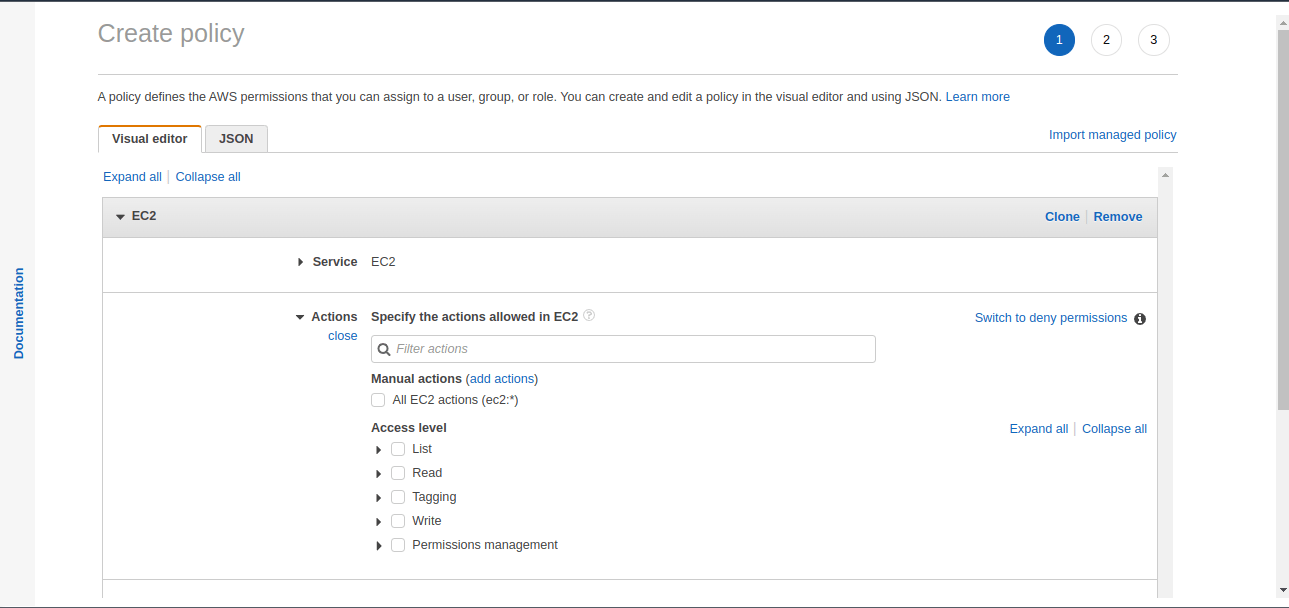
Search for the actions, and select on the desired action for the policy. In this case, the “StartInstances” action is chosen.
In the next option for Resources, either a specific resource ARN could be specified or all resources can be chosen depending on the requirement. Normally, permissions are applied for specific ARN’s only so that the permissions are restricted only for the intended resource instead of multiple resources.
For this article, we will select “Resources” as “All Resources”.
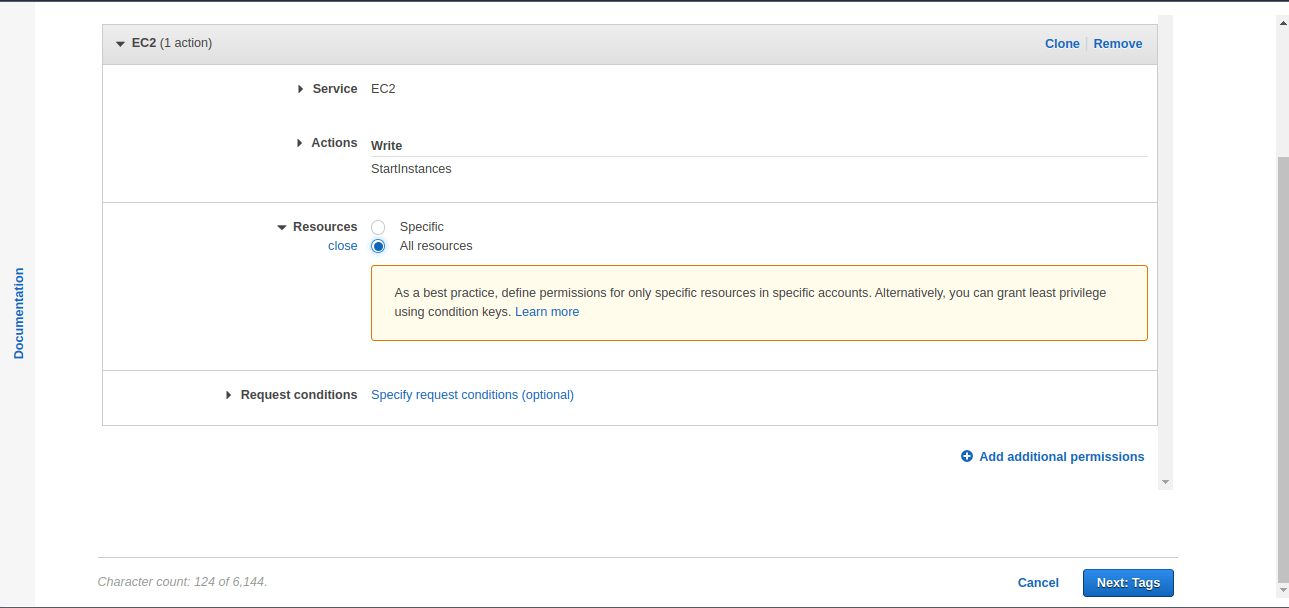
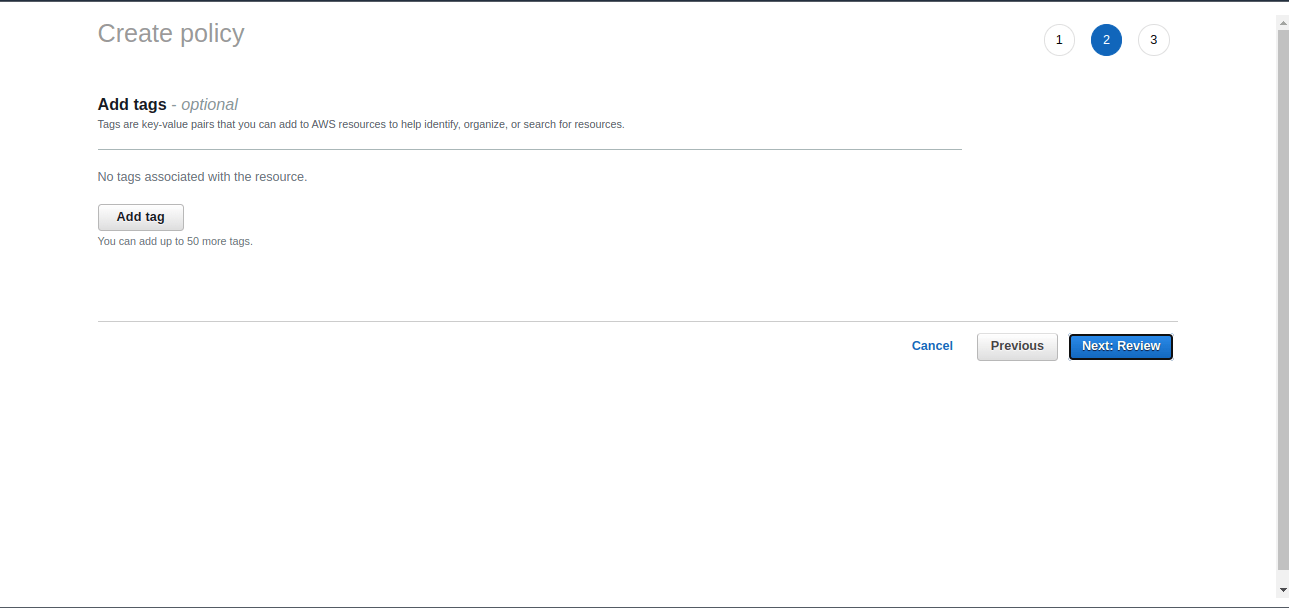
7. Now, click on “Next:Tags” to move to the next page, where we can enter the tags for this policy. This is an optional step. For this article, we are not giving any tags.
8. In the next screen, check all the details like the Name, Description, Summary of Permissions etc.,

Now in the above script, after review, click on the “Create Policy” button.
Conclusion:
In this article, we have looked at why we would need a customer managed policy. When the default policies provided by AWS are not sufficient to manage the security of the AWS account, then a Customer managed policy is created. Depending on the organization’s requirements, you might need much more stringent policies to control access to identity. In those situations, a Customer managed policy will be beneficial. More than an AWS managed policy a customer managed policy can have fine grained permissions and hence allow to control access in a much better way. It is better to follow the principles of least access while providing the policy permissions.
Follow our Twitter and Facebook feeds for new releases, updates, insightful posts and more.