
In previous versions of Windows Servers, a cluster can be created only between member nodes joined to a single domain. Windows Server 2016 breaks down these barriers and introduces the ability to create a Failover Cluster without Active Directory dependencies. The following configurations can be deployed to create the Failover clusters
- Single-domain Clusters: Nodes from same domain form a cluster
- Multi-domain Clusters: Nodes which are members of multiple different domains form a cluster
- Workgroup Clusters: Clusters formed with nodes which do not belong to any domain but are member servers
Certain prerequisites have to be maintained which are as follows:
- Windows Server 2016 operating system must be running
- Failover Clustering Feature must be installed on all the servers
- The cluster validation tests must be completed successfully by all the servers and certified logo’d hardware must be used by the servers
- A local account needs to be provisioned on the nodes of the cluster along with the nodes which are used to invoke the operation, in order to add nodes to the cluster or to create a new cluster. This can be done with the following requirements
- Create a local ‘User’ account on each node in the workgroup cluster
- The username and password of the account must be the same on all machines
- The account must be a member of the local ‘Administrators’ group on each node
- Built-in administrator accounts include the ‘Administrator’ account. The LocalAccountTokcenFilterPolicy registry policy is set to 1 on all cluster nodes when a non-builtin local administrator account is used to create the cluster. The LocalAccountTokenFilterPolicy registry policy can be set as follows:
- On each node of the cluster launch a Microsoft PowerShell shell as an administrator and type:
“new-itemproperty -path HKLM:\SOFTWARE\Microsoft\Windows\CurrentVersion\Policies\System -Name LocalAccountTokenFilterPolicy -Value 1”
- Create a record for each node of the cluster and for the cluster IP as well
Prerequisites are all set now we can move for deployment.
Deployment:

- Create local user accounts on all the nodes of the cluster and make sure the username and password are identical
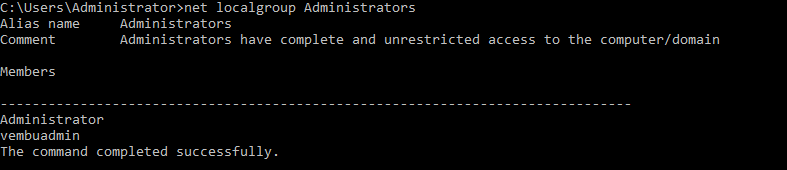
- Add the created user to the local administrator group. Use this command to check the members of the administrator group
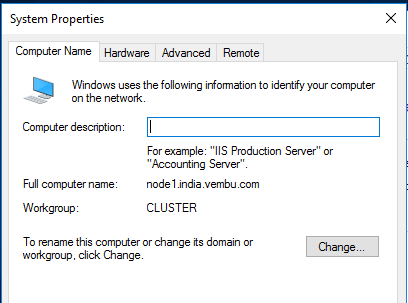
- Make sure that each node needs to be joined to the cluster has a primary DNS suffix
net local group Administrators
Below are the steps to create a cluster using Powershell.
Open a Powershell and run this command to create a cluster.
new-cluster -Name VembuWGCluster -StaticAddress

We have successfully created a Workgroup cluster. Now we can see how to add this cluster to a cluster manager.
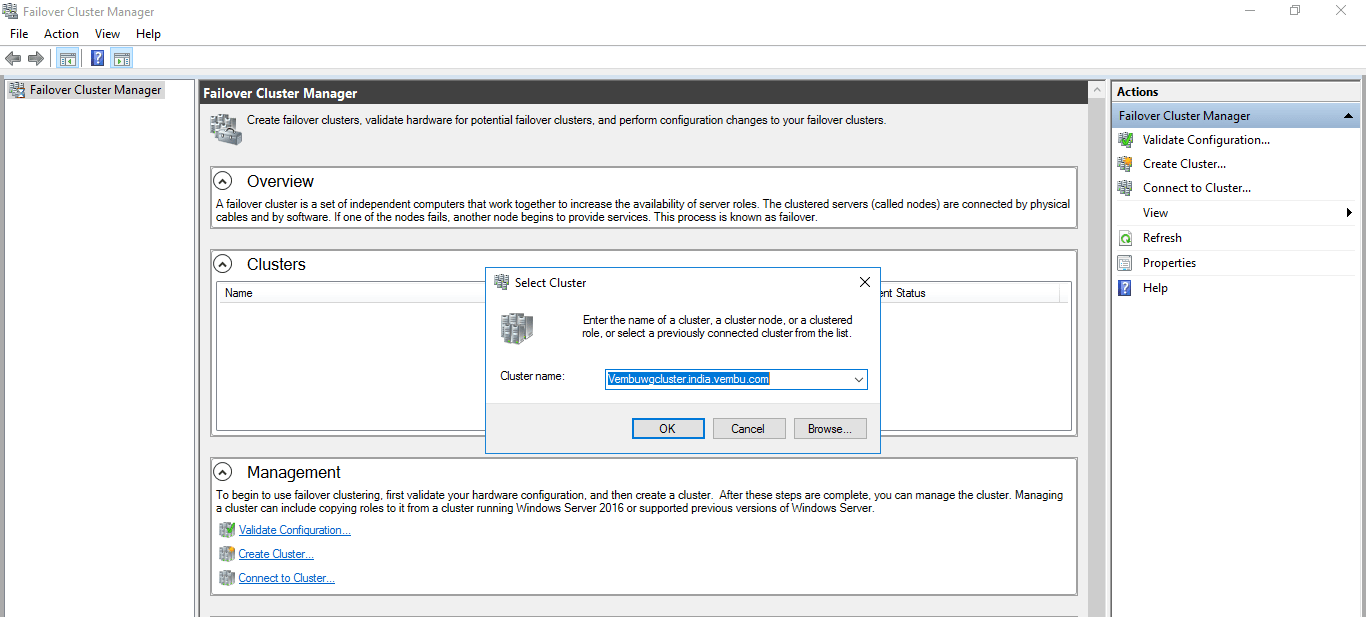
- Open the Failover Cluster Manager and select “connect to a cluster”
- Type the cluster name to join the cluster. Eg: Vembuwgcluster.india.vembu.com
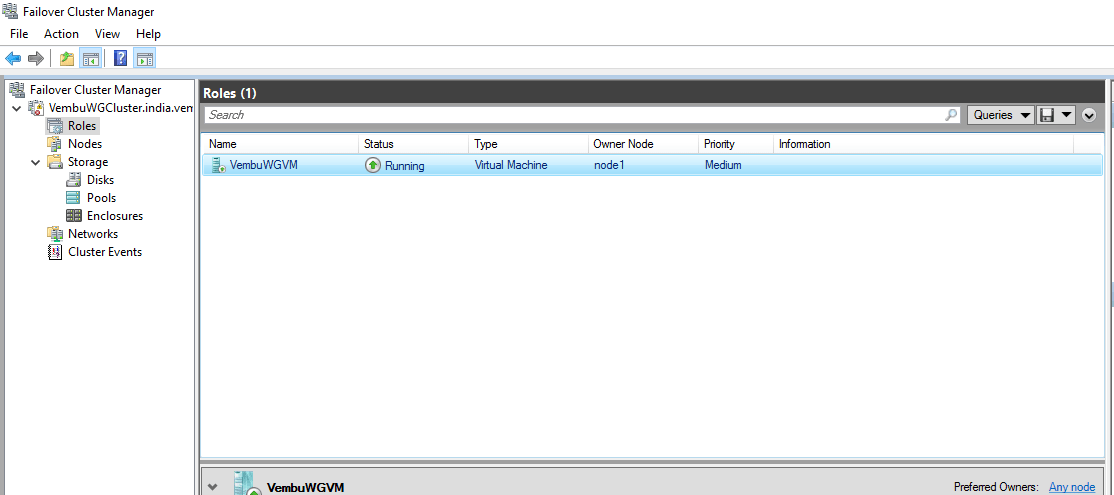
- After joining you can create VMs and start using the cluster
Result:
It’s a quite simple and a easy procedure to create and use a Workgroup cluster. You can create this Workgroup cluster only on Windows Server 2016. Workgroup clusters introduce the higher risk of configuration drift, so while deploying, make sure the same set of Windows update patches are applied to each node in the clusters.There must be no conflict when the group policies are established in the cluster nodes.
Experience modern data protection with this latest Vembu BDR Suite v.3.9.0 FREE edition. Try the 30 days free trial here: https://www.bdrsuite.com/vembu-bdr-suite-download/
Got questions? Email us at: vembu-support@vembu.com for answers.
Follow our Twitter and Facebook feeds for new releases, updates, insightful posts and more.