
Previously, we took a look at the process to backup the new vSphere vCenter Server VCSA appliance by utilizing the new functionality found in the VAMI interface with VCSA 6.5. This process utilizes a file transfer protocol server to receiving a backup of the database as well as the configuration of the appliance. Administrators can also choose components they desire to have backed up by the backup process. In this post, we will take a look at the process to use our backup of the VCSA 6.5 appliance after backing up to the file transfer protocol server and use this to restore the VCSA 6.5 appliance. What does the process look like? How do we go about using the data that was backed up?
High Level Process to Restore the VCSA 6.5 Appliance
The restore of the VCSA 6.5 appliance is accomplished in two stage process. The first stage involves deploying a new appliance to the target vCenter server or directly to an ESXi host. The second stage transfers the data from the backup to the newly deployed appliance. The steps involved are:
- Use the VCSA 6.5 deployment tool GUI installer found on the VCSA 6.5 ISO to deploy a new appliance
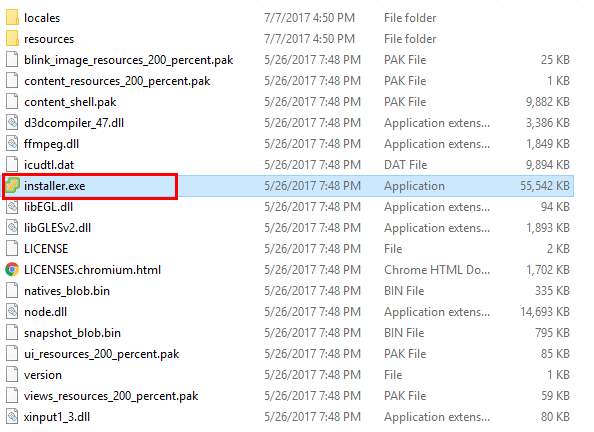
- The installer is found in the following directory:
:\vcsa-ui-installer\win32 and is called installer.exe
- The installer is found in the following directory:
- Instead of choosing to Install, Upgrade, or Migrate, we choose the option – Restore from a previously created vCenter Server Appliance backup
Restoring the VCSA 6.5 Appliance
Launch the installer.exe that is contained in the mounted VCSA 6.5 ISO file under the vcsa-ui-installer\win32 directory.

Run the installer on the vCenter ISO
Select the Restore option in the vCenter Server Appliance 6.5 Installer window.

Select the Restore option
Select Next on the Introduction page. The installer gives a good description of the restore process.
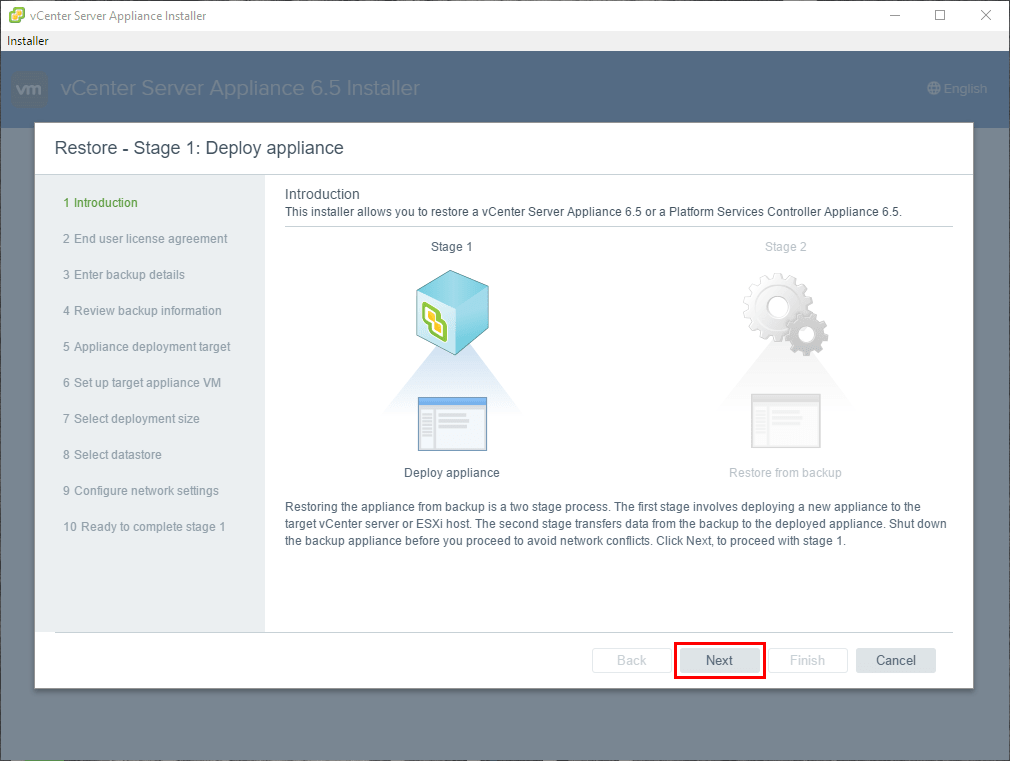
Introductory description of the Restore process
Accept the end user license agreement and click Next.
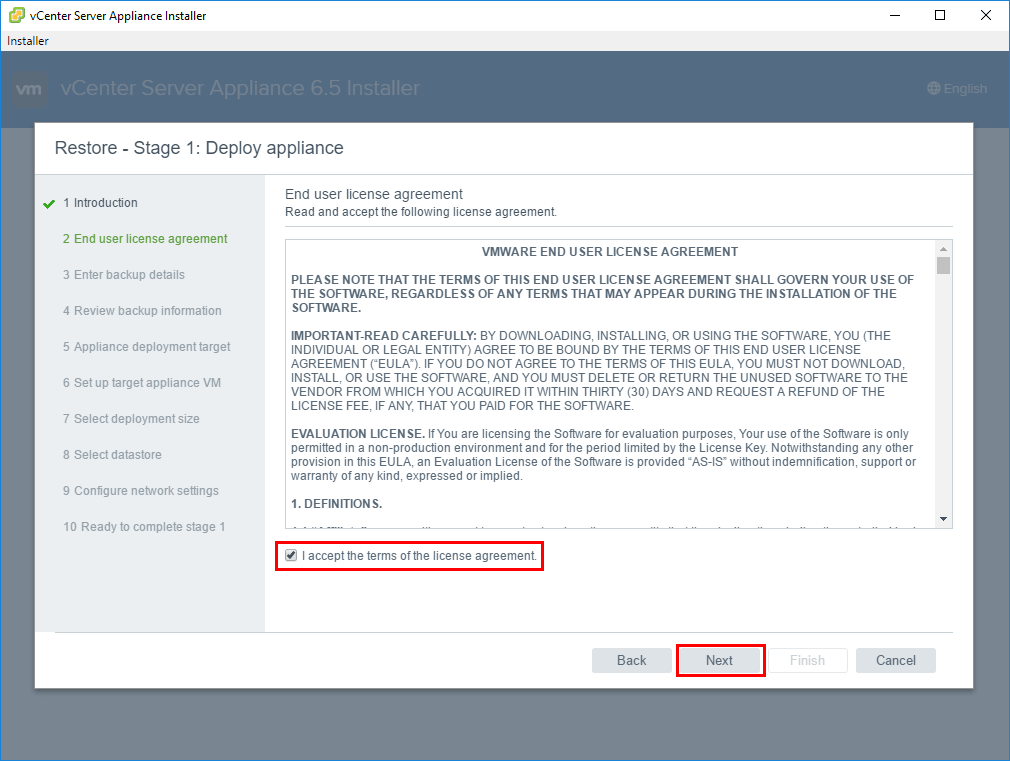
Accept the EULA
On the Enter backup details page, we fill in the information for our FTP server where our backup is located. A note here – Make sure you have the VCSA appliance backup in a subfolder or you will receive an error about reading from the directory.
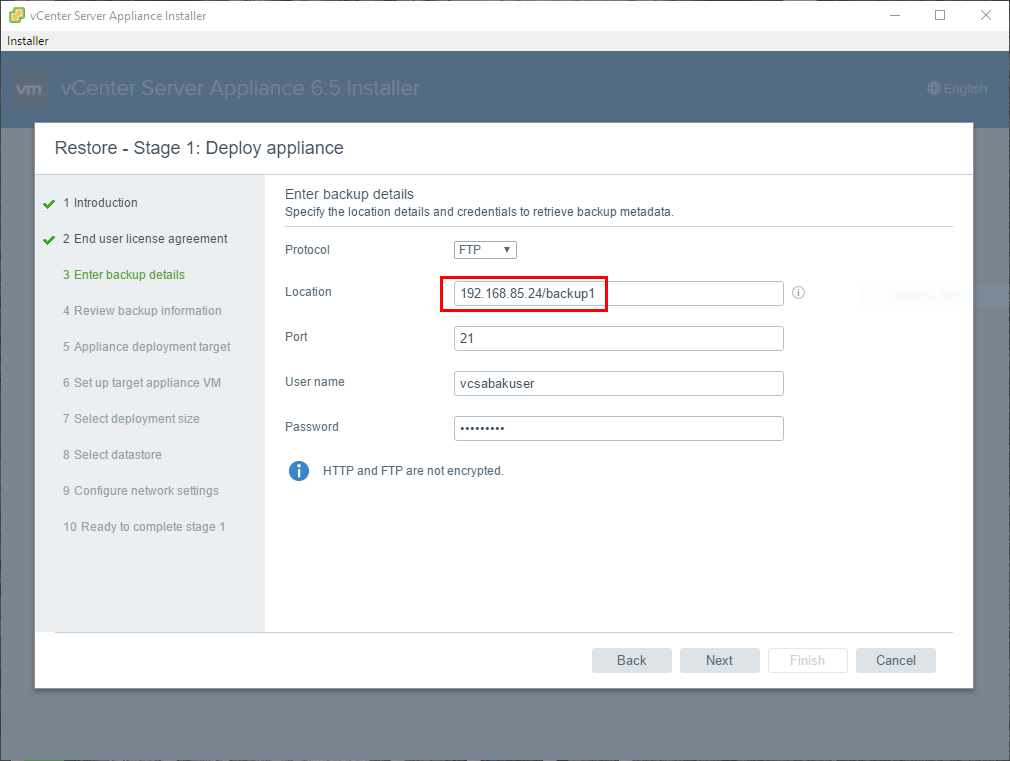
File Transfer details for pulling backup metadata
Review the backup information before proceeding.
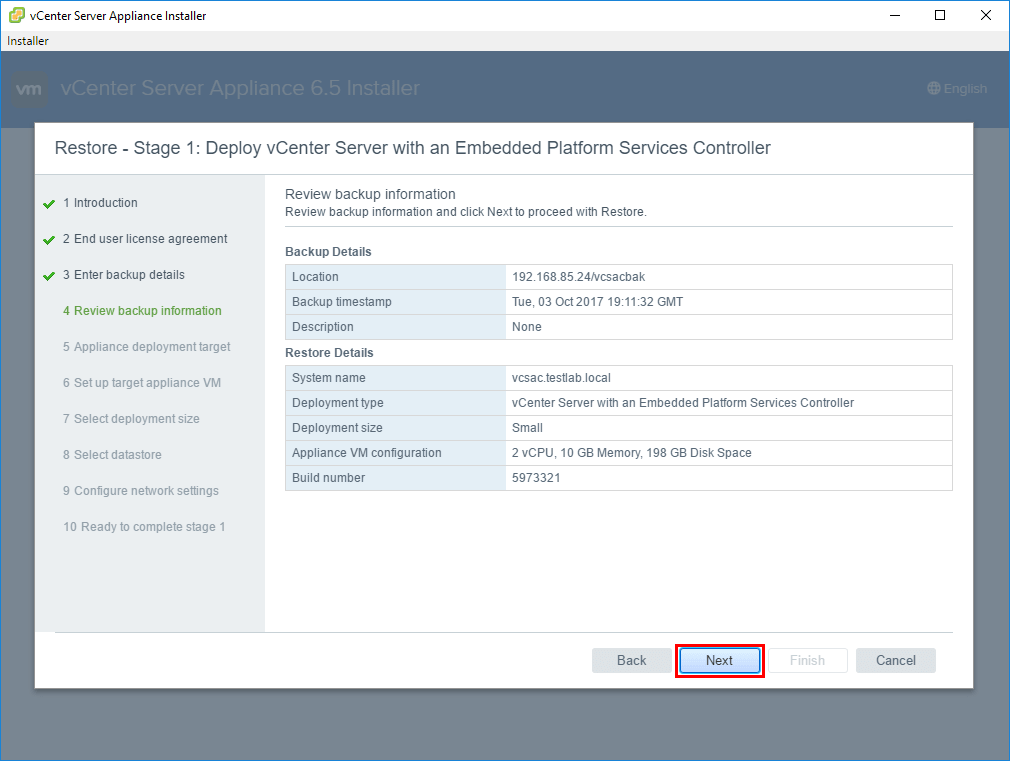
A Review of the backup information
On the Appliance deployment target screen, we enter the ESXi host or vCenter Server name and connection credentials for deploying the restored appliance.

Setup the deployment target
Accept the certificate warning that pops up in connecting to the target ESXi host or vCenter Server.
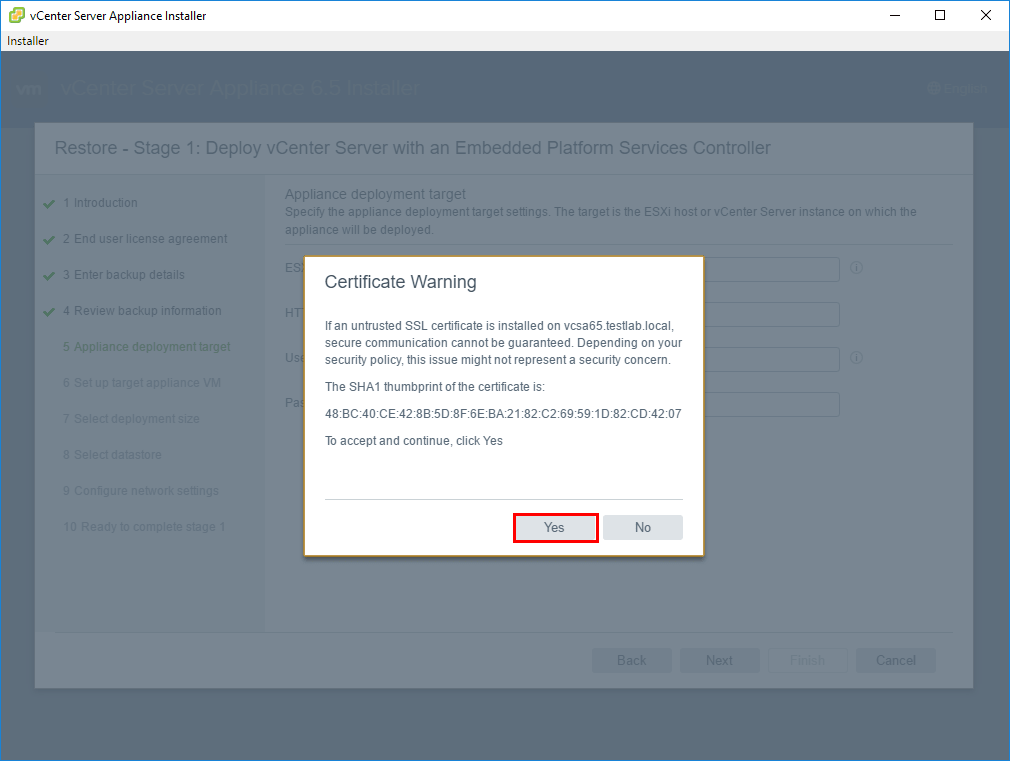
Accept the certificate warning for the target server
Next, we select the destination vSphere folder for the restored appliance.
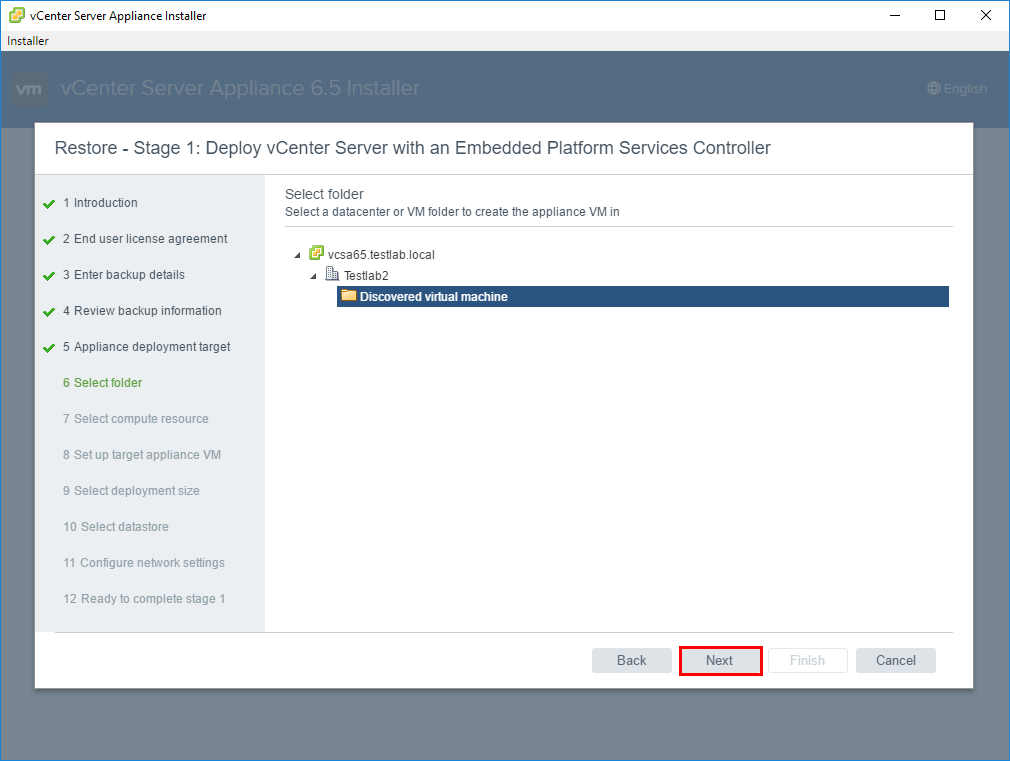
Set the folder location in vSphere
Select the compute resource for housing the appliance.
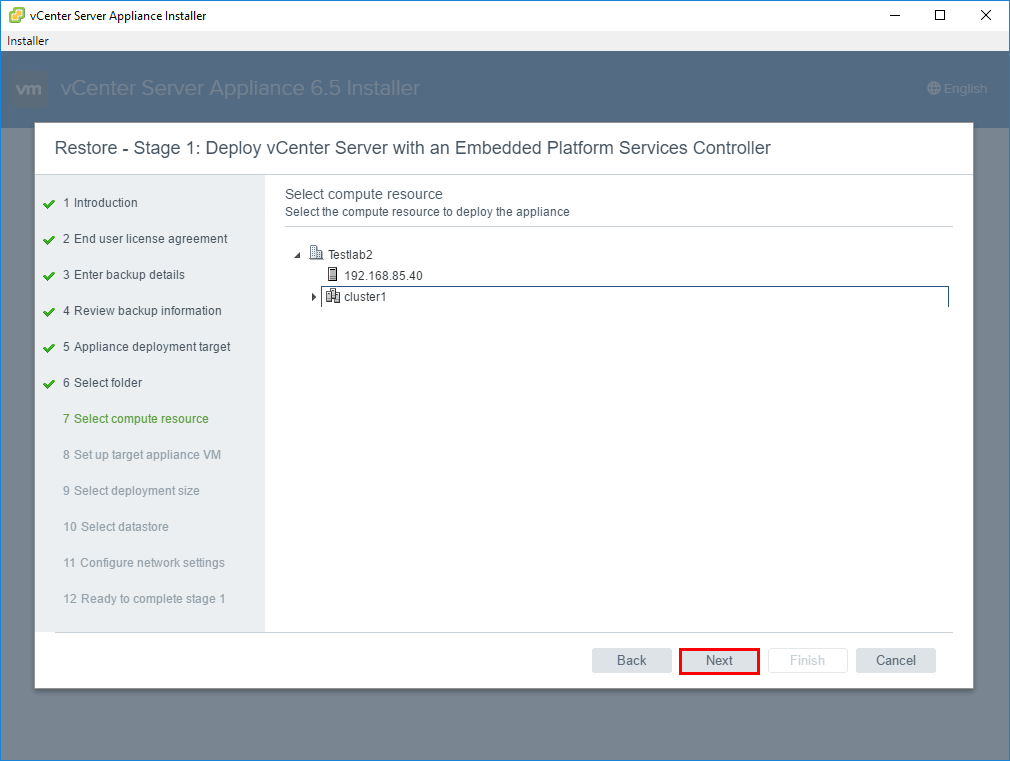
Selecting the cluster or host for compute resources
Next, we setup the target VM appliance including the VM name and root password.
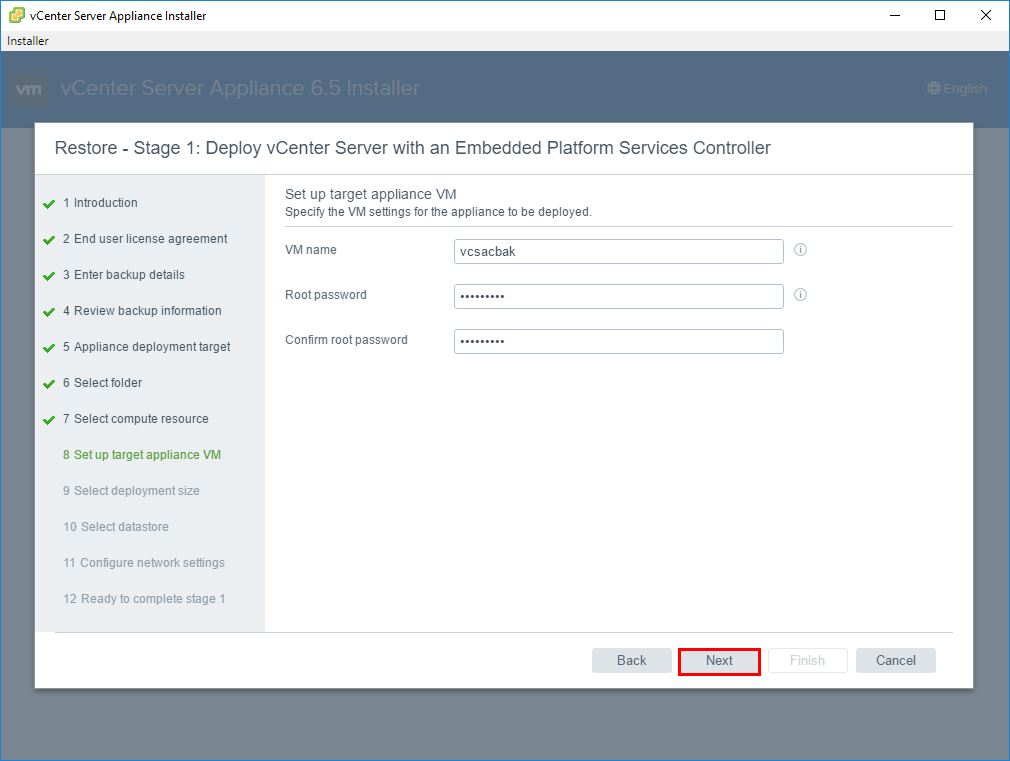
Name the new appliance and setup root credentials
During the restore, we can select the deployment size. The restore is an accepted process that can be used to change the deployment size later if needed.
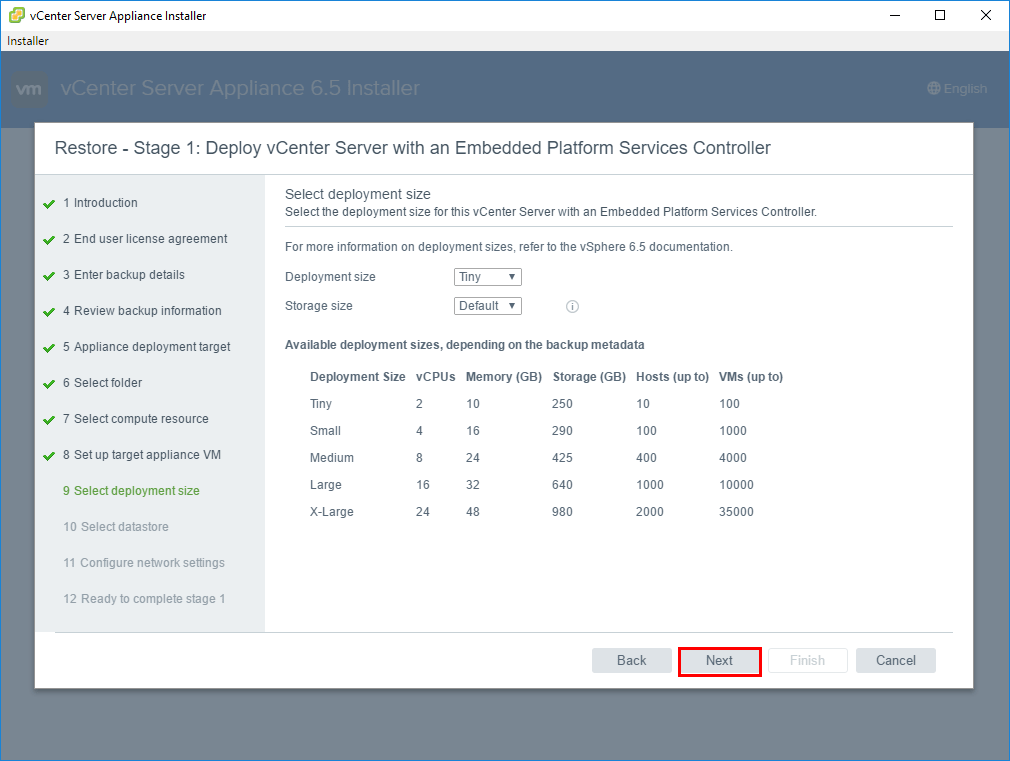
Setup the sizing information for the new VCSA appliance
Next, we select the target datastore to house the appliance. Note, in the restore lab, we have chosen to enable thin disk mode.
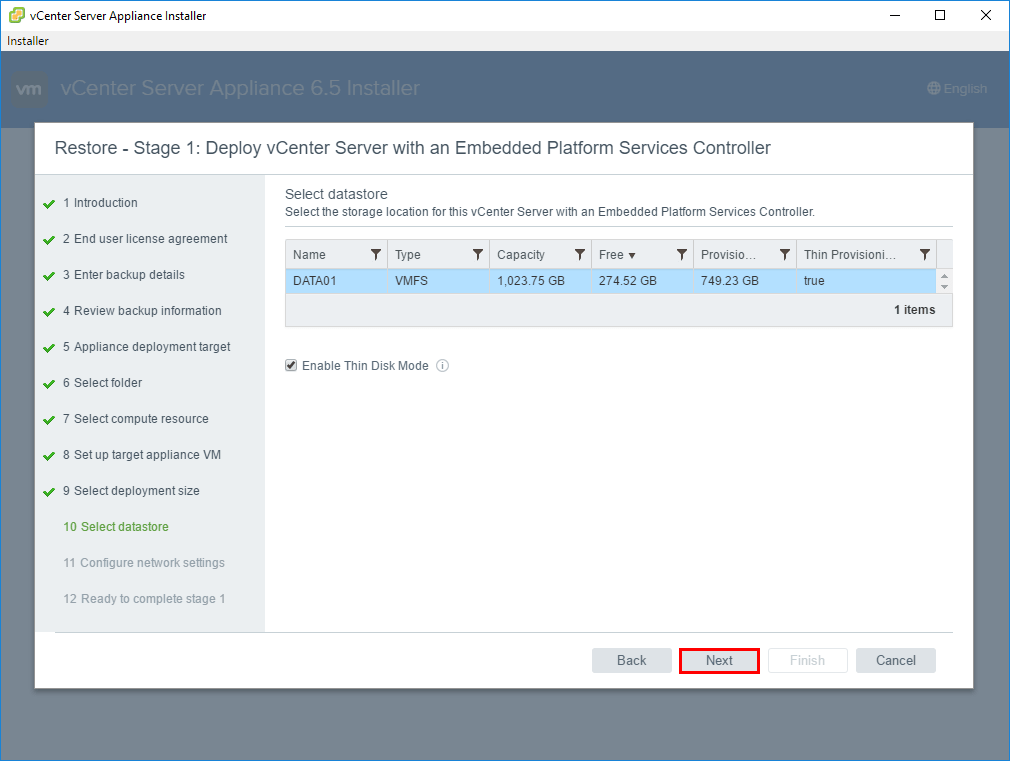
Select the datastore that will house the new VCSA appliance
Next, we want to make sure our network settings are correct. Note that you should see the correct IP configured for the restore appliance as well as the other network values read from the backup metadata.
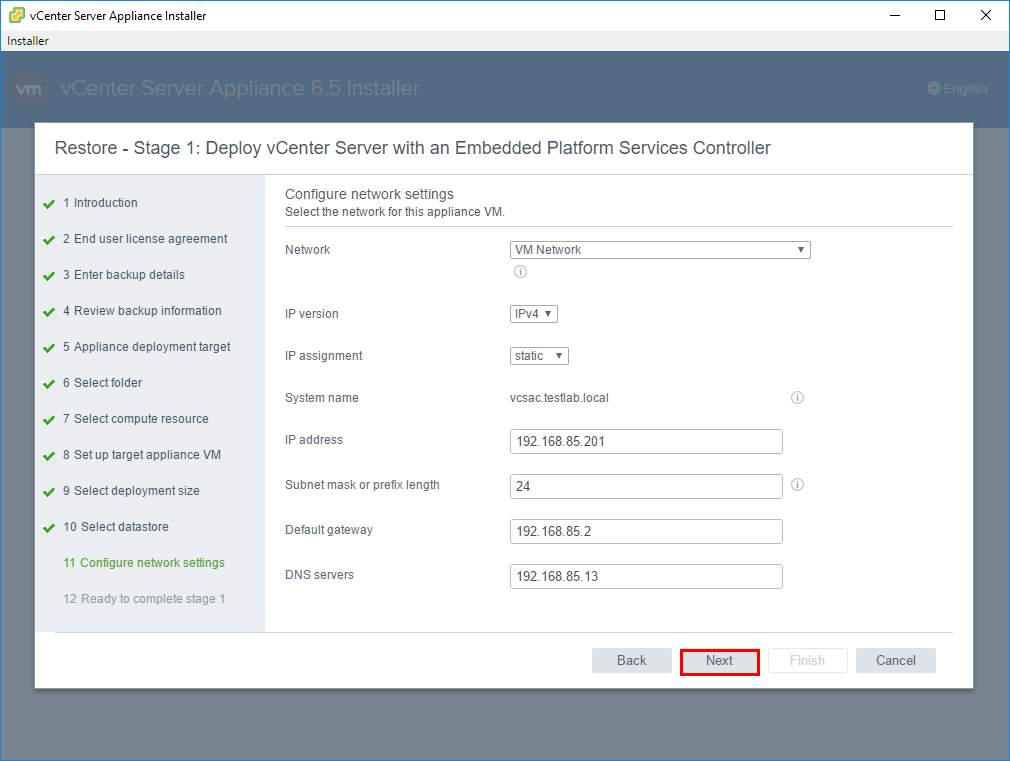
Configure the network connection information for the new appliance
After configuring the network settings, we are ready to complete Stage 1 of the restore process. Be sure to review the settings and choose Finish to begin Phase 1 of the restore.
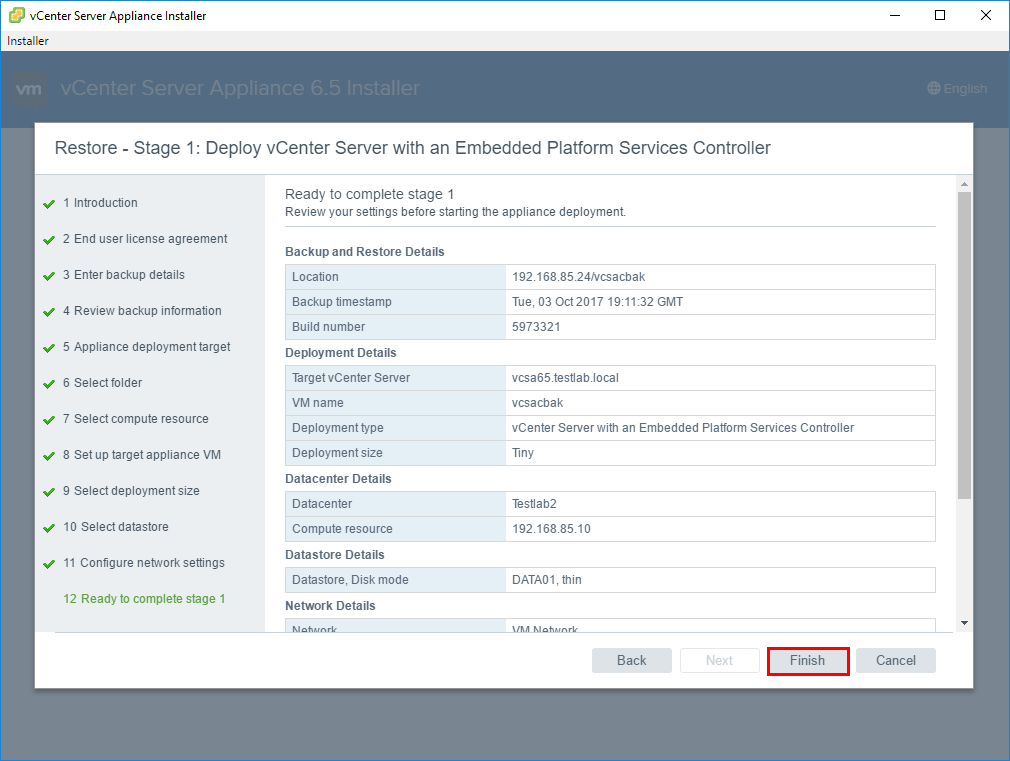
Review Phase 1 details
The VCSA appliance is provisioned and deployed in the environment. This process is the same as deploying a new appliance. You will see the new appliance provisioned in vSphere inventory.
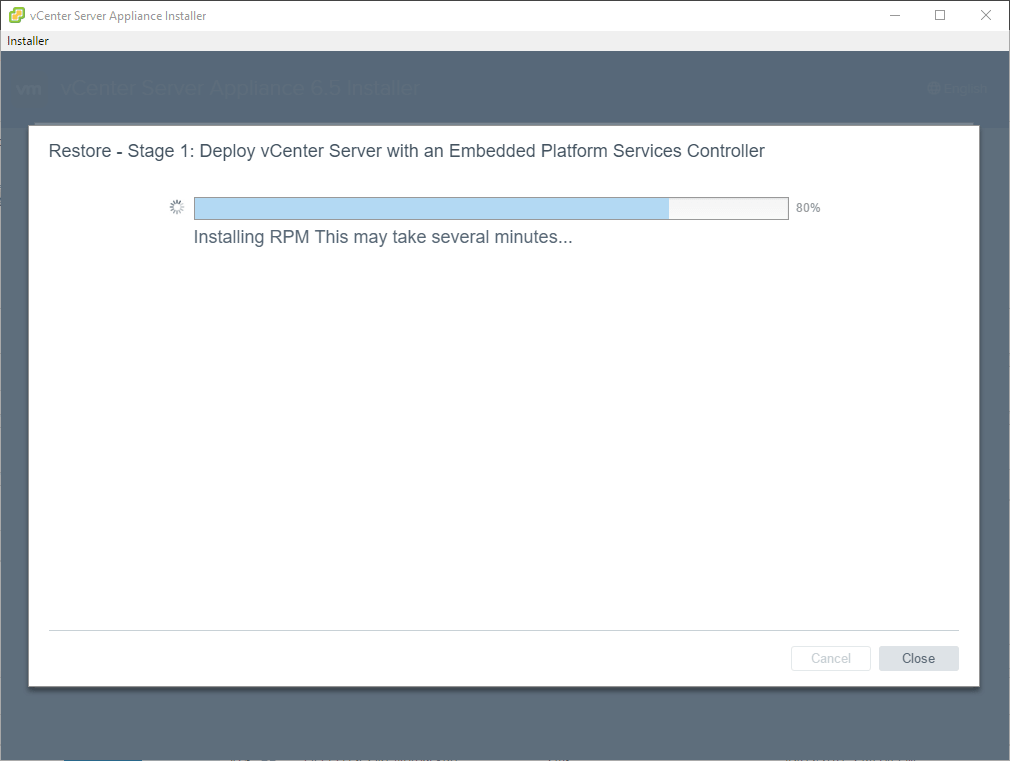
Phase 1 of the VCSA restore process begins and progresses
We will eventually see the message that the vCenter Server has been successfully deployed. Additionally, the installer is ready for Phase 2 of the process to begin. We can click Continue at this point to begin Phase 2.
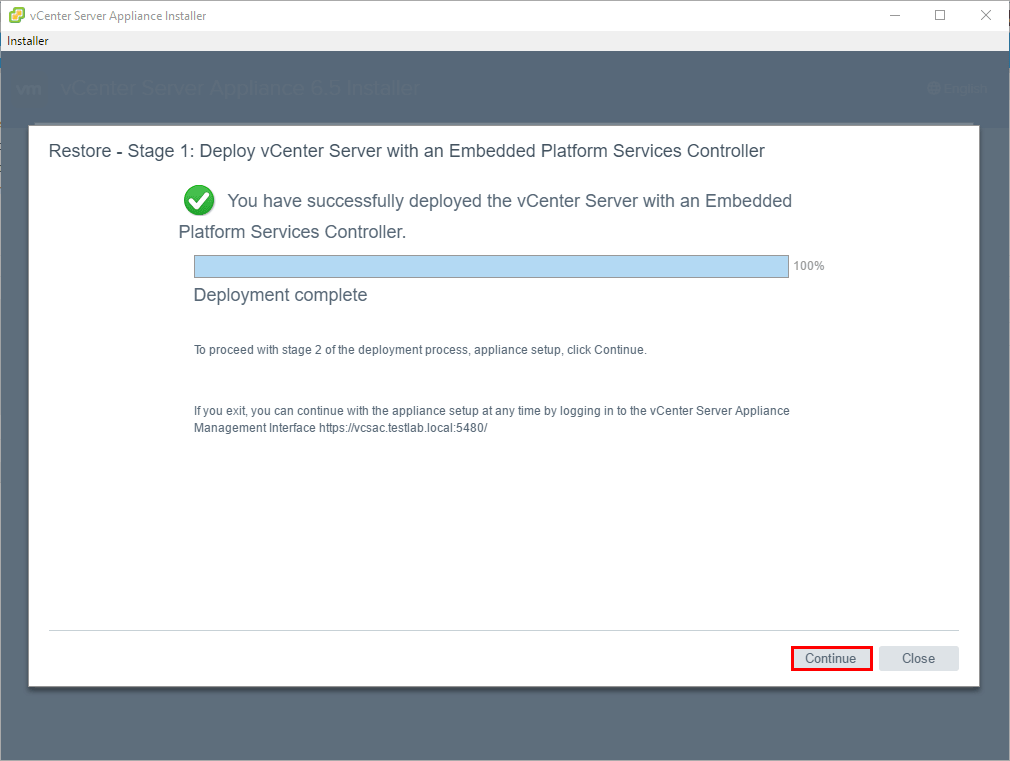
VCSA restore process Phase 1 completes
Click next on the introduction page. As the description mentions, in Phase 2, the process will copy the data from the backup location to the new appliance.
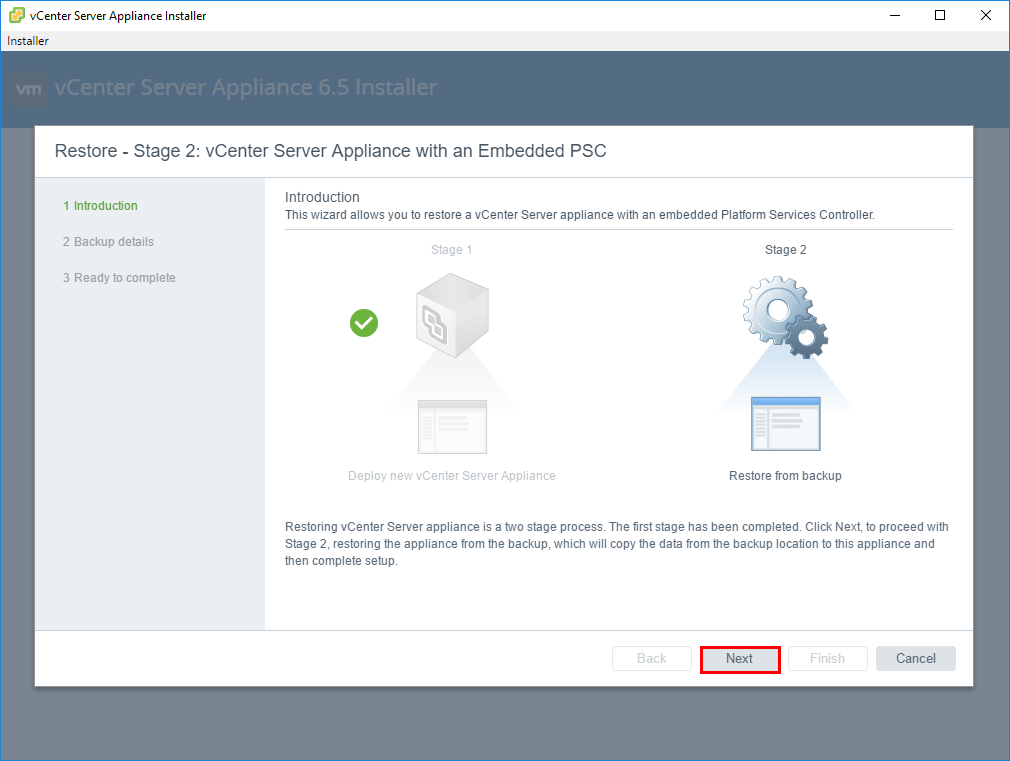
Introduction to Phase 2 of the restore process
On the Backup details page we will need to enter the Encryption password if we specified this option during the backup process.
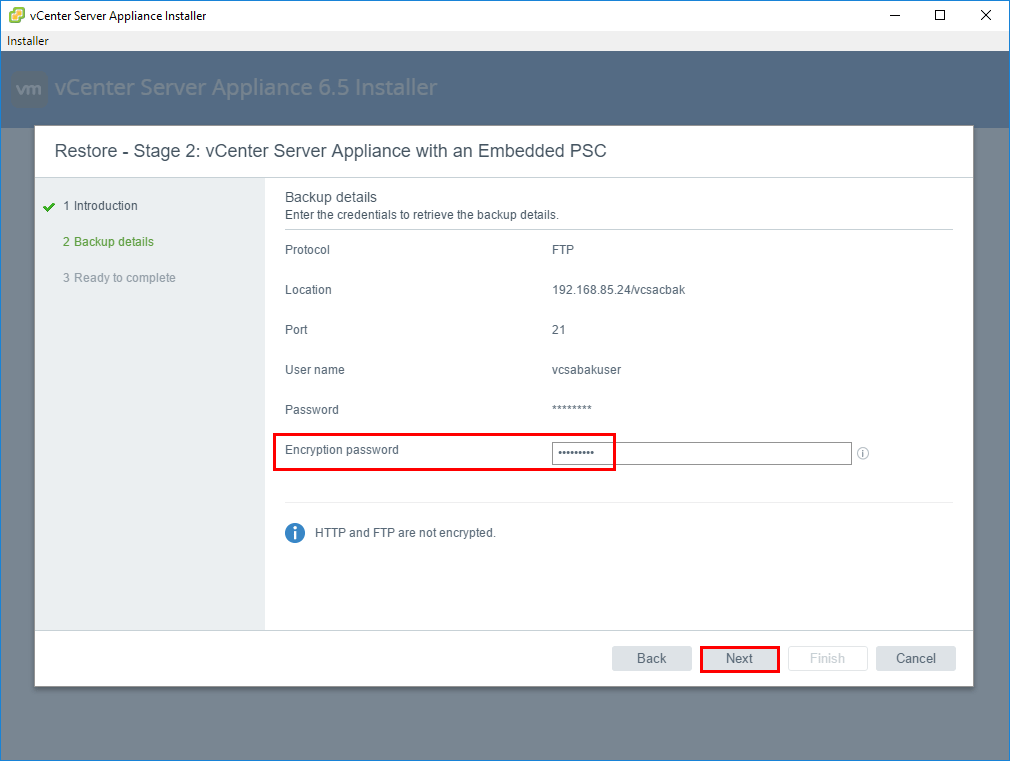
Enter the encryption password for the backup if encryption was used
On the ready to complete page, we see a note that we need to shutdown the original appliance if it is still up and running as this new VCSA 6.5 appliance will assume the network, etc of the original VCSA appliance.
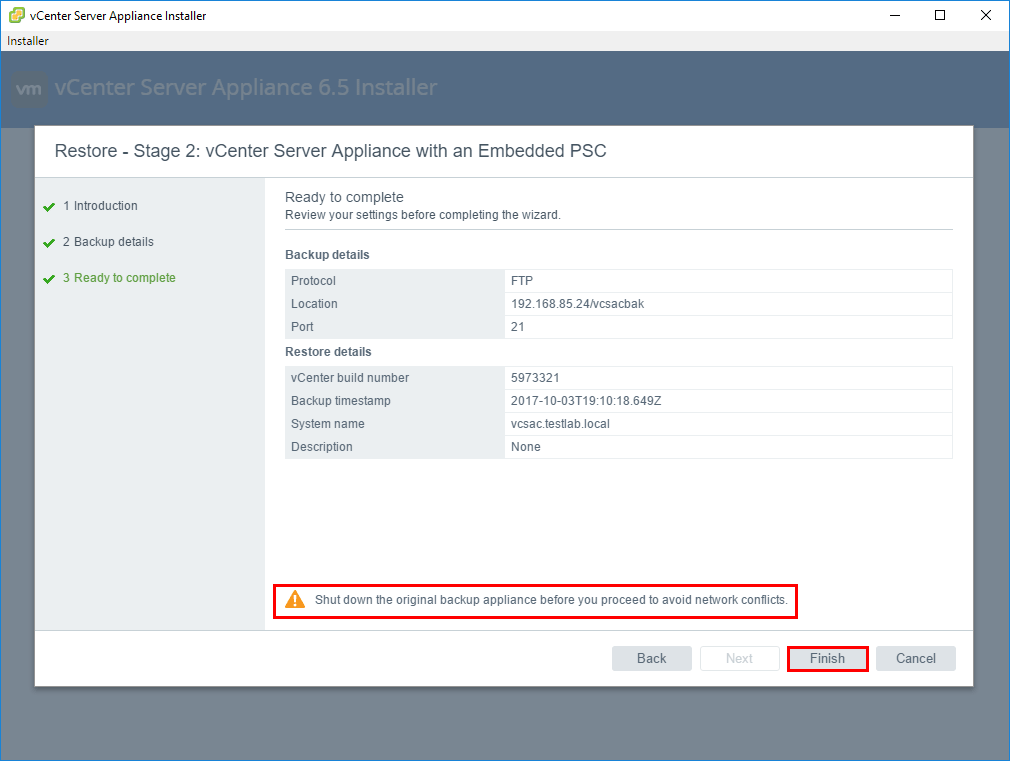
Shutdown the old appliance and begin Phase 2 restore
Click OK on the warning that pops up about pausing or stopping the restore.
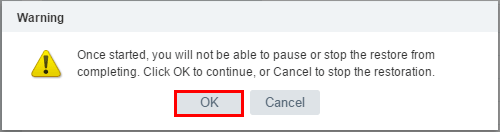
Accept the warning concerning pausing or stopping the restore
Depending on the size of the backup data that needs to be restored, the process should complete in just a few minutes. You should see the note that vCenter Server Appliance setup has been completed successfully. At this point, you will be able to connect to the vCenter Server Appliance via the link that is provided in the completion page.
Simply click Close on the installer.
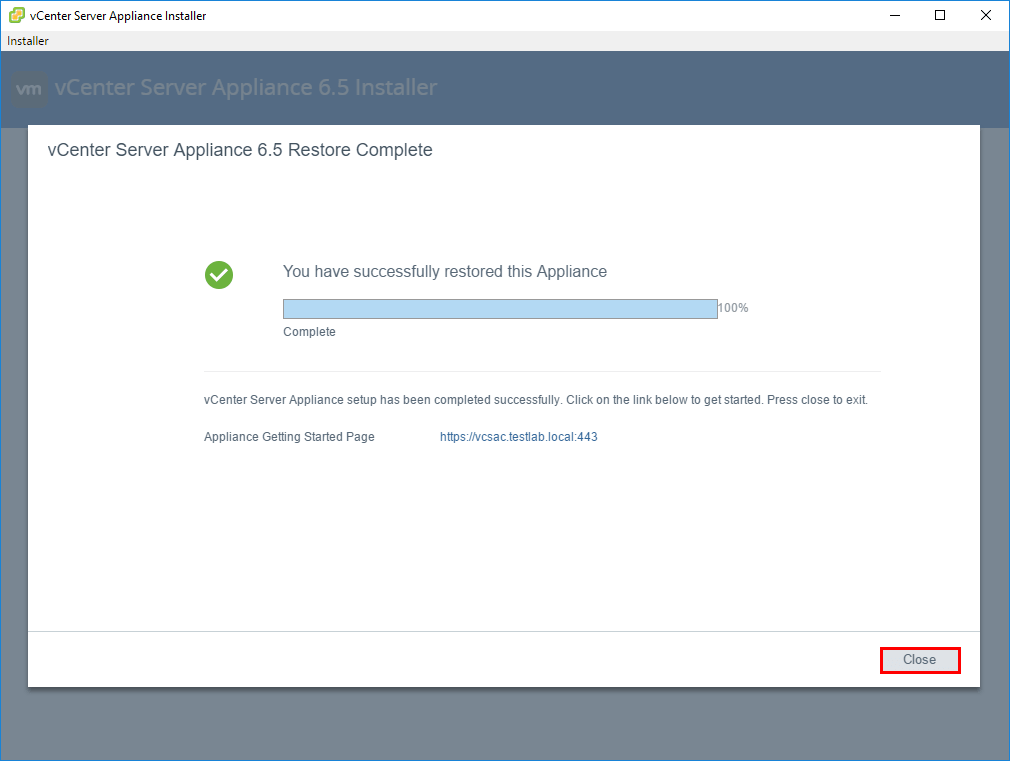
VCSA 6.5 Phase 2 restore process completes successfully
Thoughts
The new backup and restore process that is included with the new vSphere vCenter Server VCSA 6.5 appliance is a great way to bolster DR plans in recovering vCenter in a disaster scenario. The built-in functionality provides an easy way to capture the configuration and data from an existing appliance and transfer the data to a backup location via a supported file transfer protocol. Using the restore process, the installer provisions a new VCSA 6.5 appliance and then copies down the configuration and backed up data from the backup location to the new appliance. Using this process, we can effectively restore a VCSA appliance to a working state from an existing backup.
Follow our Twitter and Facebook feeds for new releases, updates, insightful posts and more.