
In the Windows 10 Creator Update, Microsoft introduced a new feature called the Quick Create Wizard. This option is very interesting because you can create a VM with the default settings. So you don’t need to configure all the settings. It can be used while creating a basic Virtual Machine in order to test a new software or a new Operating System. Using this feature, you can create a VM with a single ISO file located on your system, or you can create a VM from the Online Gallery.
In this article, I will describe how to use this feature and how to add a custom VM Image into your own Gallery.
How to Create a New Virtual Machine Using “Hyper-V Quick Create”?
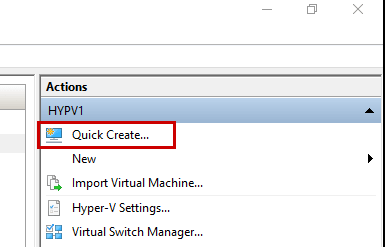
Quick Create is available through the Hyper-V Management Console. So, let’s start by creating a basic Hyper-V Virtual Machine. First, you must click “Start”, type “Hyper-V” and then hit Enter. Click “Quick Create…” under the Actions pane.

A new window will appear with a simple set of options. This wizard is voluntarily limited because it used to create basic Virtual Machine with default settings. All you need to do is to type a Virtual Machine name, choose your installation source from a Local Installation Source, which means that you must have the ISO file on your Hyper-V system. For instance, I click “local installation source” and then “Change installation source” and I can select my ISO file.
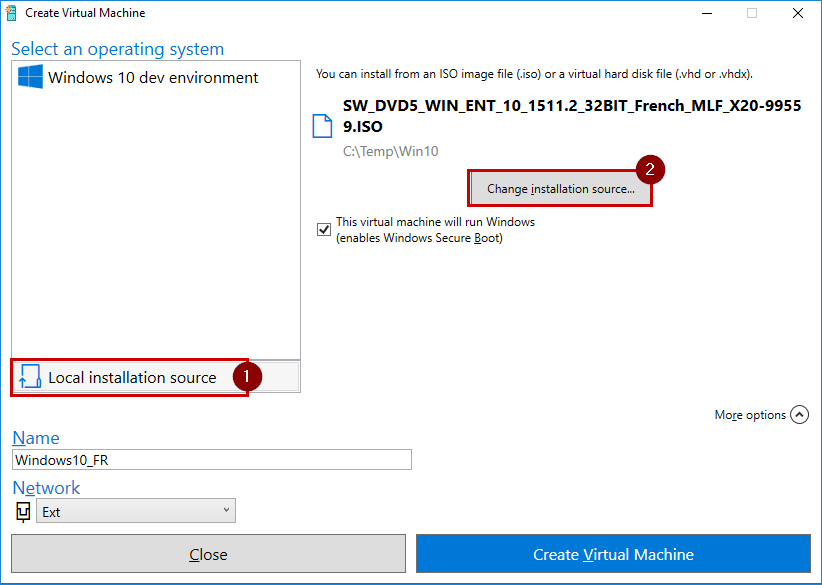
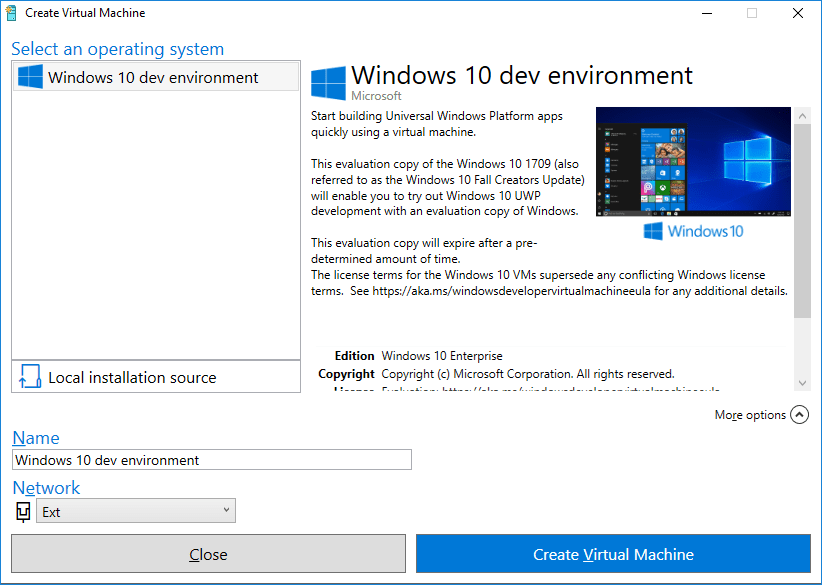
Another option is to use a VHD image from the Gallery, which means that you can select pre-installed operating systems without the need to have the ISO file on your system.
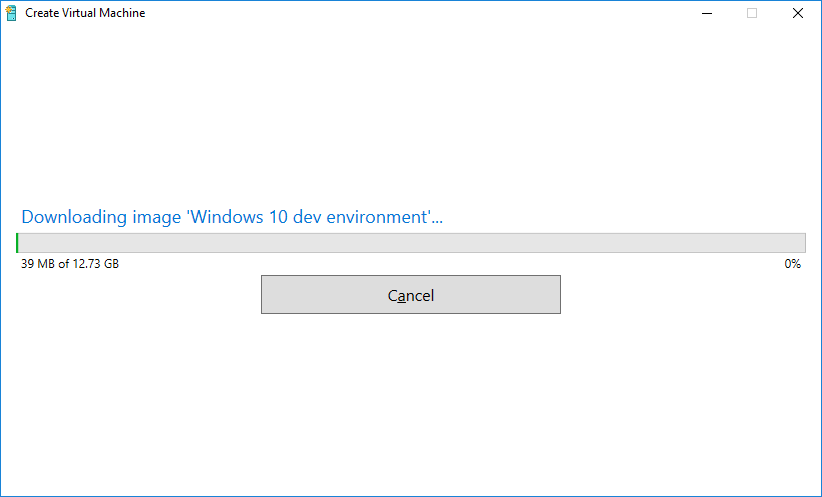
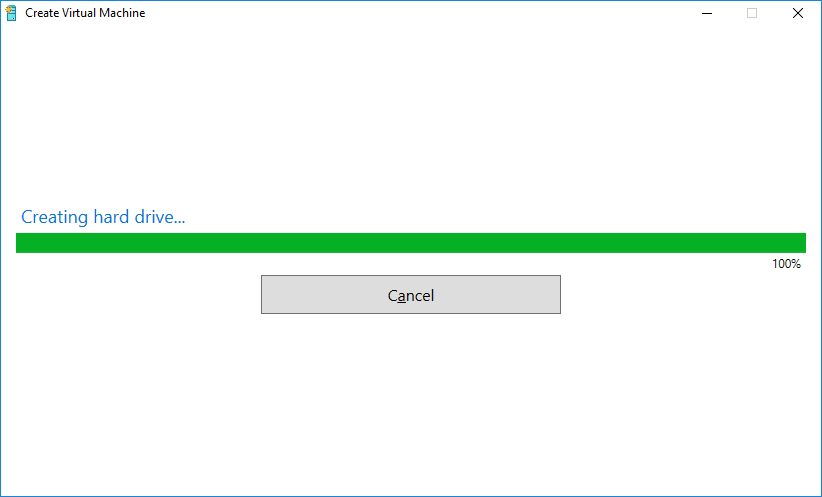
If you create a Virtual Machine via this way, Hyper-V manager will download the full Virtual Machine image:
Then, the Virtual Machine will be configured with the default settings, which are:
- Generation: 2
- Startup RAM: 2GB
- Dynamic RAM: Enabled
- Virtual Processors: 4
- A NIC connected to the virtual switch
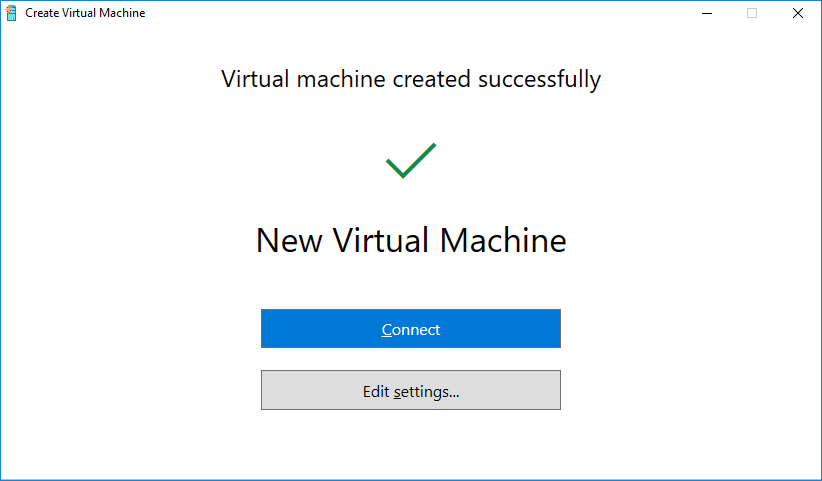
Once the VM has been created, you can click “Connect” or “Edit the settings”:
To finish, click “Start” to load the virtual machine.
How to Add a Virtual Machine Image in the Gallery?
At this step, we used existing images from the Online Gallery, but what is the Gallery? As the name suggests, the “Quick Create” feature will connect to one or more galleries. A gallery can be hosted on the internet or locally. A Gallery contains Virtual Disk Image, so you don’t need to have the ISO file. On top of that, you can create your own custom gallery.
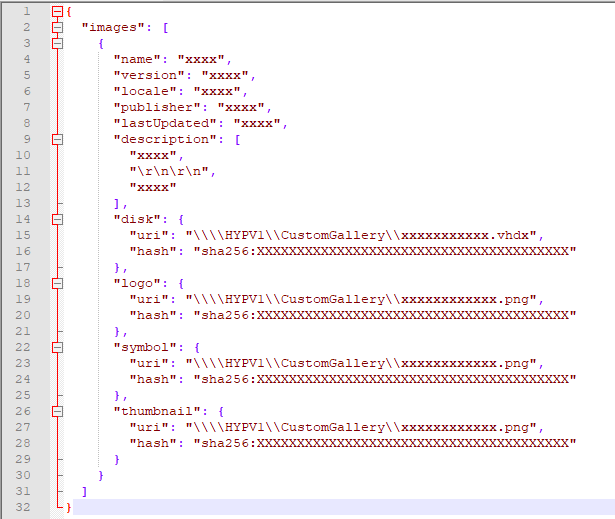
The first thing you will need is a JSON document which describes the image you want to have to show up in “Quick Create” feature. Create a JSON file and add the following code:
{
“images”:[
{
“name”: “xxxx”,
“version”: “xxxx”,
“locale”: “xxxx”,
“publisher”: “xxxx”,
“lastUpdated”: “xxxx”,
“description”: [
“xxxx”,
“\r\n\r\n”,
“xxxx”
],
“disk”: {
“uri”: “\\\\HYPV1\\CustomGallery\\xxxxxxxxxxx.vhdx”,
“hash”: “sha256:XXXXXXXXXXXXXXXXXXXXXXXXXXXXXXXXXXXXXXX”
},
“logo”: {
“uri”: “\\\\HYPV1\\CustomGallery\\xxxxxxxxxxxx.png”,
“hash”: “sha256:XXXXXXXXXXXXXXXXXXXXXXXXXXXXXXXXXXXXXXX”
},
“symbol”: {
“uri”: “\\\\HYPV1\\CustomGallery\\xxxxxxxxxxxx.png”,
“hash”: “sha256:XXXXXXXXXXXXXXXXXXXXXXXXXXXXXXXXXXXXXXX”
},
“thumbnail”: {
“uri”: “\\\\HYPV1\\CustomGallery\\xxxxxxxxxxxx.png”,
“hash”: “sha256:XXXXXXXXXXXXXXXXXXXXXXXXXXXXXXXXXXXXXXX”
}
}
] }Group all the required files in the same directory:
- VHDx file
- JSON file
- Logo image
- Symbol image
- Thumbnail image
Now, I must generate the hash for each image using the following command:
PS > Get-FileHash -Path “xxxx.png” -Algorithm SHA256
To finish, you must set the custom repository location in your registry. You can create the registry key manually or use Windows PowerShell to perform this task:
[string[]]$gallerylocations = (
# Custom images
“\\HYPV1\CustomGallery\WindowsServer2019\WindowsServer2019.json”,
“\\HYPV1\CustomGallery\ESXi60.json”,
# Official Windows 10 developer images
“https://go.microsoft.com/fwlink/?linkid=851584”
)
$registrypath = “HKLM:\SOFTWARE\Microsoft\Windows NT\CurrentVersion\Virtualization”Set-ItemProperty -Path $registrypath -Name GalleryLocations -Value $gallerylocations
Get-Item ‘HKLM:\SOFTWARE\Microsoft\Windows NT\CurrentVersion\Virtualization\’
As you can see, you can add custom and official VM Images:
That’s it! You have now created your own Hyper-V Custom Gallery. You can create new Virtual Machines with pre-installed Operating Systems:
To finish, let’s discuss about the different blocks:
- This block will add some information about the images such as the name, the publisher, …
- This block will add a custom logo
- This block will add a custom symbol
- This block will add a custom thumbnail
- This block will add additional information
Conclusion
Thanks to the “Quick Create” feature, we can create our own Hyper-V Gallery which is really useful. You can create your own Virtual Machine Image and add them in the Custom Gallery. Creating a custom gallery is very easy using a simple JSON file. This feature is not well documented by Microsoft, but it can be very useful for Hyper-V administrators.
Follow our Twitter and Facebook feeds for new releases, updates, insightful posts and more.


