
Quick Bites:
- Port mirroring differs from port forwarding in its non-redirective nature. While port forwarding alters packet destinations, mirroring simply duplicates packets for monitoring purposes. Think of it as creating a carbon copy of network traffic for analysis without affecting its original flow
- The process involves designating two virtual machines: a source VM that transmits all its network packets and a destination VM equipped with a network traffic analyzer like Wireshark. The destination VM passively receives and analyzes the mirrored traffic
- Configuration is straightforward and can be achieved through either the Hyper-V Manager interface or PowerShell commands. The Hyper-V Manager offers a user-friendly GUI for selecting source and destination VMs, while PowerShell provides granular control for advanced users
- However, a key limitation of Hyper-V port mirroring is its scope. It functions only within the boundaries of a single host. In a clustered environment where VMs are distributed across multiple nodes, mirroring necessitates deploying a dedicated destination VM on each host to capture local traffic
Introduction
Network administrators must be prepared to troubleshoot a wide range of problems across the entire enterprise infrastructure. Sometimes, network problem must troubleshoot and you must check many steps such as:
- Physical Connections
- IP Addresses
- Route table
- Check your ISP
- QoS
That’s the reason why network troubleshooting tools are a necessity for every network/virtualization administrator.
In this case, Port Mirroring can help you to troubleshoot the network problem.
Table of Contents
- Difference Between Port Forwarding and Port Mirroring
- Configuring Hyper-V Virtual Machines
- Conclusion
Port Mirroring copies packets entering or exiting a port and sends the copies to a destination port or destination machine. Port mirroring is very helpful to send traffic to applications that analyze traffic for purposes such as monitoring compliance, enforcing policies, detecting intrusions, monitoring and so on.

Port mirroring is also known as switched port analyzer (SPAN) but it also can be used with Hyper-V. If you work in a virtual environment, you must know that
Windows Server 2012 brings this new feature and let you configure a Virtual Machine NIC (vNIC) you want to monitor in the Advanced Features of the Network Adapter settings.
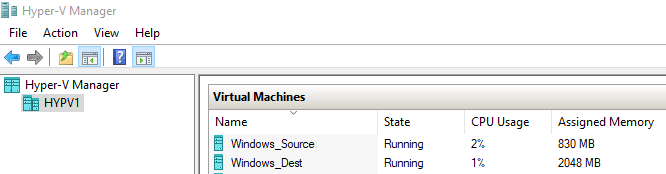
In this guide, I will describe how to configure your Hyper-V environment in order to capture traffic from a Source Virtual Machine which is called ‘Windows_Source’ to a destination Virtual Machine which is called ‘Windows_Dest’. Both Virtual Machines run on my physical Hyper-V host which is called ‘HYPV1’. The source VM is a simple Windows 10, as well as the destination VM. Wireshark is installed on the destination Virtual Machine ‘Windows_Dest’ to analyze the network traffic.
Difference Between Port Forwarding and Port Mirroring
Sometimes, network concepts can be a bit tricky. To avoid any misunderstanding in this article, I just want to clarify two concepts:
- Port Forwarding: Translating the address or port number of a packet to a new destination. It means that original traffic will be translated to the new destination
- Port Mirroring: Monitoring a network traffic that forwards a copy of each incoming and outgoing network packets. It means that original traffic is not translated
Configuring Hyper-V Virtual Machines
Now, you can configure both Virtual Machines. Let’s start by installing Wireshark on the destination Virtual Machine to be able to analyze the traffic.
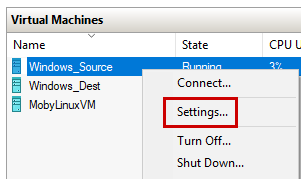
Open the Hyper-V Manager console, right-click on the source Virtual Machine and select Settings:

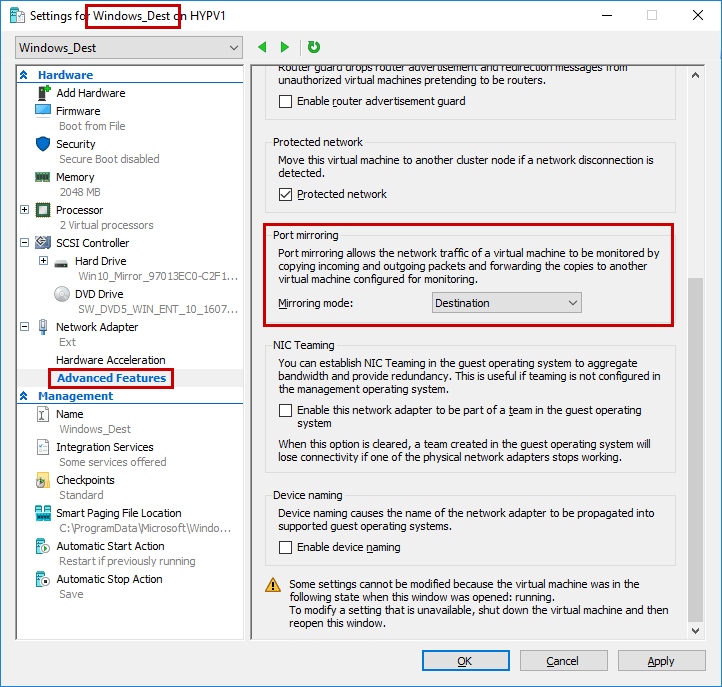
Click OK to validate. One of the great thing about this feature is the ability to configure one or many Virtual Machines as ‘Source VM’. It means that you can send network packets from many Virtual Machines to only one ‘Destination VM’. So you can create a Virtual Machine on which you will install all your network tools to perform your troubleshoots. You could also define more destinations on the same host.
Now right-click on the destination VM, select the settings and set the Mirroring mode:
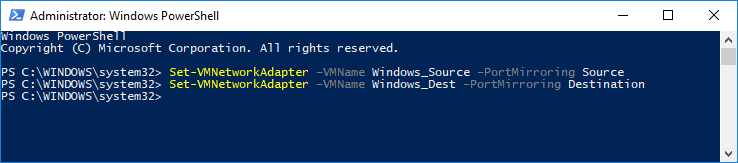
For those of you that love Windows PowerShell, you must know that you can configure your Virtual Machine using Windows PowerShell. The Set-VMNetworkAdapter cmdlet allows you to configure VM Network Adapter. This cmdlet uses a parameter called ‘PortMirroring’ that accepts the following values:
- None,
- Source,
- Destination
Based on my Lab architecture, I can use the following PowerShell commands:
Set-VMNetworkAdapter –VMName Windows_Source –PortMirroring Source
Set-VMNetworkAdapter –VMName Windows_Dest –PortMirroring Destination
Note that if you want to clear this parameter, you can use the None value. Below is the syntax:
Set-VMNetworkAdapter –VMName Windows_Source –PortMirroring None
To enable the Port Mirroring as ‘Source’ on multiple VMs, use the following command:
Get-VM | Set-VMNetworkAdapter –PortMirroring Source
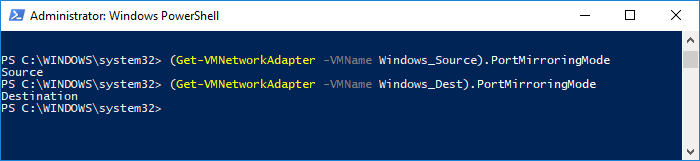
At this step, you must confirm the configuration of your Virtual Machines using the following PowerShell commands:
(Get-VMNetworkAdapter -VMName Windows_Source).PortMirroringMode
(Get-VMNetworkAdapter -VMName Windows_Dest).PortMirroringMode
Don’t forget to use the help section if you need more information:
Get-Help Set-VMNetworkAdapter
- To see the examples, type: “get-help Set-VMNetworkAdapter -examples”
- For more information, type: “get-help Set-VMNetworkAdapter -detailed”
- For technical information, type: “get-help Set-VMNetworkAdapter -full”
Ok, now you can download Wireshark from this URL: https://www.wireshark.org/ and install it on the destination VM called ‘Windows_Dest’:
Click Next and accept the terms of the agreement
Choose which features you want to install. Here, I selected standard features:
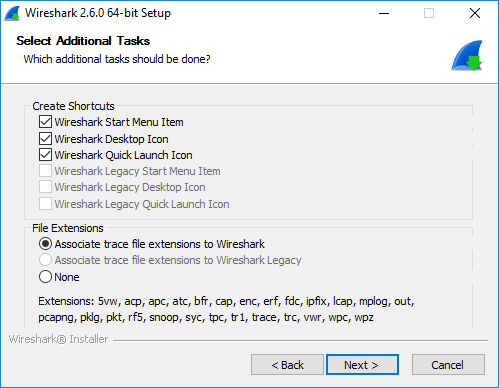
Select additional tasks
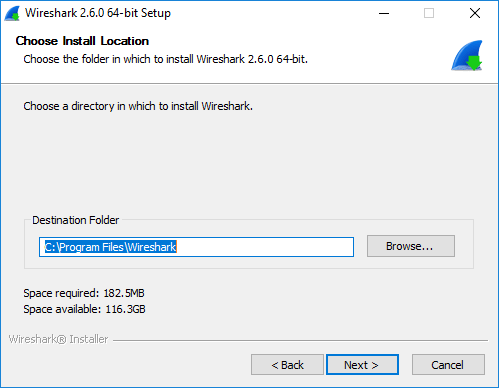
Choose the directory in which to install Wireshark
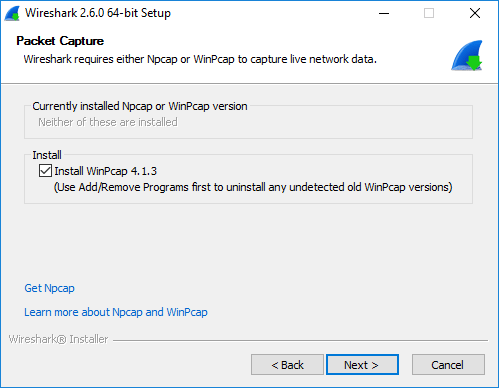
Wireshark requires WinPcap, so select this feature:
Click Next
Wait a few seconds. Once the installation process is done, you can run Wireshark.
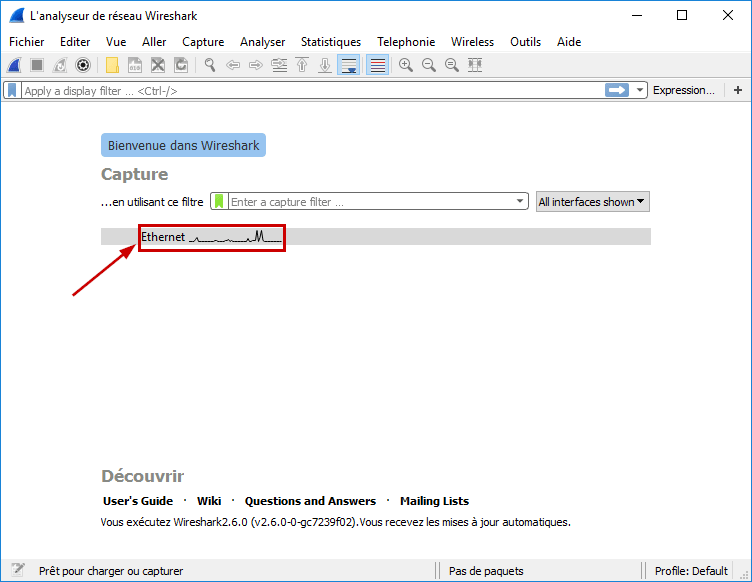
At this step, you just have to start the capture to collect data. So you can start the capture by double-clicking on “Ethernet”:
The capture will start immediately on the default network card. On the left side, Wireshark is running and collecting in my destination Virtual Machine. On the right side, in my source Virtual Machine, I can run a basic ping to 8.8.8.8.
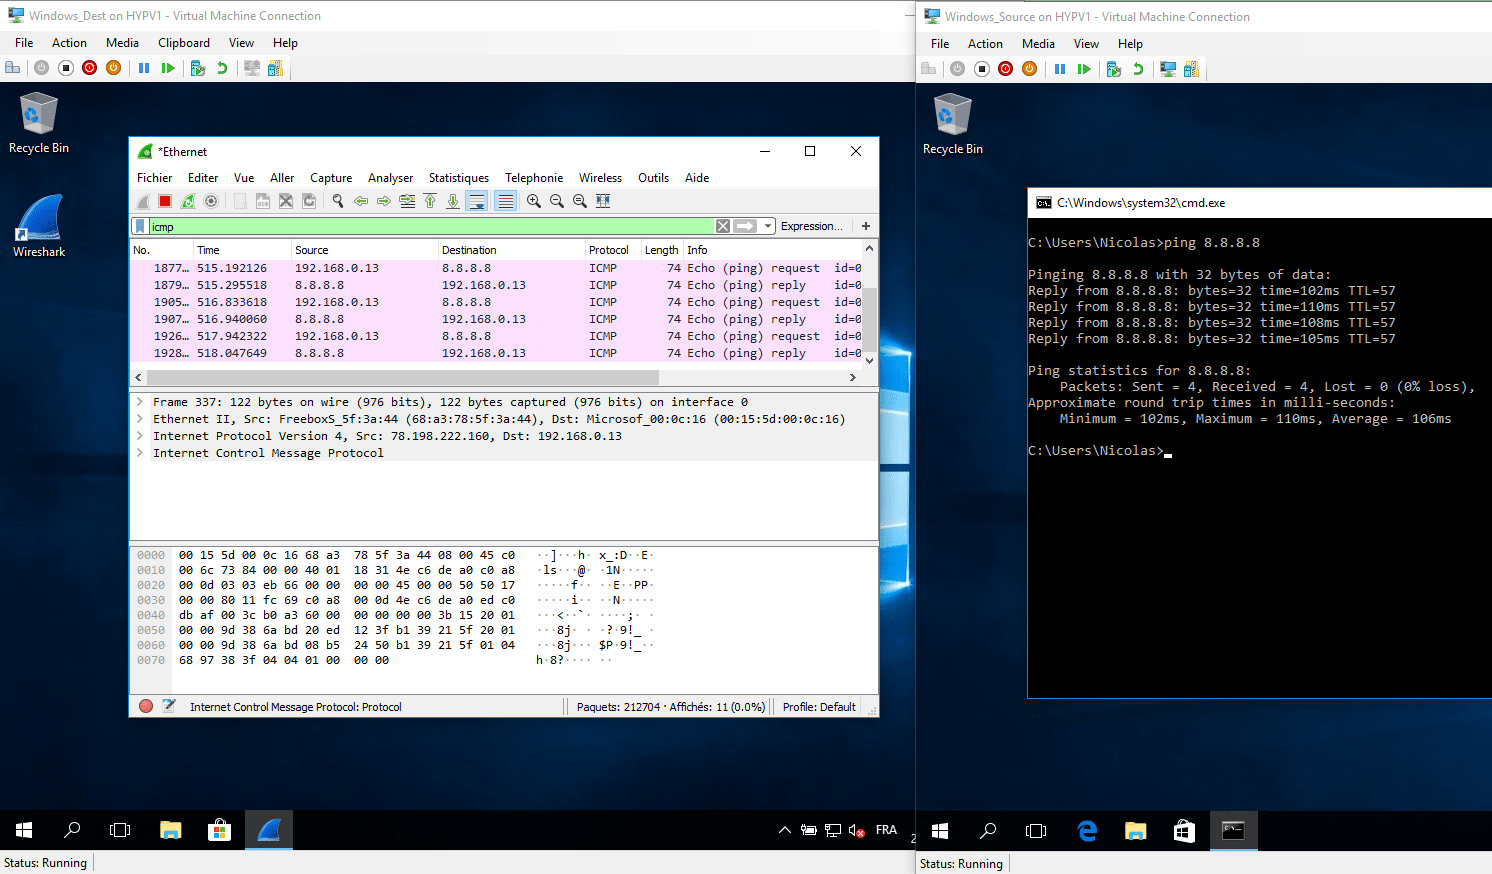
Let’s focus on the following screenshot and confirm port mirroring is working.
Wireshark displays the following capture:
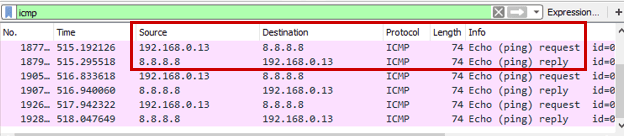
- The source Virtual Machine has the following IP Address: 192.168.0.13.
- The destination Virtual Machine has the following IP Address: 192.168.0.4.
So the echo request is captured from the source VM to 8.8.8.8, as well as the echo reply from 8.8.8.8 to the source VM. I can remove the filter based on the icmp protocol, and confirm that all the traffic is captured as well.
Remember, when you configure Hyper-V Port Mirroring, it is like configuring a pair. You must configure a ‘Source’ Virtual Machine and then you must configure a ‘Destination’ Virtual Machine. Note that any communication happening between Source VM and destination VM could be captured from a packet sniffing software running on the Hyper-V Server. It is the switch extension capabilities of the Hyper-V Virtual Switch that are being leveraged to achieve port sniffing. The Hyper-V vSwitch uses port ACLs to set a rule that will forward traffic from one virtual port to another virtual port.
Conclusion
Thanks to the Hyper-V Port Mirroring feature, we can easily troubleshoot network issue for the Hyper-V Virtual Machines. This feature is available with Windows 10, Windows Server 2012 and higher. You don’t need to have strong network skill to collect data between two Virtual Machines. Just install Wireshark, set the Port Mirroring mode and that’s all!
If you work in a cluster environment, keep in mind that it works within the boundaries of the same host. It means that if you want to monitor a Virtual Machine network traffic that moves across nodes in your Hyper-V cluster, then you will have to set a ‘Destination’ Virtual Machine on each host of your cluster.
Also, follow the link to know about the Hyper-V Networking Best Practices to ensure there are no issues with network connectivity, performance, or high availability in your Hyper-V environment.
Related Posts
Beginners Guide for Microsoft Hyper-V: How to Create a Virtual Switch in Hyper-V using Windows Admin Center – Part 33
VMware for Beginners – What is vSphere Distributed Switch: Part 15(a)
Follow our Twitter and Facebook feeds for new releases, updates, insightful posts and more.