
Introduction
VMware ESXi is available to download in the official VMware site. You can download it from the account linked with the registered product.
The base ESXi installation image does not contain all the necessary software packages/drivers required for all the hardware devices. There are cases where you may require additional drivers/software. Installing these required items post-installation might be quite challenging as it involves too many processes. You can avoid such complications by building a custom ESXi installation image. This can be performed through the GUI & command-line interface.
In this article, we will look at the procedure to create a custom ESXi iso using VMware PowerCLI and vSphere Client.
Note: Many vendors are giving custom ESXi installation ISO to support their brand new hardware.
Table of Contents
- Prerequisites
- Creating a custom ESXi image using VMware PowerCLI
- Create Custom ISO using Image Builder with vSphere Client

- Windows-based PC with VMware PowerCLI Installed. You can download here
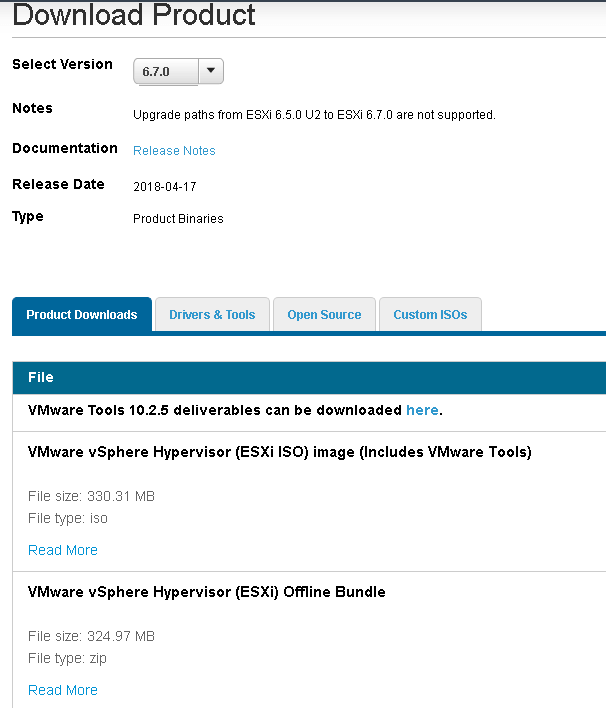
- ESXi Base offline bundle. You can download here
- Driver or software you need to add to custom ISO. You can download from VMware/Product Site
Before starting to build the custom ESXi image, you need to be familiar with the following terms:
VIB – VIB stands for vSphere Installation Bundle. At a conceptual level, a VIB is like a tarball or ZIP archive in that it is a collection of files packaged into a single archive to facilitate distribution. This software packaging format is used by VMware and other 3rd party vendors to provide the required software for ESXi.
Image Profile – An Image Profile defines the set of VIBs that an ESXi installation or update process uses.
Software Depot – The ESXi software depot contains the image profiles and software packages (VIBs) that are used to run ESXi
creating a custom ESXi image using VMware PowerCLI.
Step 1: Download all required files
In our scenario, we are using ESXi 6.5 offline bundle and net-tulip legacy driver to build a custom ESXi 6.5 Installation image.
Step 2: Import the software depots
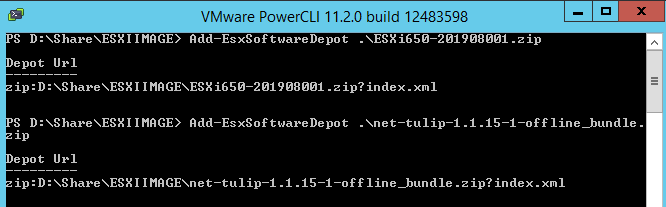
Start the PowerCLI session from the windows machine and import the software depots.
You can use “Add-EsxSoftwareDepot” cmdlet to import the VMware offline bundle you have downloaded.
Add-EsxSoftwareDepot .\ESXi-6.5.0-201908001-depot.zip
Add-EsxSoftwareDepot “Driver or any other management pack file with path”
Add-EsxSoftwareDepot .\net-tulip-1.1.15-1.offline.bundle.zip
To list the available image profiles, use the “Get-EsxImageProfile” cmdlet
Note: ft name will help to filter full name of the Profile

Step 3: Create an Image Profile
After the software depots have been imported you can create an image profile using the “New-EsxImageProfile” cmdlet. You can clone an existing image profile to custom one similarly.
New-EsxImageProfile -CloneProfile ESXi-6.5.0-20190804001-standard -Name ESXICUSTOM
Enter a vendor name and hit enter, you can provide any name

If you want to avoid entering vendor name use below syntax
Step 4: Add the driver or required custom file
Add-EsxSoftwarePackage -ImageProfile ESXICUSTOM -SoftwarePackage net-tulip -Force

Step 5: Change the Acceptance Level
Next, we need to change the acceptance level to CommunitySupported.
If we are not changing acceptance level from the default, you will receive an error during the creation of ESXi ISO and it’s installation.
Hosts, image profiles, and individual VIBs have acceptance levels and the default acceptance level for an ESXi image or image profile is PartnerSupported.
To match the acceptance level for a VIB or image profile you want to install to the host, you can lower the acceptance level. The acceptance level of each VIB on a host must be at least as high as the host acceptance level.
For example, you cannot install a VIB with PartnerSupported acceptance level on a host with VMwareAccepted acceptance level. You must first lower the acceptance level of the host.
To set the acceptance level of the image profile to CommunitySupported by running the following command
Set-EsxImageProfile -AcceptanceLevel CommunitySupported –ImageProfile ESXICUSTOM

You can check the available image profiles and the acceptance level by running “Get-EsxImageProfile” cmdlet.
Step 6: Create a custom ISO using the image profile created
Export the Image Profile as an ISO file (.iso) using below command

Now you have the custom ISO image which can be used to install with custom drivers. You can navigate to the export path and verify that ISO is available or not.
Additionally, if you want to remove a software package use the “Remove-EsxSoftwarePackage” cmdlets
We can create a custom ISO using VMware Image Builder. Check below to understand the procedure.
Create Custom ISO using Image Builder with vSphere Client
Another method to create a custom ESXi installation image is vSphere ESXi Image Builder with the vSphere Client. You can use this method to create a customized set of ESXi updates and patches, third-party network or storage drivers that are released between vSphere releases. You can manage software packages (VIBs), image profiles, and software depots using the vSphere ESXi Image Builder service in the vSphere Client.
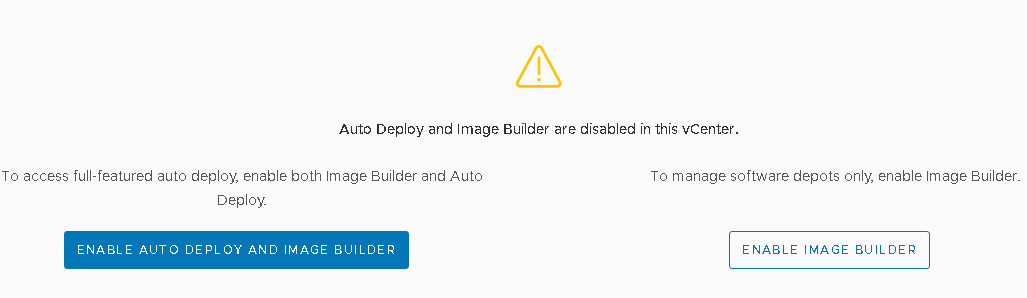
To create a custom ISO, we have to use Auto Deploy with Image Builder feature in vCenter. By default, this will be disabled and you have to enable it. Only the administrator role has privileges to use the vSphere ESXi Image Builder service. And make sure you have downloaded the required offline bundle and is available in your local system for uploading to Image builder inventory.
Steps involved
- Enable Auto Deploy and Image Builder
- Create Custom Depot
- Import offline bundles ( ESXi updates, patches, ESXi and third-party Drivers etc )
- Clone the Profile to Custom Depot
- Export the Custom Depot
- Download the Custom ISO
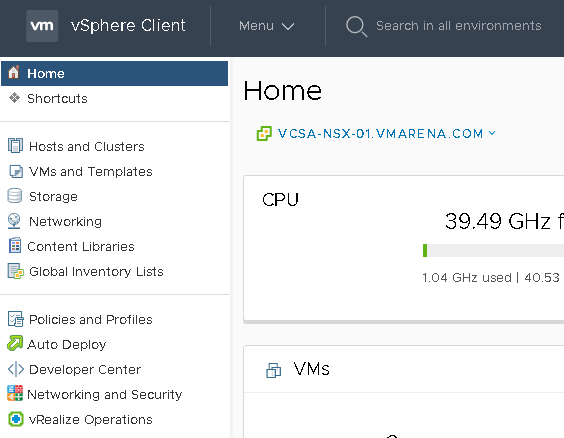
Log in to the vCenter Server system by using the vSphere Web Client. On the vSphere Web Client Home page, click on Auto Deploy.
As I mentioned above, by default this is disabled on vCenter and click on Enable Auto Deploy and Image Builder to enable it.
Once auto-deploy services are started, you must create a custom depot. From Software Depots Option Click on New
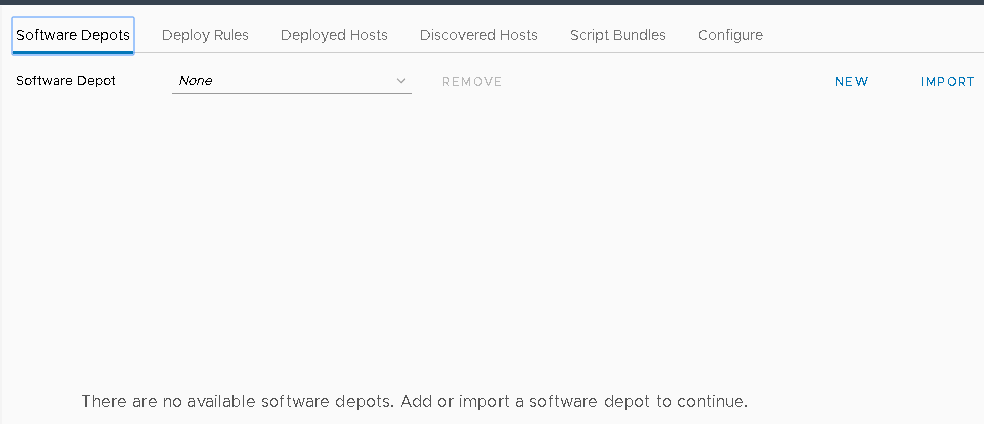
Select Custom Depot, and provide a name and click Ok

In this method, we are creating a custom ESXi 6.7 installation image with a new version of the Emulex driver. You can download both from below links using valid VMware portal credentials.
Download ESXi 6.7 offline bundle
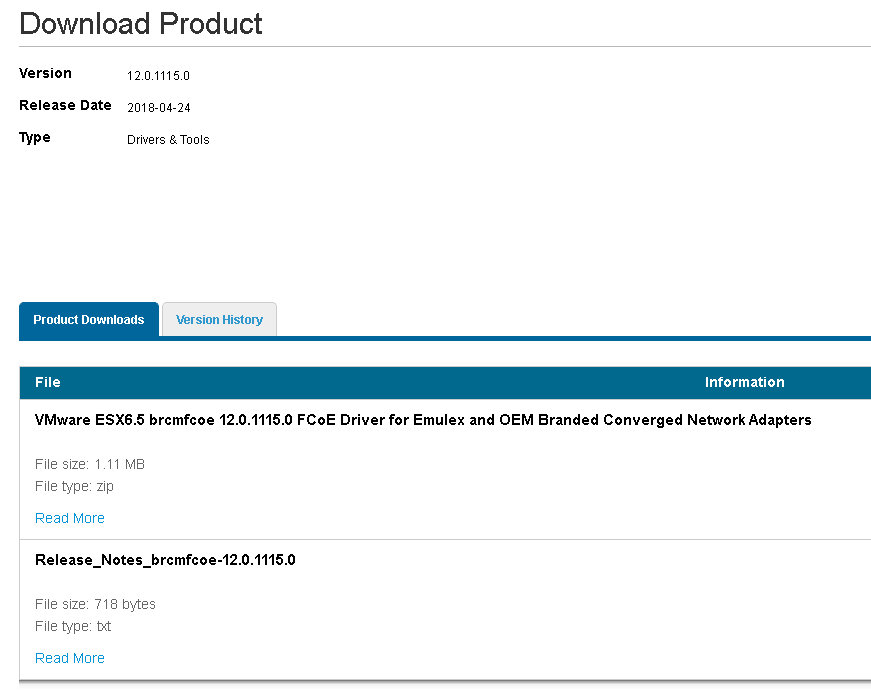
Download Emulex Driver Zip file
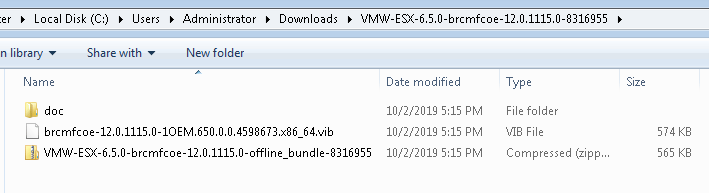
Emulex Driver File, driver is in archive format (.zip). You have to unzip and use driver offline file for creating custom installation media
Unzip the downloaded driver file and verify it has offline bundle available
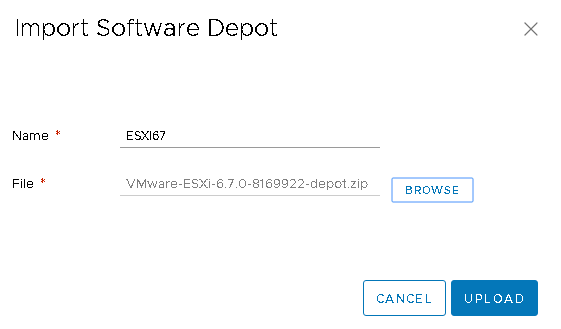
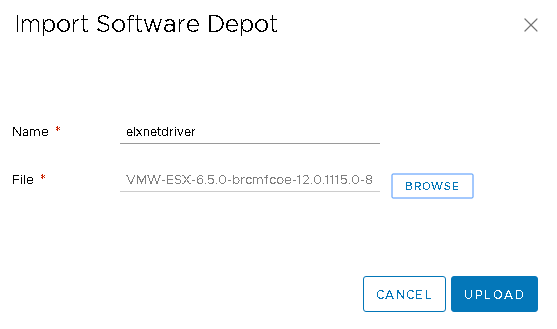
Next, you must import the offline bundle from your local machine to the vSphere ESXi Image Builder inventory by using the vSphere Client. From Software Depots, click on Import option
Provide a name and browse to select the ZIP file from the local system and click upload
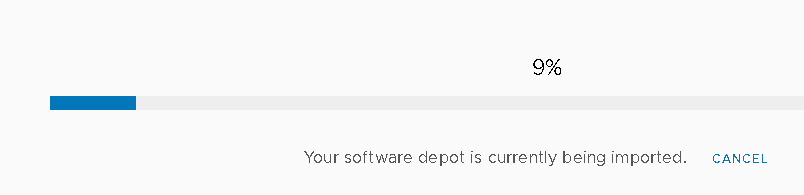
Wait for few seconds and file will be uploaded
Follow the same procedure to import the offline driver bundle
Once both files are uploaded, you can verify that from the software deport tab, it will list in the drop-down option. If you select the name of the depot, you can verify the uploaded file details using the name, version, and vendor, etc
Emulex Driver

The next step is to clone the image profile.
You can clone an image profile which you want to make changes to the VIB list in a profile, or if you want to use hosts from different vendors and want to use the same basic profile but want to add vendor-specific VIBs.
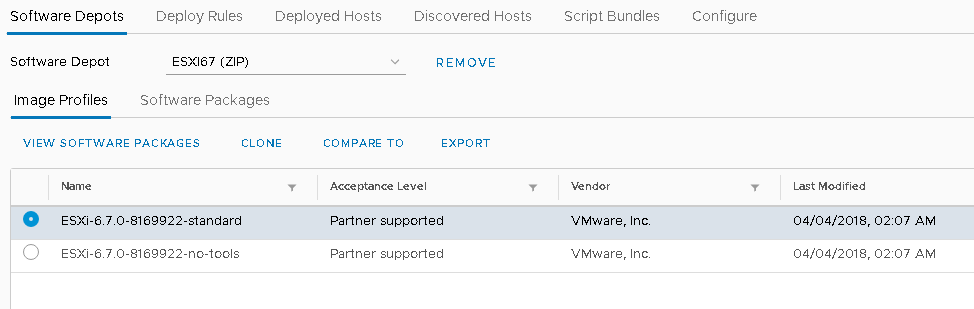
- On the Software Depots tab, use the drop-down menu to select the software depot that contains the image profile
- Select the image profile that you want to clone and click Clone
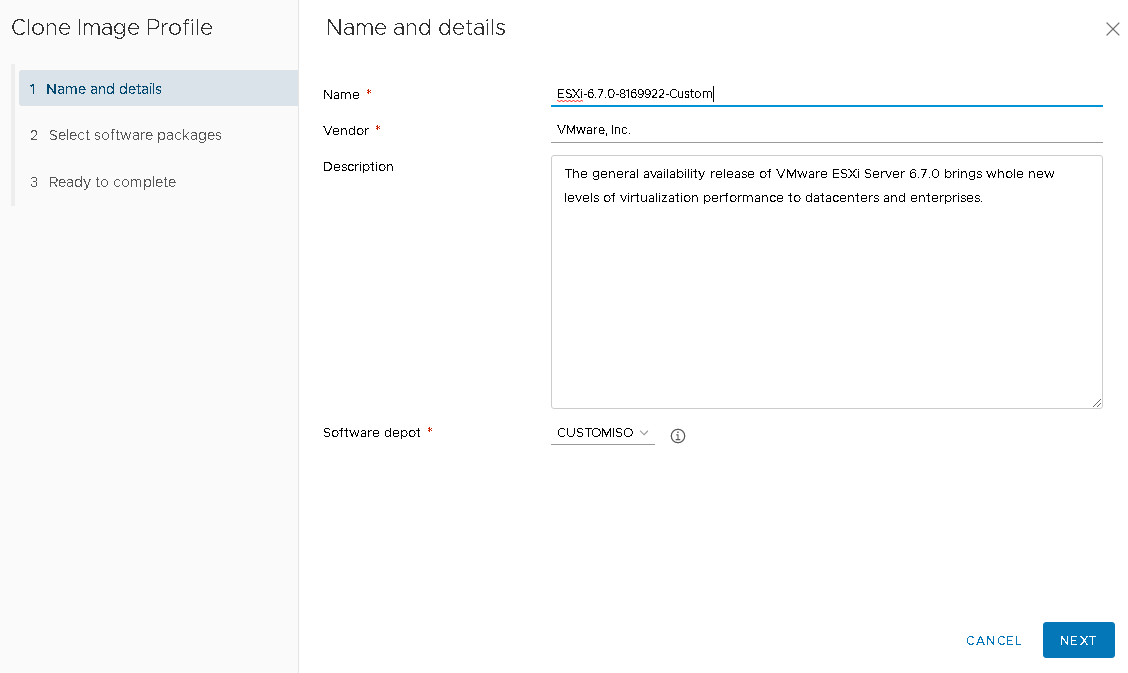
Enter a unique image profile name, vendor, and description. From the Software depot drop-down menu, select in which custom depot to add the new image profile. Click Next
The Select software packages page appears as you can see brcmfcoe 12.0.x is not selected and this is one we have uploaded and need to be used for custom image
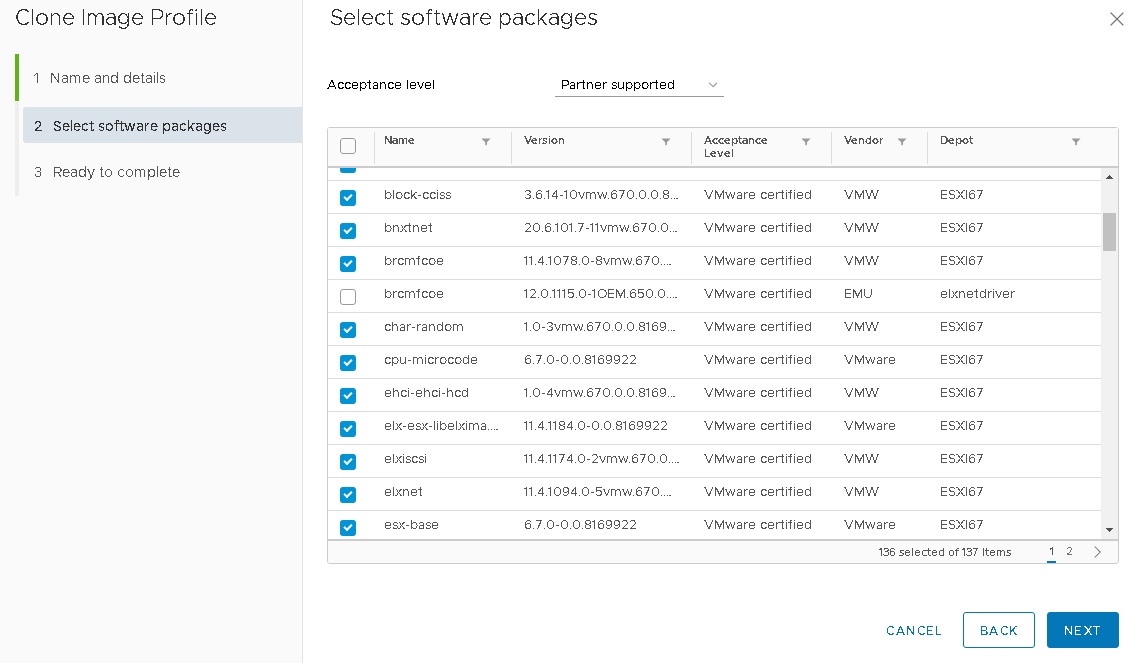
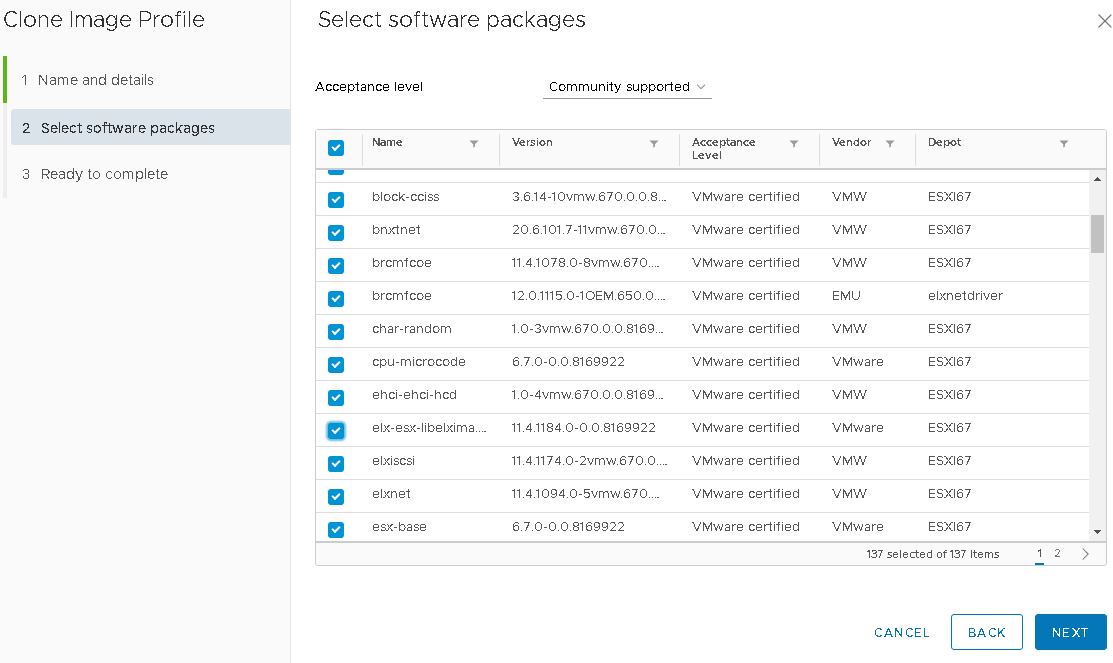
From the drop-down menu, select an acceptance level for the image profile and select software packages and Click Next
Note: You can deselect the VIBs you don’t need in this installation image from the same window.
Next vSphere ESXi Image Builder verifies the change we made. If there is any error, you can correct that by adding or removing dependency packages or conflicting ones. As you can see, the below image shows a warning and it is conflicting with an older version or Emulex driver and we need to remove it.
You can go back to the previous menu to make changes using No, also you may ignore with Yes and it is not recommended. Click No
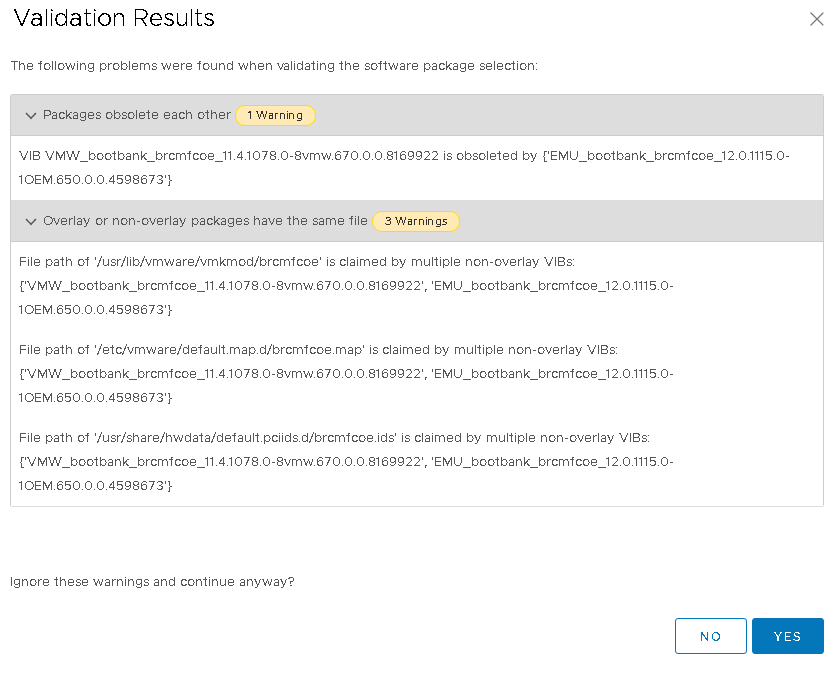
Unselect the Older version brcmfcoe 11.4.1.X and Click YES

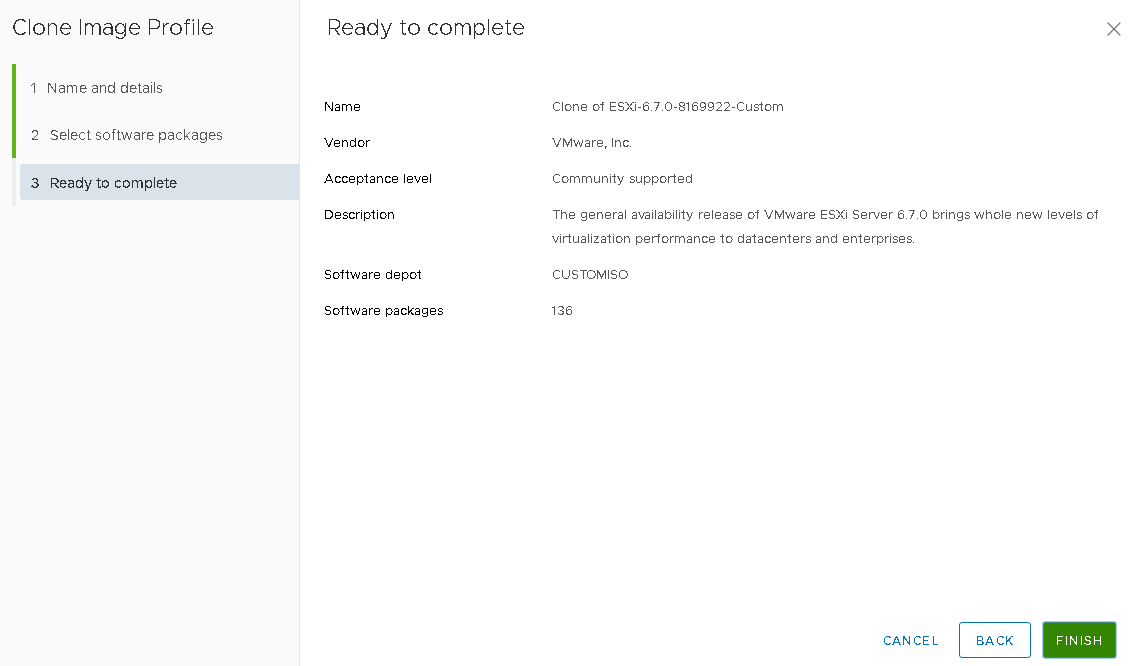
Once the validation gets success, you will get a Ready to complete page – review the summary information for the new image profile and click Finish.
On the Software Depots tab, use the drop-down menu to select the software depot that contains the custom image profile that you created, select the image profile and click Export
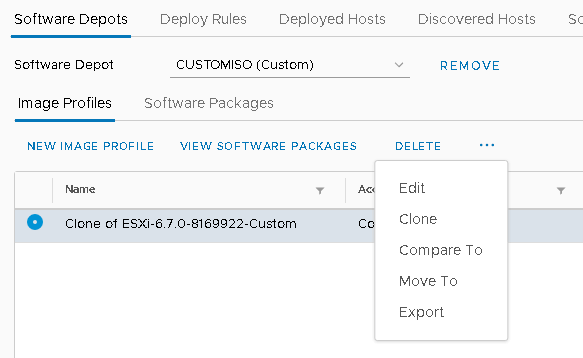
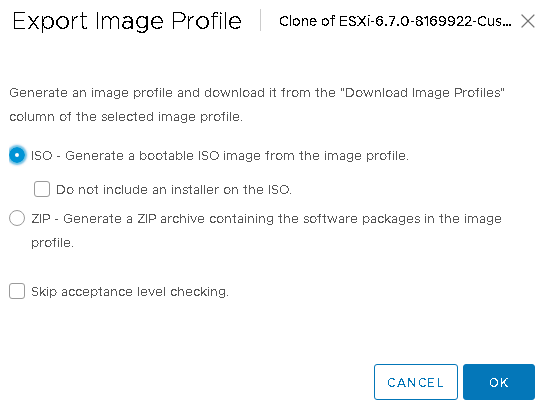
Export Image profile screen appears with two options:
- ISO – Choosing this option will create an ISO image, which you can burn to a CD or DVD and use to boot up a stateless ESXi instance. Also, enable the checkbox Do not include an installer on the ISO
- ZIp – Exports the image profile to a ZIP file
Here, we choose ISO to create a bootable ISO image. Then, click ok.
The Download link starts generating in the column “Download Image Profiles” and once the image generates successfully, click Download to save the exported file.
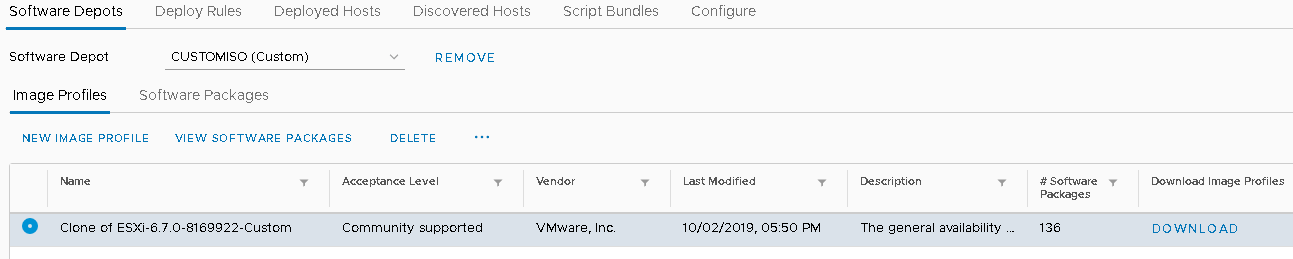
Navigate to the downloaded Location and verify whether the ISO image is available
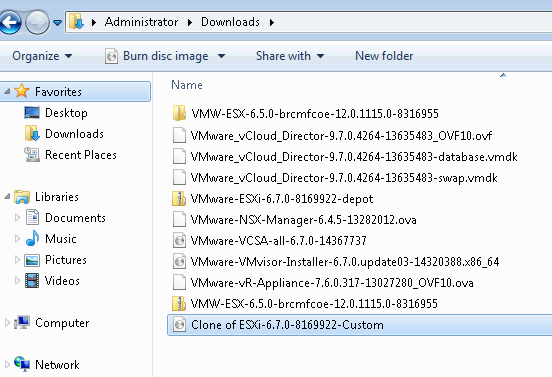
Now you can try to install ESXi as a VM on Workstation Pro to verify that the ISO is valid.
Safeguard your valuable data with the dependable VMware backup solution. It functions as a robust shield, assuring the security of your crucial data. Test it out at no cost!
Get BDRSuite now to effortlessly fortify your VMware environment and enjoy a sense of security. Download BDRSuite here: Download BDRSuite
Delve deeper into VMware backup with BDRSuite to witness its efficacy firsthand! Visit here: VMware Backup with BDRSuite
Related Posts:
Nested Hyper-V VMs on a VMware ESXi Server
VMware for Beginners – What is vSphere Distributed Switch: Part 15(b)
Follow our Twitter and Facebook feeds for new releases, updates, insightful posts and more.