
Microsoft’s Hyper-V hypervisor is certainly gaining traction in the enterprise and with Windows Server 2016 Hyper-V, they have closed some of the gaps with competitors with their feature offerings.
When thinking about deploying a Microsoft Windows Server Hyper-V environment, we can certainly stand up a single Hyper-V host and run workloads fairly quickly.
However, we would want to configure Hyper-V in a cluster configuration if we are serious about running highly available and scalable Hyper-V production workloads in the enterprise datacenter.
In this first post of creating a Window Server 2016 Hyper-V cluster, we will take a look at installing the Hyper-V role, networks, as well as attaching both hosts to iSCSI targets.
In the second post, we will look at installing Failover Clustering, creating our Failover cluster, creating clustered shared volumes (CSVs) and making the Hyper-V virtual machine workloads role highly available.

Network Planning
In a lab, we configure only the minimum adapters required and no teaming is configured for simplicity sake. However, in a production environment, you would want to team your adapters so there is no single point of failure in any one network. Typical networks that would be configured in a Hyper-V cluster environment may include the following:
- Management and VM traffic
- Storage (iSCSI, NFS)
- Private Cluster Traffic
- Live Migration
With the above networks in mind, we want to assign IP Addresses to each server in our desired subnet ranges. VLANs will come into play here as well so make sure to think through these configuration details before installation.
Installing the Hyper-V server role
To lay out the lab environment shown below, we have configured two identical Windows Server 2012 R2 servers, patched, etc. Both servers are configured with a couple of network adapters, one for management/virtual machine traffic, and the other for iSCSI traffic connected to shared storage. In production, we would have multiple network cards configured for various networks, however, for this lab, we are running a simple network configuration. On the two networks, both servers have been addressed with management IPs as well as iSCSI network IP addresses. Both have been joined to our lab domain – TESTLAB.
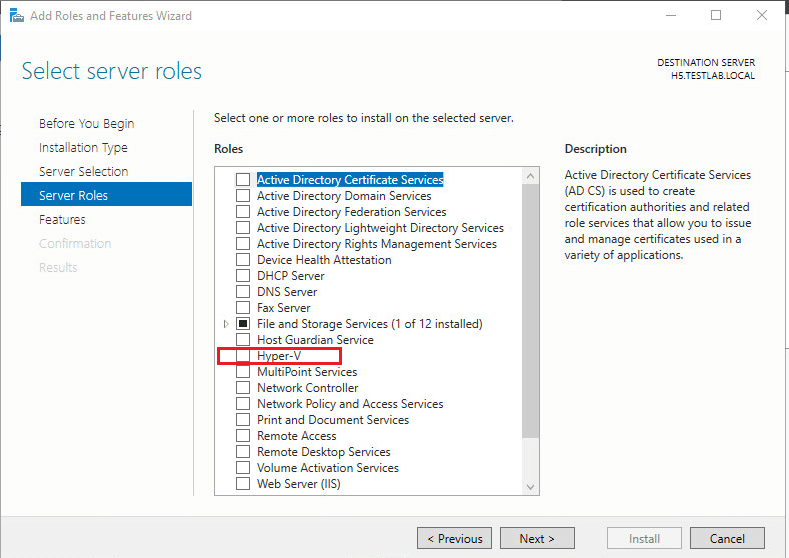
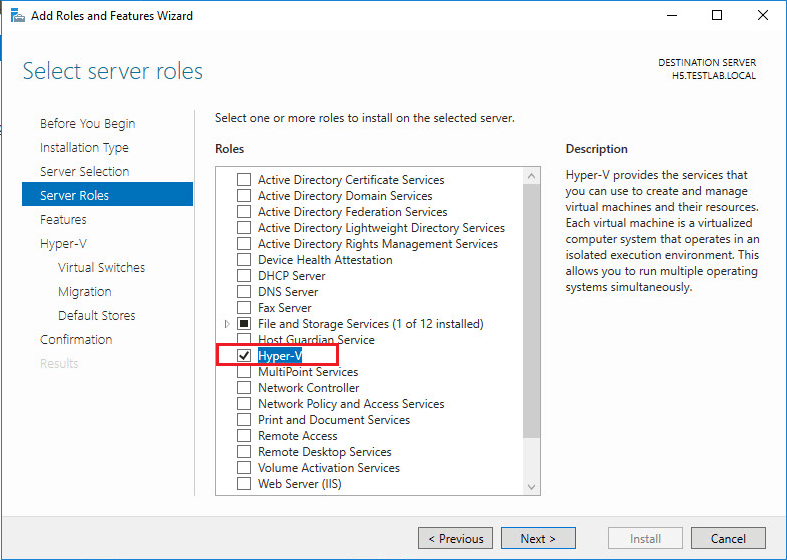
On both servers, we will install the Hyper-V role. We launch Server Manager, Add Roles and Features and under Server Roles, we choose the Hyper-V Role.
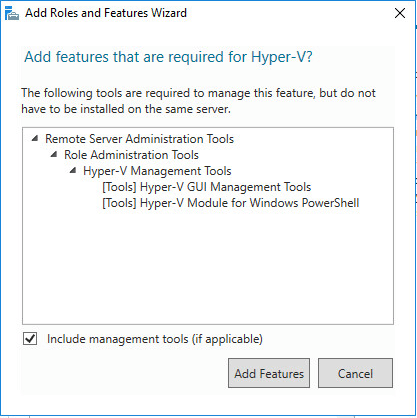
We are asked to add features that are required for Hyper-V server. Click to Add Features.
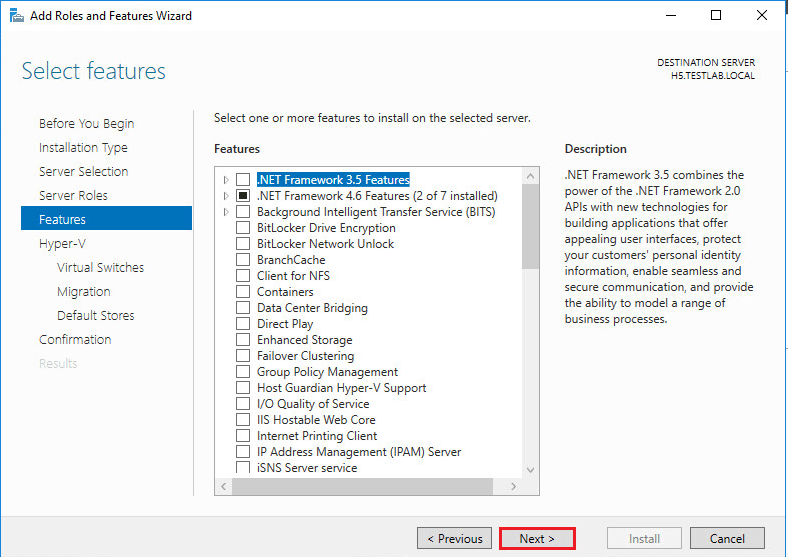
On the Features page, we simply hit Next.
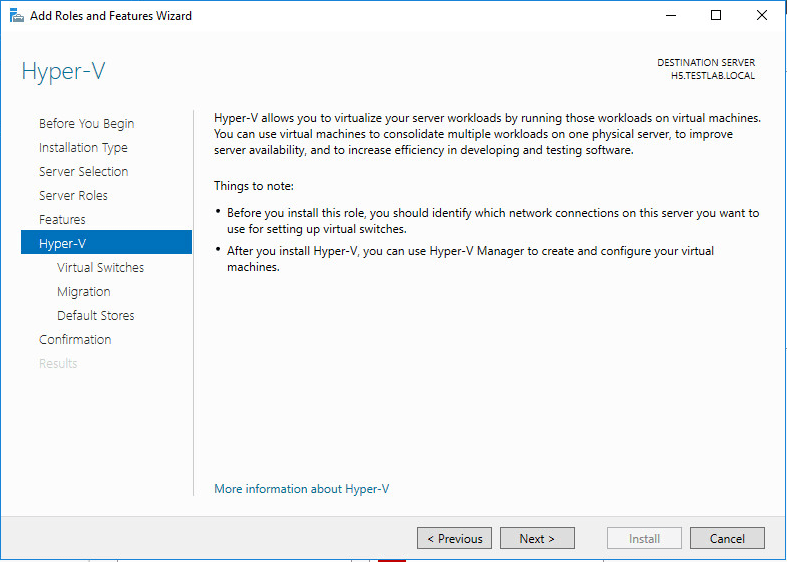
Now, we get to the more specific Hyper-V configuration.
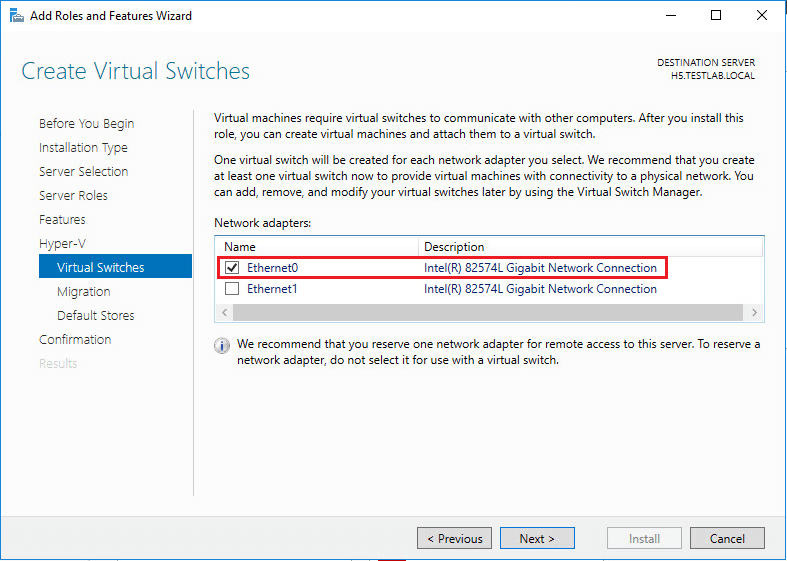
We select a network adapter for the default virtual switch that will be created during the install. That will also carry initial management traffic.
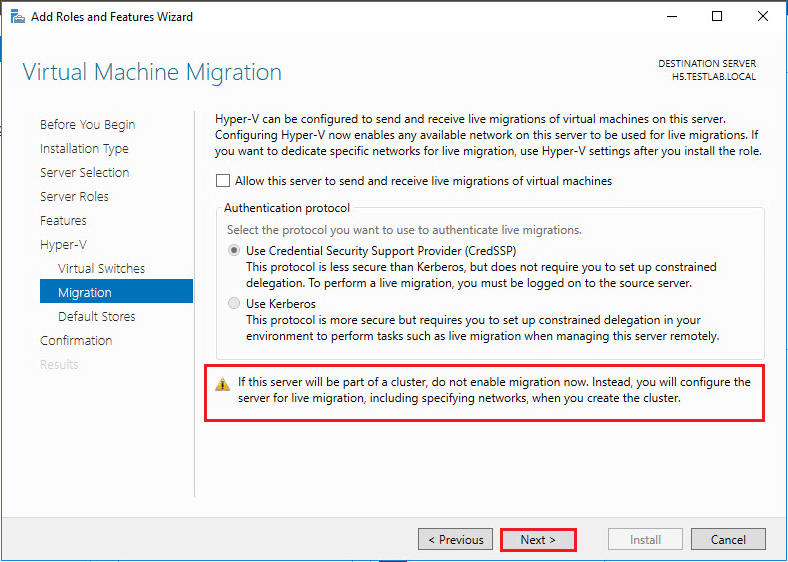
As directed below, we can skip the configuration of sending and receiving live migrations of virtual machines if the server is to be a part of a cluster.
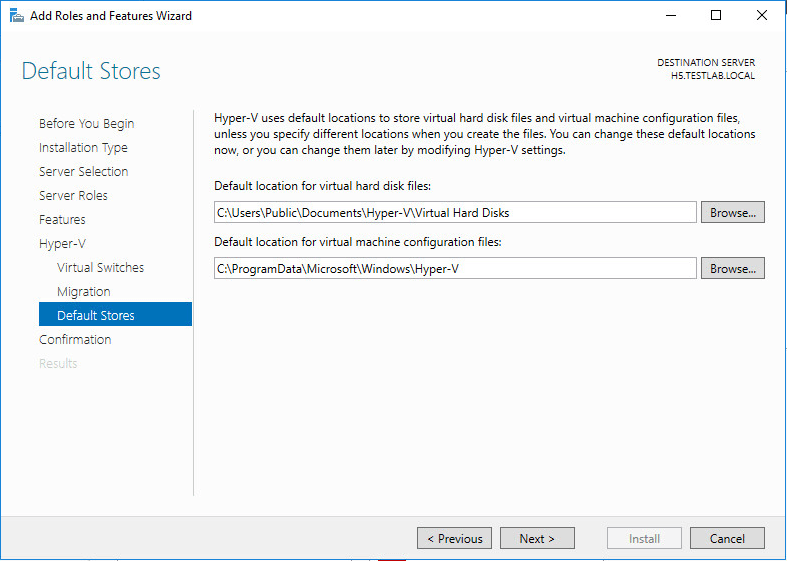
We can accept the default locations for virtual machines for now as we can reconfigure this later. Once we have our shared storage in place, we can utilize the clustered shared volume for storing virtual machines.
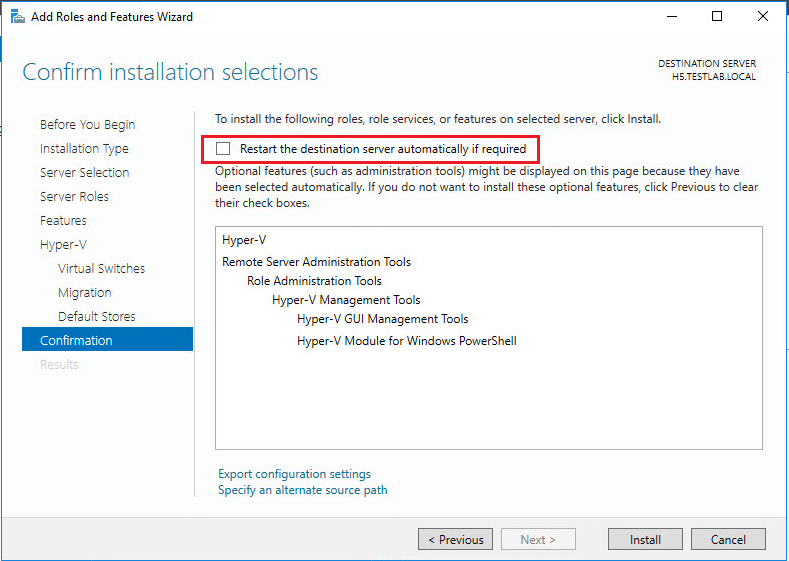
On the confirmation screen, we can choose to Restart the destination server automatically if required if we are sure there are no other operations that will be interrupted by doing that. Or, you can simply leave this unchecked and reboot manually after the installation is complete.

Adding Shared Storage
One of the important requirements when thinking about creating a Hyper-V cluster is to provision shared storage between the two (or more) Hyper-V hosts. Shared storage, particularly clustered shared volumes, allows the compute and memory resources for virtual machines running on one host to be moved via live migration to another host. It also allows both hosts to utilize storage on a SAN or other shared storage device.
For our Hyper-V cluster, we are setting up a quorum volume and also a volume for VM storage. Quorum is the mechanism in a Windows cluster/Hyper-V cluster to ensure the majority of cluster resources available for the cluster to function. With Windows Server 2012, each node by default had a single quorum vote in the cluster. When we add an extra vote with a share, disk witness, or a cloud storage account as is the case with Windows Server 2016, one node in the cluster should be able to get greater than half of the quorum vote by claiming the share, disk witness, or cloud storage account vote.
In Windows Server 2012 R2 and beyond, it is always recommended to configure the disk or file share witness. If there are an even number of nodes in the cluster, the vote includes the additional witness – share, disk witness, or cloud storage account. In an odd node number of nodes, the witness isn’t used.
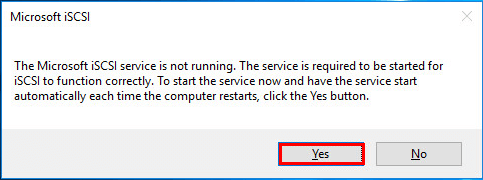
In our lab setup, we are setting up iSCSI connections to shared storage we have provisioned. Run the iscsicpl command to launch the “Microsoft iSCSI” configuration (these steps will be performed on both servers). You will be prompted to set the Microsoft iSCSI service to automatically start. Choose Yes.
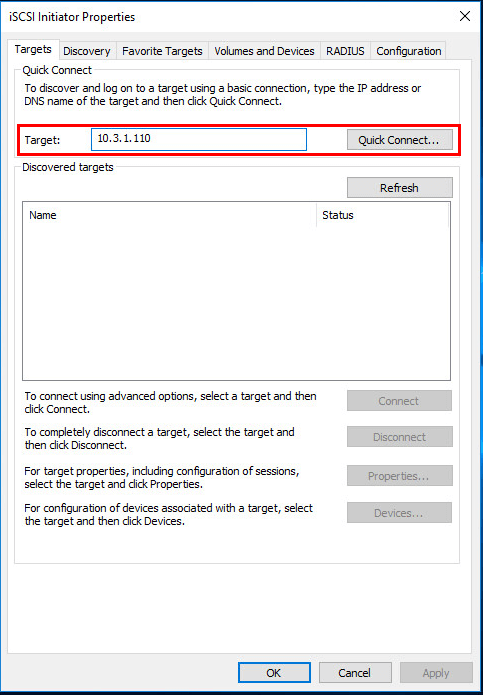
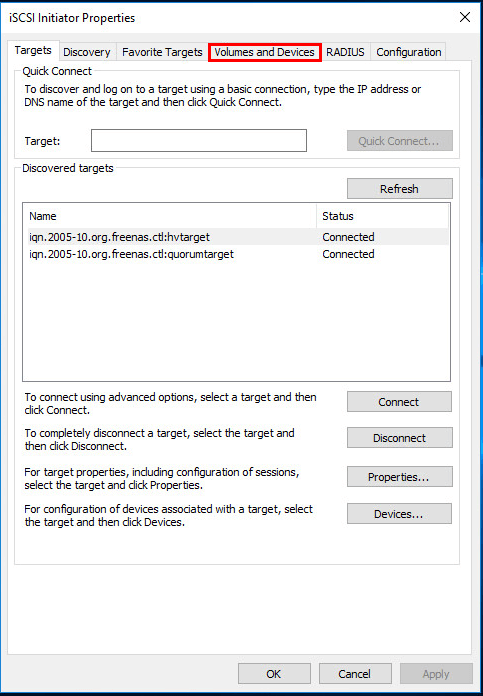
In the Targets tab, we enter the address of our iSCSI target. Here we choose Quick Connect to automatically connect to the discovered targets.
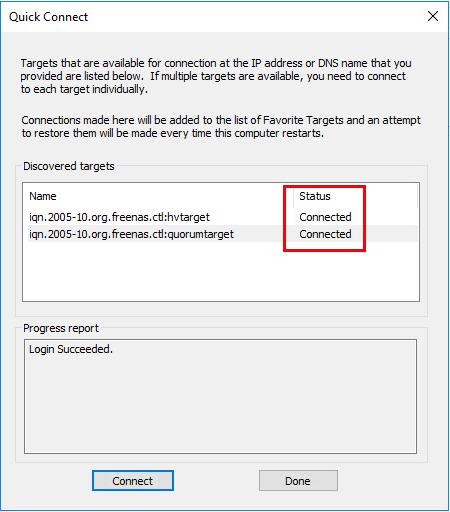
Two targets are found. Notice they show to be Inactive. Click on each one and then click Connect.
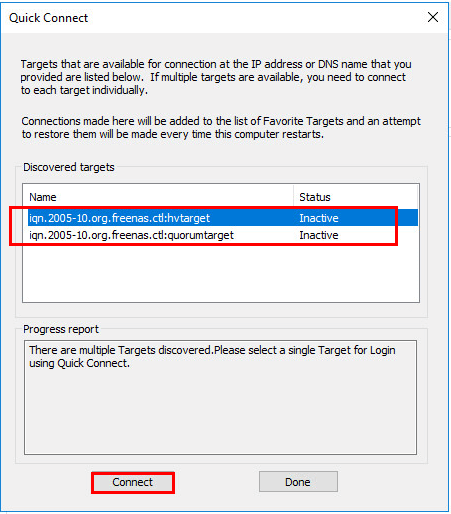
The status of the discovered targets should change to Connected. Notice that we have both a volume for virtual machines and a volume for the quorum disk.
Now, navigate to the Volumes and Devices tab.
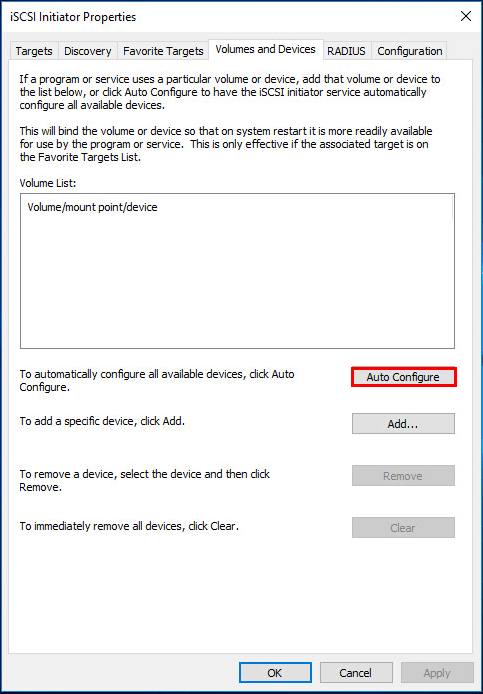
We can select to Auto Configure the volumes.
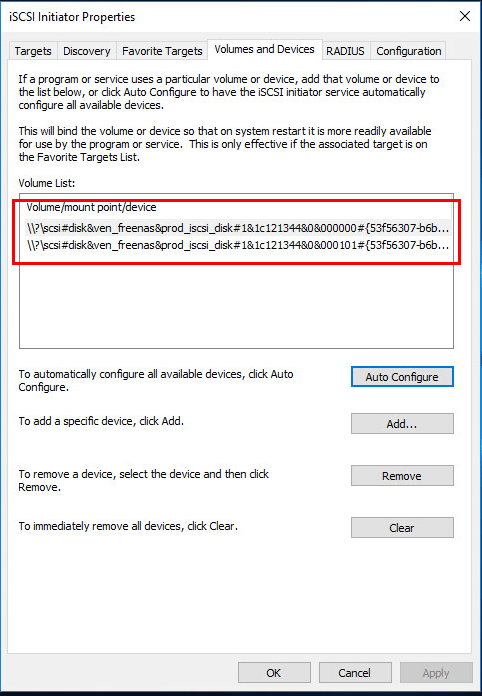
We should see our Volume List populated with the iSCSI volume targets.
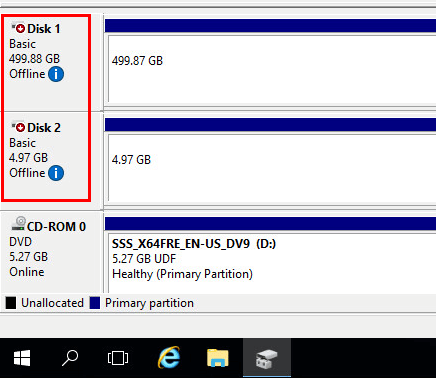
If we open disk management we should see the two disks show up as Offline. We need to online both.
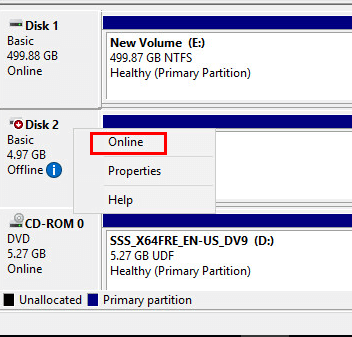
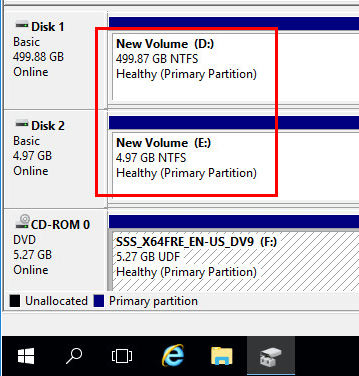
After bringing both disks online and possibly initializing both disks, we can format, etc.
Thoughts
In this post, we have seen how to install the Hyper-V role, plan network configuration, and add shared storage to both hosts. In the next post, we will look at installing Failover Clustering, creating our Failover cluster using our two Windows Server 2016 Hyper-V hosts, creating clustered shared volumes (CSVs) and making the Hyper-V virtual machine workloads role highly available.