
What is Amazon Lightsail?
Amazon introduced an easy-to-use cloud platform (PaaS) called Amazon Lightsail that offers you to build an application or website on a lightweight Windows or Linux VPS (virtual private server) platform with a cost-effective monthly subscription.
If you are new to the cloud and want to set up a website quickly for your company, or you are an experienced developer who wants to do a functionality test case quickly, Amazon Lightsail fulfills your need completely.
What is the difference between Lightsail and EC2 instances?
Amazon Lightsail and EC2 instances differ from each other in various aspects such as pricing, performance, use case, suitability, and API integration. Amazon Lightsail is a lightweight VPS server on the PaaS platform, whereas EC2 instances are full-fledged AWS services on the IaaS platform.
Lightsail might not be ideal for applications that need a highly configurable environment, or high CPU and I/O performances. But they are perfect for small developers and web hosts. For applications that require high CPU performances or highly configurable environments, Amazon EC2 will be more appropriate. Various outbound costs are included in Lightsail instances like each Lightsail instance includes 5 TB of internet data transfer allowance. Outbound costs are not included in EC2 instances.
Amazon Lightsail instances are not accessible directly from the AWS management console.

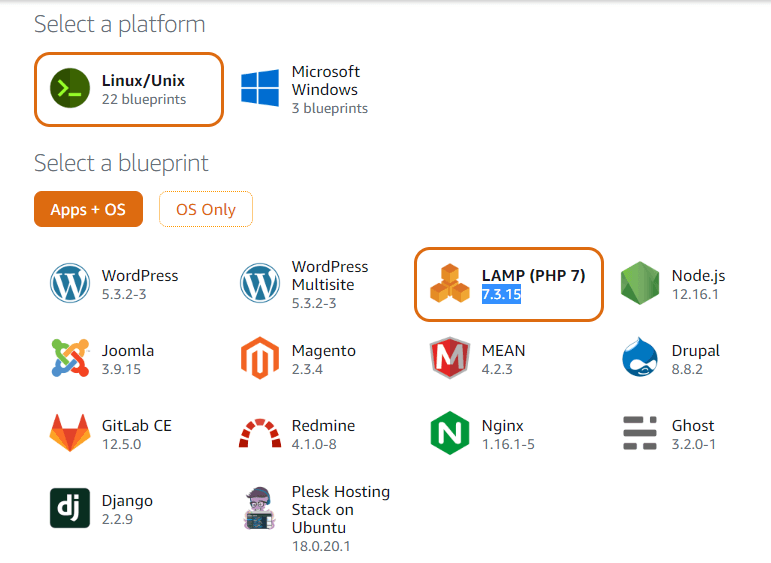
Lightsail images are available on Linux/Unix and Windows. Once you choose a platform, you can install a base operating system (OS) like an Ubuntu Server image with an application or development stack preinstalled, or a Windows OS with SQL Server 2016 Express preinstalled. That is, you have the option to select the platform Windows or Linux OS and select a blueprint with option Apps + OS and OS only.
By default, if you select Apps + OS option, Ubuntu server OS will be automatically selected, and your selected blueprint application will be installed on top of it automatically. Below screenshots show the supported OSes and applications.
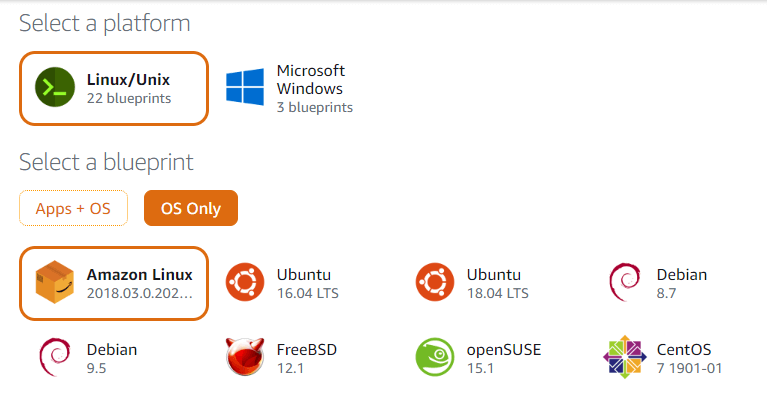
OS only on Linux
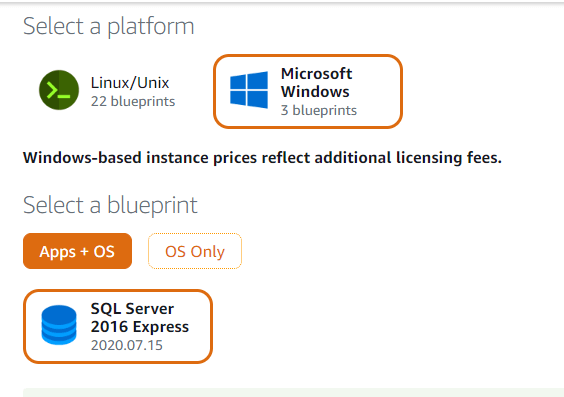
Apps + OS on Windows
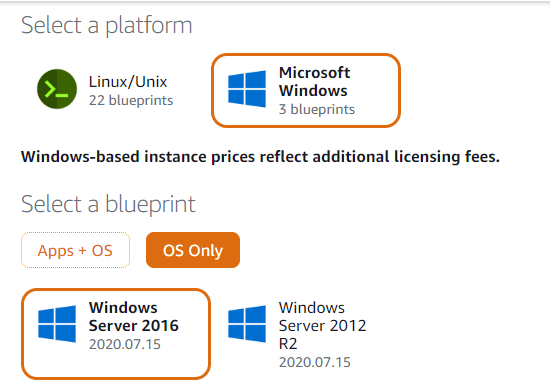
OS only on Windows
In this blog, we are going to select the Linux platform and LAMP blueprint. So, an instance with Ubuntu Server VPS and LAMP applications will be set up quickly using AWS Lightsail. If you are already using AWS services, you can launch an Amazon Lightsail instance quickly from the AWS management console itself.
Login to AWS Console, and click Lightsail under Computer service. This will open a new window, which is a home page for the AWS Lightsail cloud platform. Or you can access directly from the URL – https://lightsail.aws.amazon.com/ls/webapp/home/instances
Creating a Lightsail instance
Step 1: Login to the AWS console or Lightsail home page by typing the above URL, and click Create Instance.

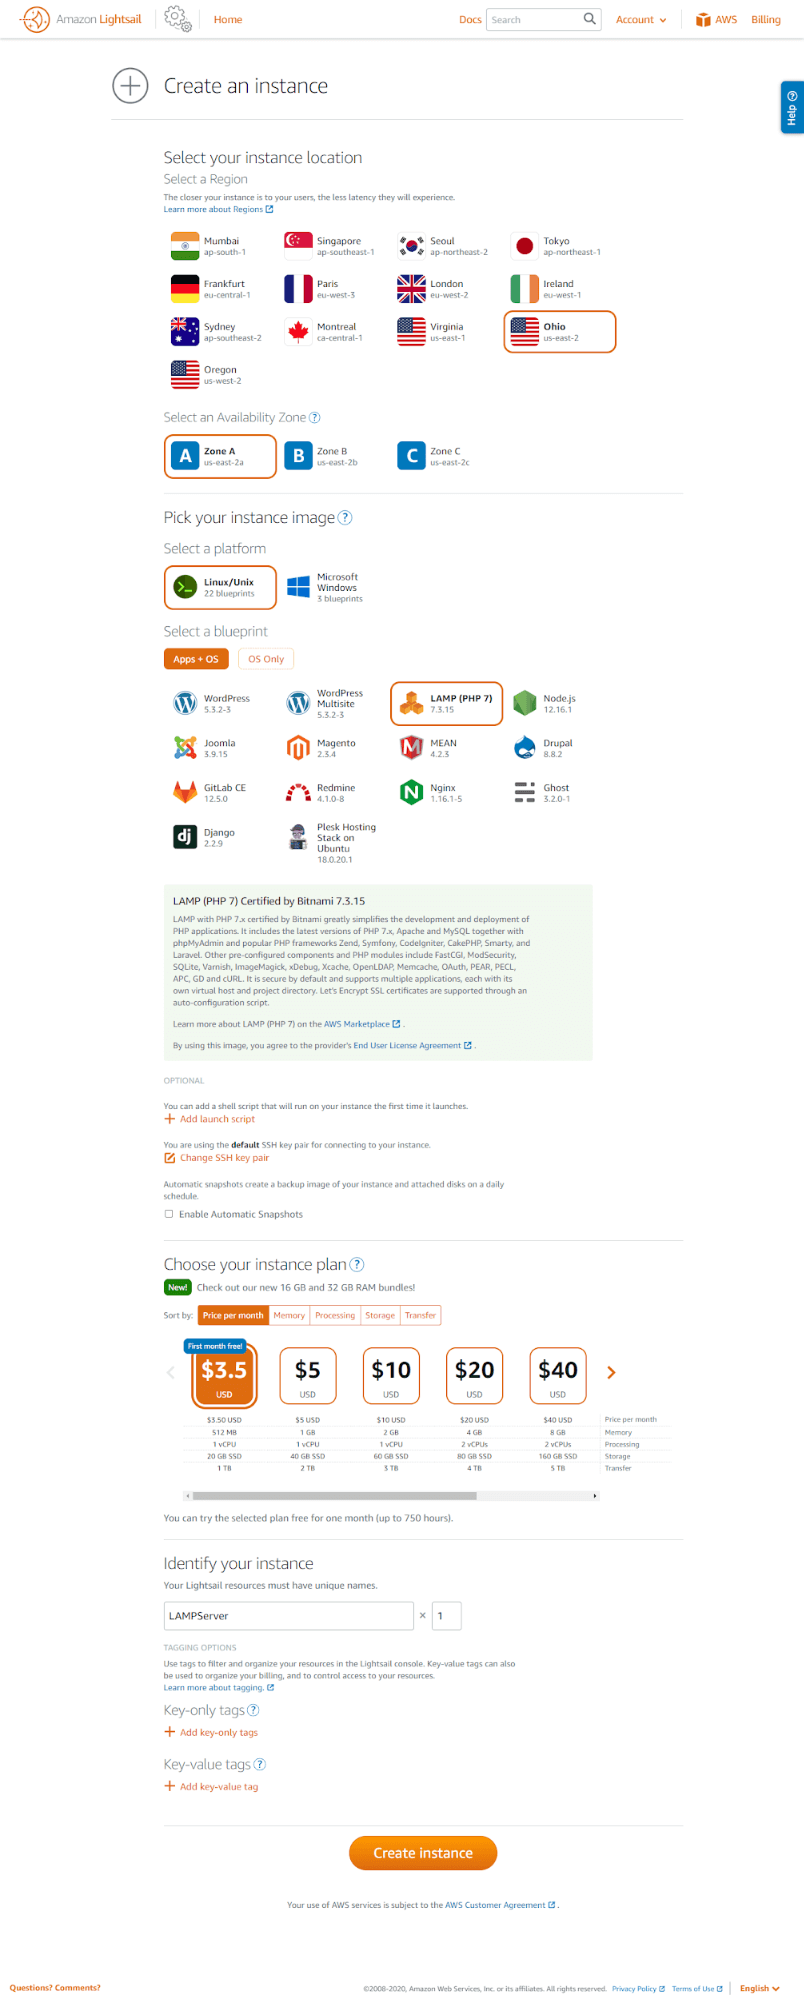
Step 2: Select your instance location
Select the region you want to create the VPS and choose the availability zone under the region to reside in.
Step 3: Pick your instance image
Currently, Lightsail offers 22 Linux/Unix blueprints and 3 Windows blueprints, and we are selecting the LAMP blueprint, which installs PHP 7.x, Apache, and MySQL together with phpMyAdmin and popular PHP frameworks Zend, Symfony, CodeIgniter, CakePHP, Smarty, and Laravel.
Step 4(Optional): Launch script
You can add a shell script that will run on your instance the first time it launches. You can write and use a script to configure your virtual private server (or instance) when it starts up. These scripts can add software, update software, or configure your instance in some other way you want.
- For Linux/Unix-based instances, you can write a shell script or a bash script to configure your instance right after Lightsail creates it. Commands you send to configure your server are run as root, so you don’t need to include sudo before your commands.
- For Windows-based instances, you can use Windows PowerShell to configure your instance right after Lightsail creates it.
Step 5(Optional): Change SSH Key Pair
Secure Shell (SSH) is a protocol for securely connecting to your Linux/Unix-based Amazon Lightsail instance (a virtual private server) by creating public and private keys matching the remote server to an authorized user.
Choose Default to use the default key pair that Lightsail creates to connect to your Linux instance. When you create an instance in an AWS Region, Lightsail creates a region-specific default key. You can download the default private key if you also want to connect to your Lightsail instance using an SSH client such as PuTTY.
You can create a new or upload a Key Pair if you have already, in this step.
Optionally, you can enable automatic snapshots after this step. Automatic snapshots create a backup image of your instance and attached disks on a daily schedule, and this includes an additional cost.
Step 6: Choose your instance plan
Amazon Lightsail offers various instance plans available based on Memory, vCPU, storage, and data transfer.
- Memory – Starts from 512 MB to 32 GB
- vCPU – Starts from 1vCPU to 8vCPU
- Storage – Starts from 20GB SSD to 640GB SSD
- Data transfer I/O – Starts from 512GB to 3.5 TB
Step 7: Identify your instance
Provide a name for the instance. Your Lightsail resources must have unique names.
You can also have tagging options. Use tags to filter and organize your resources in the Lightsail console. Key-value tags can also be used to organize your billing, and to control access to your resources.
Now all configurations are over, click Create instance.
After a while, your instance will be ready and shown running. A dynamic public IP will be assigned to your instance, and it will be shown under. On clicking the three-button icon, you have five options Connect, Manage, Stop, Reboot and delete.
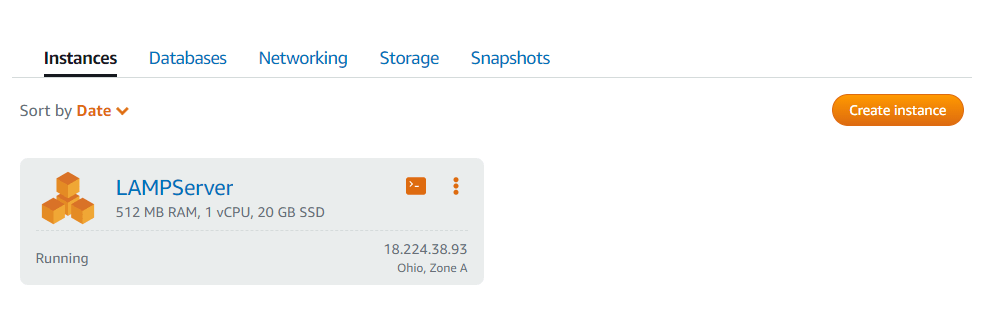
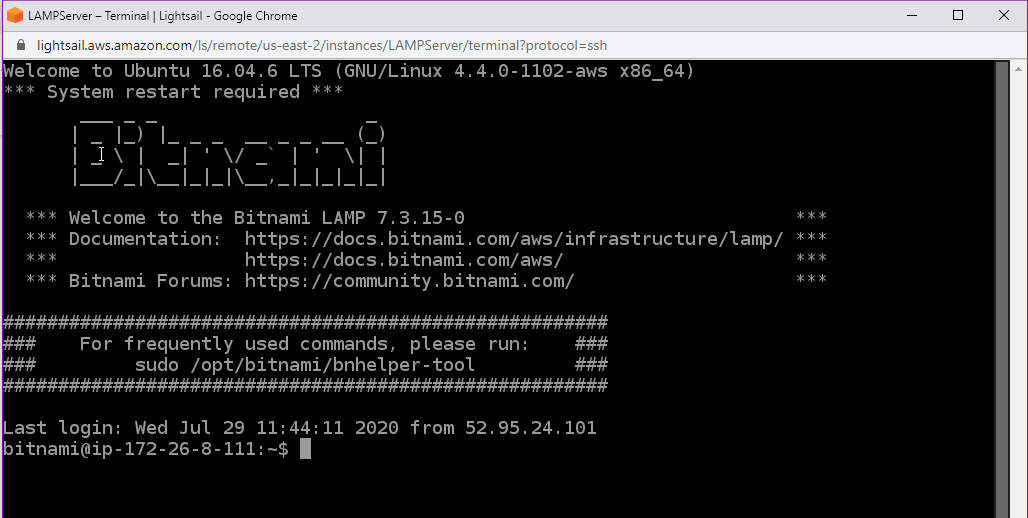
You can use either Connect or the >- symbol on the instance icon by clicking it, and an ssh session will be created to the instance.
After creating an instance in Amazon Lightsail, you have four categories on your dashboard to manage the instance.
- Databases – You can create a new database on this Instance
- Networking – You can set up network-related functions on this page. This includes assigning a static IP address to the Instance, creating distribution and load balancing among the instances, and creating a DNS zone for the instance.
- Storage – You can create additional storage, and attach to the instance
- Snapshots – You can create a daily backup of the instance.
Assigning a static IP address to the instance
A static IP is a fixed, public IP address that you can attach to an instance. This will be very much useful if you have DNS mapping for a fixed address in your DNS zone. Click Create static IP under the Networking tab.
- Keep the static IP location as the same as the Instance running
- Attach to an Instance – Select the instance you just created
- Provide a name to identify your Static IP address
- Click Create
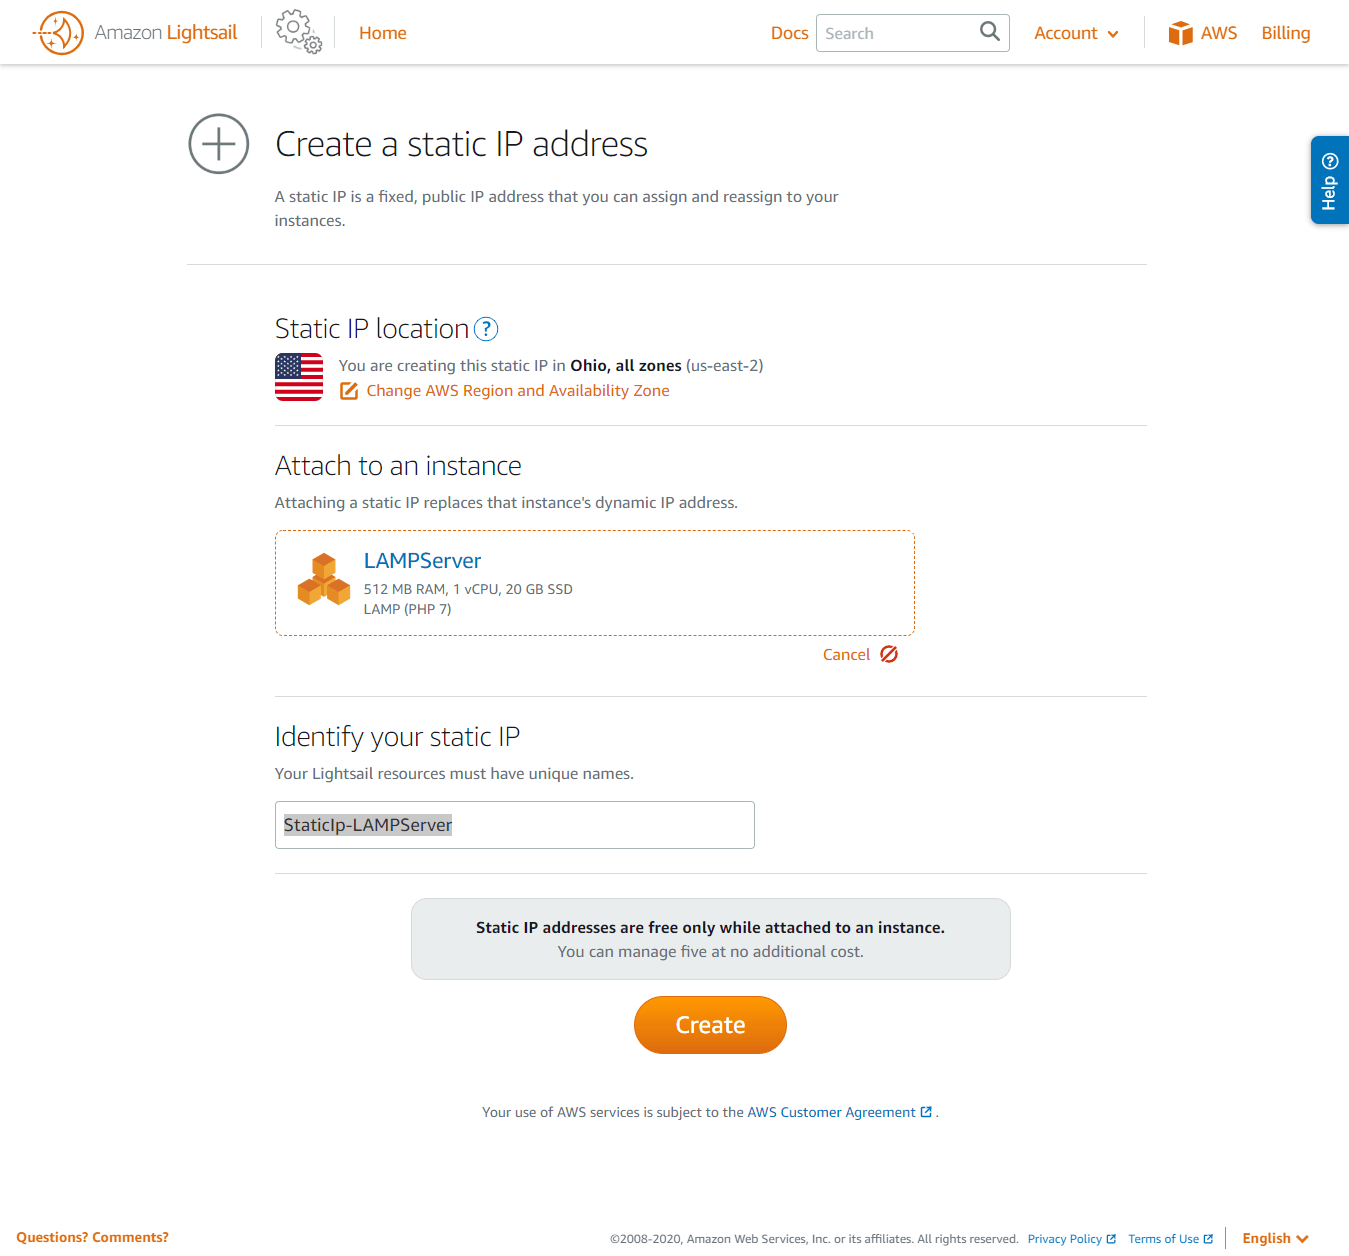
A new public fixed IP address will be assigned to your instance running, and you can access the instance using the new fixed IP. You can use this IP mapping in the DNS Zone created. By creating a DNS zone, you can use your registered domain with Lightsail and easily map it and its subdomains to your resources, such as an instance or load balancer.
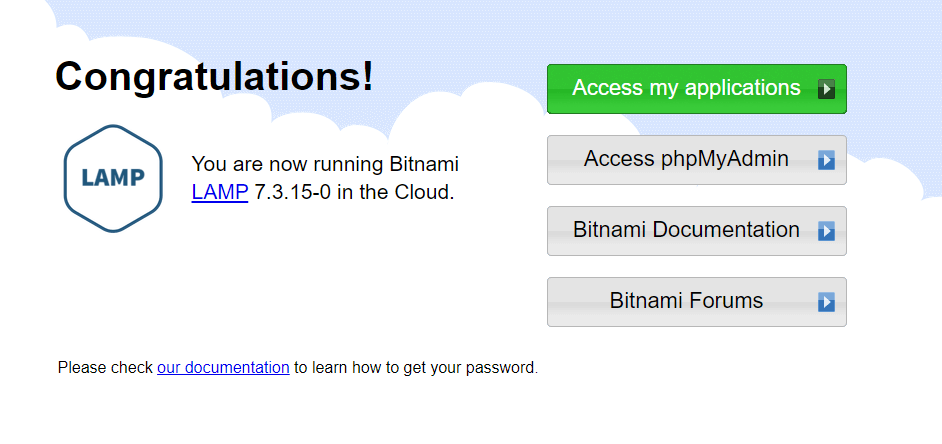
Accessing LAMP application through a browser
After attaching a fixed IP to your instance, you can access web applications through the browser using that IP (or through a fqdn after DNS record creation).
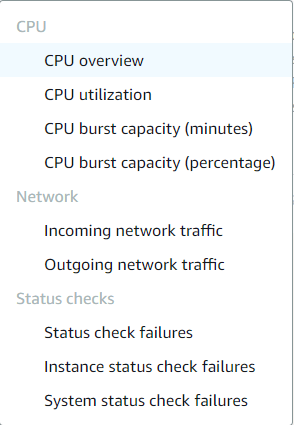
Metrics & Alarms
Amazon Lightsail provides various metrics in the graph representation. You can view those metrics in the Manage category. You can also add alarms for these metrics in their individual pages. Available metrics are covered under CPU, Network, and Status checks.
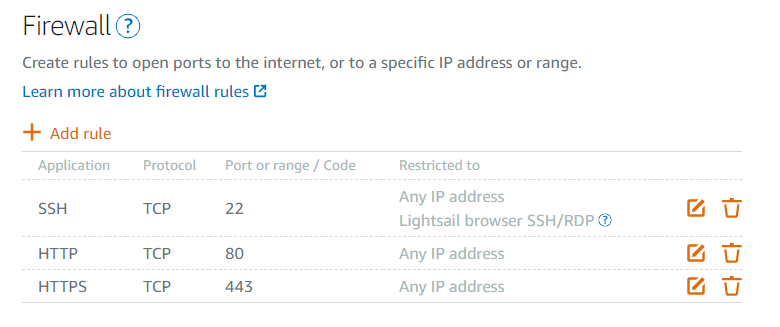
Managing your firewall & adding a new rule in the firewall
The firewall controls the traffic allowed to connect to your instance at the protocol and port level. Edit your instance’s firewall, at any time, by adding and deleting firewall rules. You can add a rule to your firewall by specifying the protocol to use, the port to open, and the IP addresses that are allowed to connect to your instance
By default SSH, HTTP and HTTPS are allowed for any IP address on their default port. You can edit the corresponding rule and restrict IP addresses.
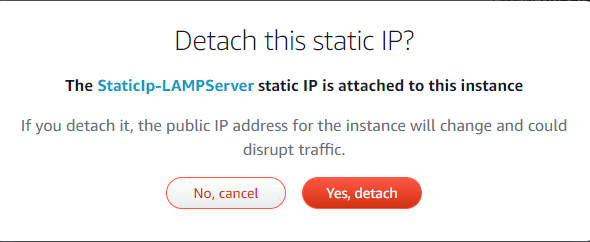
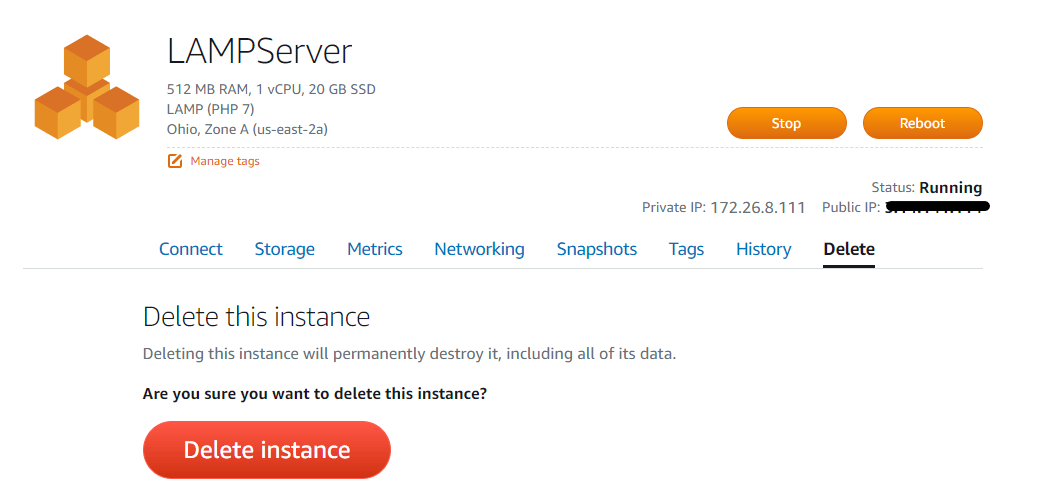
Deleting Amazon Lightsail Instance
Before you delete your instance, make sure you create a snapshot as a backup first. Deleting an instance is final and cannot be undone. In case of deleting the running Instance, you need to detach the fixed IP first and delete the instance.
Conclusion
Thus, AWS Lightsail is a frugal entry-level solution for SMBs to host websites and applications quickly. Creating a Lightsail instance is a straightforward and simple process, even a novice can create and manage AWS Lightsail instances from the AWS console or directly from AWS Lightsail homepage. But AWS Lightsail is not meant for heavy workloads, not to host enterprise-level applications with heavy I/O operations. In this case, it is recommended to use AWS EC2 instances.
Follow our Twitter and Facebook feeds for new releases, updates, insightful posts and more.